Cat Collector Django URLs and Views
Learning objective: By the end of this lesson, students will be able to define and implement URL routing in Django.
Setting up the app
In this part of the lesson, we will set up a new Django app within our project, catcollector, which will be dedicated to implementing our core functionality— defining routes for collecting cats!
Before we get started, let’s take a look at the INSTALLED_APPS list in catcollector/settings.py.
Adding a new app
In Django, the INSTALLED_APPS setting plays a crucial role. It tells Django about all the applications that are active for this project. Each app can provide a set of features that can be reused in multiple projects. By default, Django includes several built-in apps that are essential for any web application, such as:
django.contrib.admin— The admin interface, ready to use.django.contrib.auth— An authentication system.django.contrib.contenttypes— A framework for content types.django.contrib.sessions— A session framework.django.contrib.messages— A messaging framework.django.contrib.staticfiles— A framework to manage static files.
These apps add functionalities like the user interface for the admin section, user authentication, and managing static files which are essential components of most web applications.
Creating and registering a “Main App”
To tailor our catcollector project for its specific purpose, we need to create our own app that handles our specific needs—collecting cats. It’s a good practice to give your app a descriptive, yet general name. In this case, we’ll simply name our app main_app.
Create the App with the following command:
python3 manage.py startapp main_app
This command initializes a new Django app with the necessary files and directory structure. You’ll now find a main_app folder within the top-level project folder, set up as a Python module.
Let’s include or “register” it as part of the catcollector project by adding it to the INSTALLED_APPS in catcollector/settings.py:
INSTALLED_APPS = [
    # add main_app here
    'main_app',
    'django.contrib.admin',
    'django.contrib.auth',
    'django.contrib.contenttypes',
    'django.contrib.sessions',
    'django.contrib.messages',
    'django.contrib.staticfiles',
]
Adding main_app to this list informs Django that it should be included as a part of the project setup, ensuring it integrates with Django’s other core functionalities, like the database and URL dispatcher.
Run the server
Testing the connection of our new app
After setting up our new app, main_app, we need to verify that everything is connected properly by running the Django development server. However, before running the server, make sure you are in the project’s root directory where the manage.py file is located.
Run this command in the terminal:
python3 manage.py runserver
Understanding the server output
Upon running the server, you might notice several messages in your terminal that could initially appear as errors:
Watching for file changes with StatReloader
Performing system checks...

System check identified no issues (0 silenced).

You have 18 unapplied migration(s). Your project may not work properly until you apply the migrations for app(s): admin, auth, contenttypes, sessions.
Run 'python3 manage.py migrate' to apply them.
Jan 1, 2025 - 22:47:08
Django version 5.1.5, using settings 'catcollector.settings'
Starting development server at http://127.0.0.1:8000/
Quit the server with CONTROL-C.
These messages are not errors, but notifications from Django:
- Watching for file changes with StatReloader: This means the server is set up to automatically reload if you make any changes to the code.
- System checks: This confirms that there are no immediate issues preventing the server from running.
- Unapplied migrations: This is a reminder that there are database changes ready to be applied. For now, we can proceed without applying them as they don’t hinder the running of the development server.
The key line to focus on is:
Starting development server at http://127.0.0.1:8000/
This message indicates that the server is up and running. You can access the server by navigating to http://127.0.0.1:8000 in your web browser.
Note that
127.0.0.1:8000is another way to refer tohttp://localhost:8000—both addresses lead to the same place.
Navigate to this URL and you should see the Django welcome page, which features a stylized rocket, confirming that the server is running correctly.
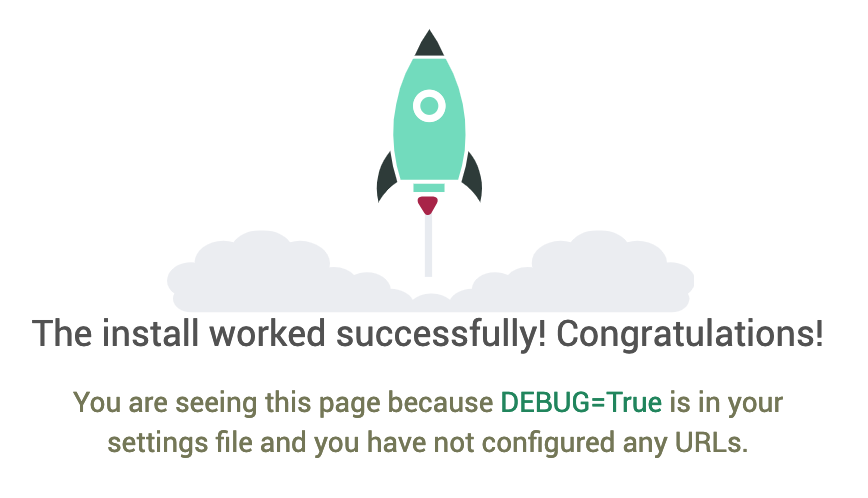
By visiting this page, you are ensuring that your Django setup is correctly configured and that your new main_app is properly integrated into the project.
Migrating
Now let’s test our database connection by getting rid of the unapplied migration message.
stop your server, and run the following command in the terminal:
python3 manage.py migrate
You should see something similar to this:
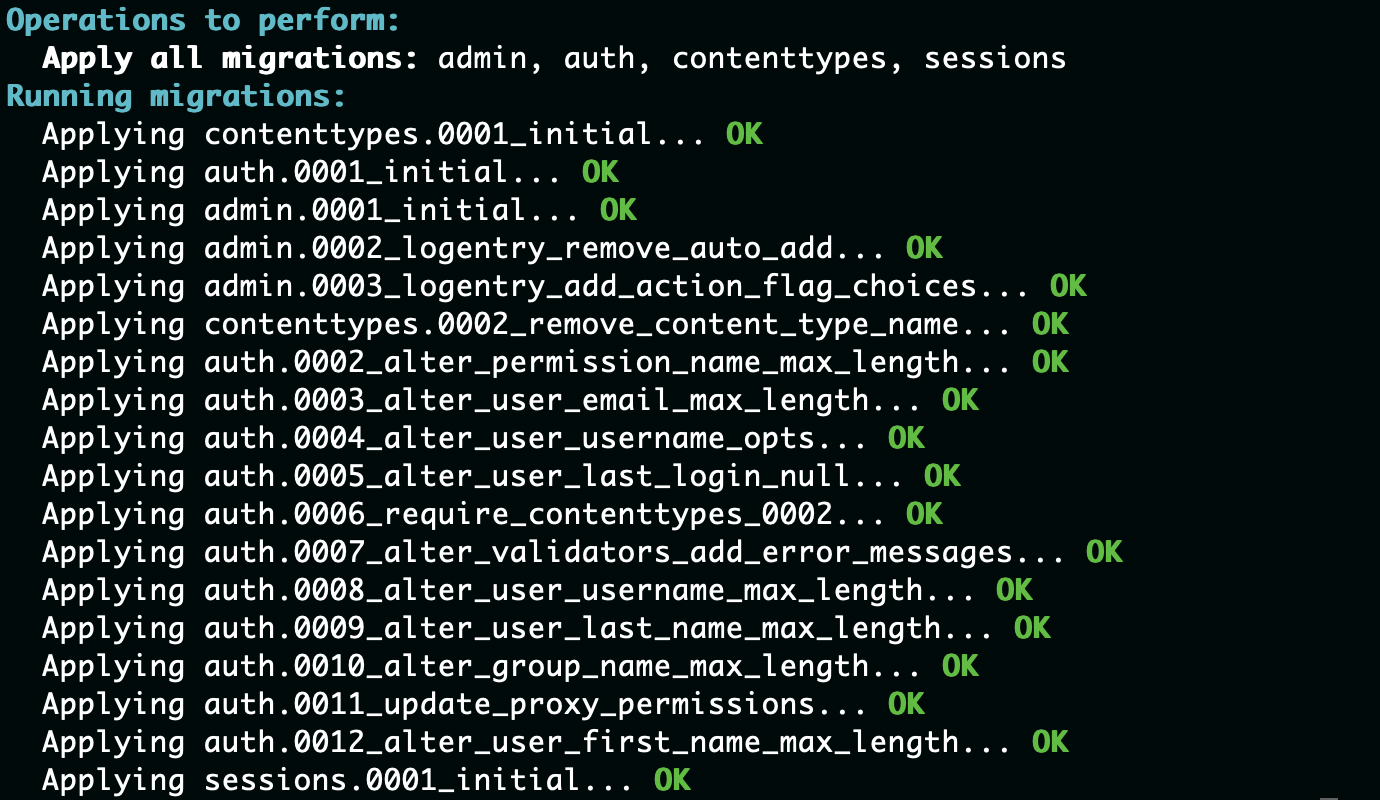
The migrate command is used to update the database schema over time as the application evolves.
Defining routes - URLs
In web development, as you might recall from working with Express, a route is essential for directing HTTP requests from a browser to the corresponding server-side code.
Django handles routes a bit differently:
- It matches the URL (path) of each request only, regardless of the HTTP method (like GET or POST).
For example, to handle the home page functionality, we’ll use the root URL http://127.0.0.1:8000/. Let’s explore how this is set up in Django.
Understanding Django URL configuration
In Django, routes are defined in URL configuration modules, typically named urls.py.
While you could add all your routes to the project’s main urls.py (located in catcollector/urls.py), it’s a best practice for each app to manage its own routes and then include those in the project’s URLconf. This makes your app modular and easier to maintain.
Let’s set up the URLconf for main app together:
-
Create a new
urls.pyin yourmain_appdirectory:touch main_app/urls.py -
Open the
catcollector/urls.pyfile and modify it to include themain_app’s URLs.First, import the
includefunction:# catcollector/urls.py from django.contrib import admin from django.urls import path, includeThen, add a new line in the
urlpatternslist to includemain_app’s URLs:urlpatterns = [ path('admin/', admin.site.urls), path('', include('main_app.urls')), # Mounts main_app's routes at the root URL ]Including
main_app/urls.pyallows you to manage all routes related to this app separately, keeping your code organized.You can now close
catcollector/urls.pysince all routes we define from this point forward will be defined withinmain_app/urls.py. -
Now, let’s define the initial setup inside
main_app/urls.py:from django.urls import path from . import views # Import views to connect routes to view functions urlpatterns = [ # Routes will be added here ]
In this file, you’ll define all the routes for main_app. The urlpatterns list is where you specify each route, similar to how routes are defined and grouped in controllers in Express.
Define main_app’s home page URL & view
With the setup done, we’re ready to define our first route to display the Home page.
In main_app/urls.py:
urlpatterns = [
    path('', views.home, name='home'),
]
The above code defines a root path using an empty string and maps it to the view.home view function that does not exist yet - making the server unhappy. We’ll remedy this with a new view in the next step.
The name='home' kwarg is technically optional but will come in handy for referencing the URL in other parts of the app, especially from within templates, so we will always use it.
The Home page route has been defined! On to the view…
Defining view functions
❓ What is the equivalent to a Django View Function in Express?
In Django, a view function is similar to what you may know as a “route handler” in Express. It’s where you define the logic that gets executed in response to a specific HTTP request.
Implementing a home view
For our cat-collector application, let’s start by creating a basic view function that will serve as the response for the home page. We’ll define this function in main_app/views.py.
# main_app/views.py

from django.shortcuts import render

# Import HttpResponse to send text-based responses
from django.http import HttpResponse

# Define the home view function
def home(request):
    # Send a simple HTML response
    return HttpResponse('<h1>Hello ᓚᘏᗢ</h1>')
Requests and responses in Django routes
- Handling Requests: The
homefunction accepts a single parameter,request, which is analogous to thereqobject in Express. Thisrequestobject contains metadata about the request (like headers, method, etc.). - Importing HttpResponse: Notice that we import
HttpResponsefromdjango.http. This function is used to construct an HTTP response to send back to the browser, similar tores.send()in Express.
Viewing your new home page
Now, when you navigate to http://127.0.0.1:8000/ in your browser, you will see a simple greeting message, “<h1>Hello ᓚᘏᗢ</h1>”, instead of the default Django rocket page. This is your view function responding to the HTTP request.
💡 Understanding HttpResponse: The
HttpResponseobject we used is the simplest way to return content in Django. As we progress, we will explore more sophisticated methods such as rendering templates which allow for more dynamic and interactive web pages.
🎓 You do: Define another URL and view function
In this activity, you’ll add an “About” page to your Django application by defining a new route and corresponding view function.
-
Define a Route: Create a new route in your
urls.pyfile. The path for this route should beabout/. This includes a trailing slash, which is a Django best practice for defining URL paths. Avoid adding a leading slash at the beginning of the path as this is handled by Django itself. -
Name the Route: Assign the name
'about'to this route. This name will be used for referencing the route in your Django templates and views. -
Map to a View: Connect this route to a view function. In your
urls.py, map the path to a view calledviews.about. This means you will need a function namedaboutin your views file. -
Create the View Function: Open your
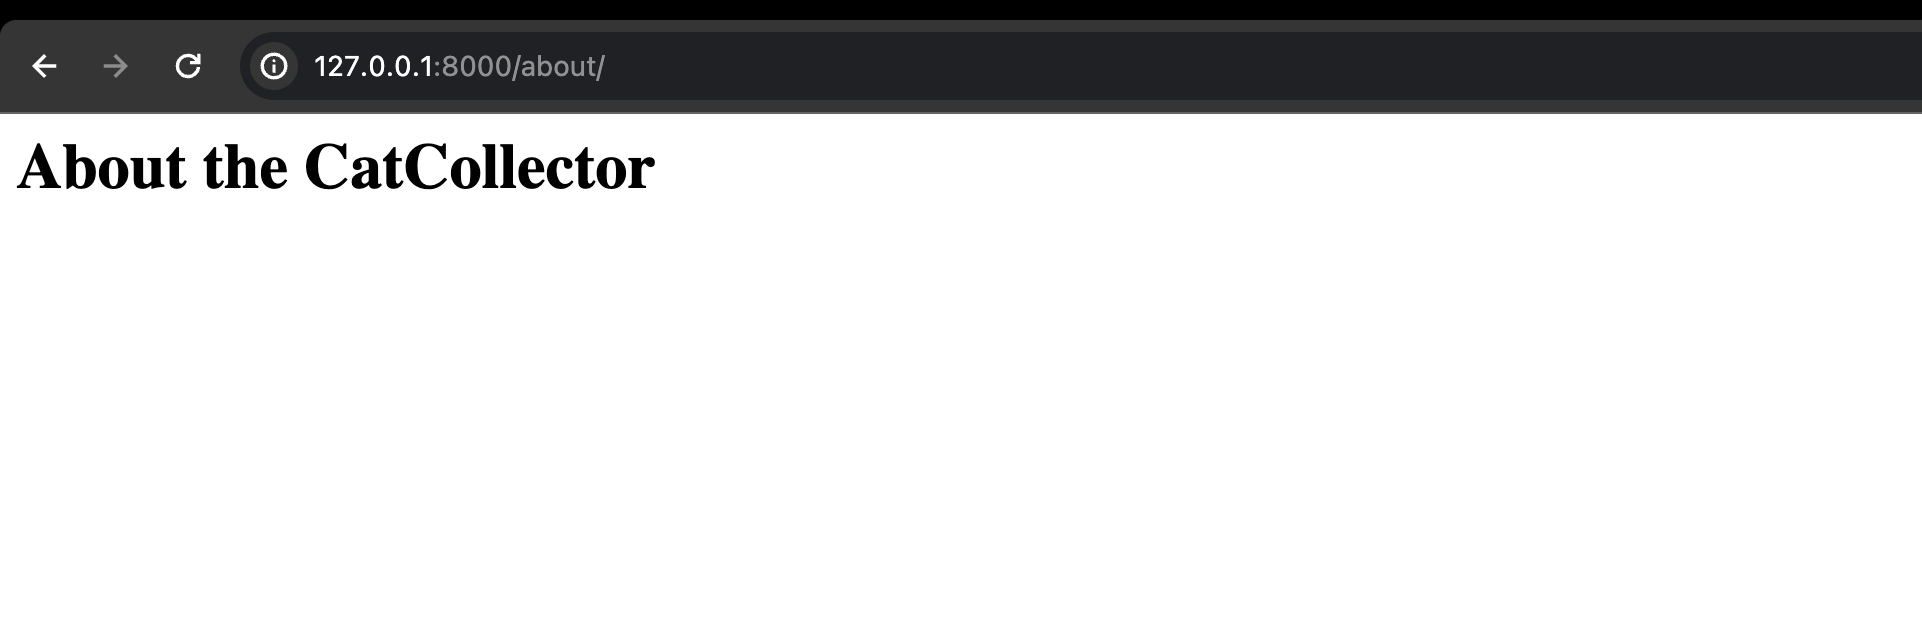
views.pyfile and define a new function namedabout. This function should return an HTTP response that includes the text<h1>About the CatCollector</h1>. Make sure to importHttpResponsefromdjango.httpif it’s not already imported.
Note: Define the route exactly as written-
about/(with a trailing slash instead of a leading slash). This is the convention for Django. If you add a leading slash you will be presented with this warning:

Test your work by browsing to http://127.0.0.1:8000/about