Exposing an API Exposing a GET Route
Learning objective: By the end of this lesson, students will be able to develop and test a simple calculator API with a GET method.
Calculator API
In this lesson, we will be creating a simple calculator API. This API will have three routes:
| HTTP Method | Route | Description |
|---|---|---|
| GET | /calculator | Returns the current total of the calculator. |
| POST | /calculator | Accepts a number and an operation to update the total. |
| DELETE | /calculator | Resets the total of the calculator to 0. |
Exposing a GET Route
Before building out our first route, we will need to store the total of our calculator. We will start with a total of 0.
Add total to server.js:
const express = require('express');
const app = express();

// to track our calculator total
let total = 0;

app.listen(3000, () => {
  console.log('Server listening on port 3000');
});
We are using
letinstead ofconsthere because our application will update the value oftotaleach time we receive a request to alter the total (such as adding, subtracting, etc.)
Building the route
Let’s build out the first route for our calculator API. This route’s purpose is to return the current total of the calculator.
First we’ll define the key components for our route:
- Endpoint: Our endpoint will be
/calculator. - HTTP Method: We will use the
GETmethod because this route is designed to retrieve the current total, not to receive any user input. - Response: The response will be a
JSONobject representing the current total.
Now we are ready to build out the route. In Express we will use the app.get() method:
let total = 0;

app.get('/calculator', (req, res) => {
  // code will go here
});
Inside the callback function, we will set up the logic to send back the current total. We can use Express’ res.json() method to send a JSON response. Here, we’ll send back an object that includes the current value of total
let total = 0;

app.get('/calculator', (req, res) => {
  res.json({ total });
});
🧠 In our response, we are utilizing shorthand syntax in JavaScript for object creation. This means when we write
{ total }, it is equivalent to{ total: total }. The key total is automatically assigned the value of the total variable.
Add a status code
Including HTTP status codes in your application is a smart next step and best practice as you are learning to develop APIs. These codes provide clear feedback on the result of each request. This approach not only enhances your application’s clarity and user experience but also reflects your understanding of good coding practices and industry norms.
Adding status codes to your responses in Express is easy with the status() method. This method comes built into the response (res) object. Simply chain status() with the response method you’re using, such as .send(), .render(), or .json(). This way, you first set the HTTP status code and then send your response.
Example:
res.status(200).json({ total });
In the context of web servers and APIs, when a server returns a
200OK response, it means that the request was received, understood, and processed as expected.
Testing in Postman
Since this is a GET request, we could use the browser and navigate to http://localhost:3000/calculator to test our route. However, for this lesson we will practice using Postman.
Let’s start the server and launch the Postman application.
nodemon
Once in Postman, follow the following steps to get started:
-
Click on the
Newbutton in the top left corner of the Postman window. -
Select
Collectionfrom the menu. -
Rename the collection from
New CollectiontoCalculator API.
Now that we have a collection, let’s add a new request to test this endpoint:
-
You should see your
Calculator APIcollection in the Collections sidebar. -
Click on the
...next to the collection name. -
Select
Add Requestfrom the menu. Name the requestGet Total. -
Make sure that the
GETmethod is selected. -
Enter
http://localhost:3000/calculatorin the address bar. -
Click the save button in the top right corner of the Postman window.
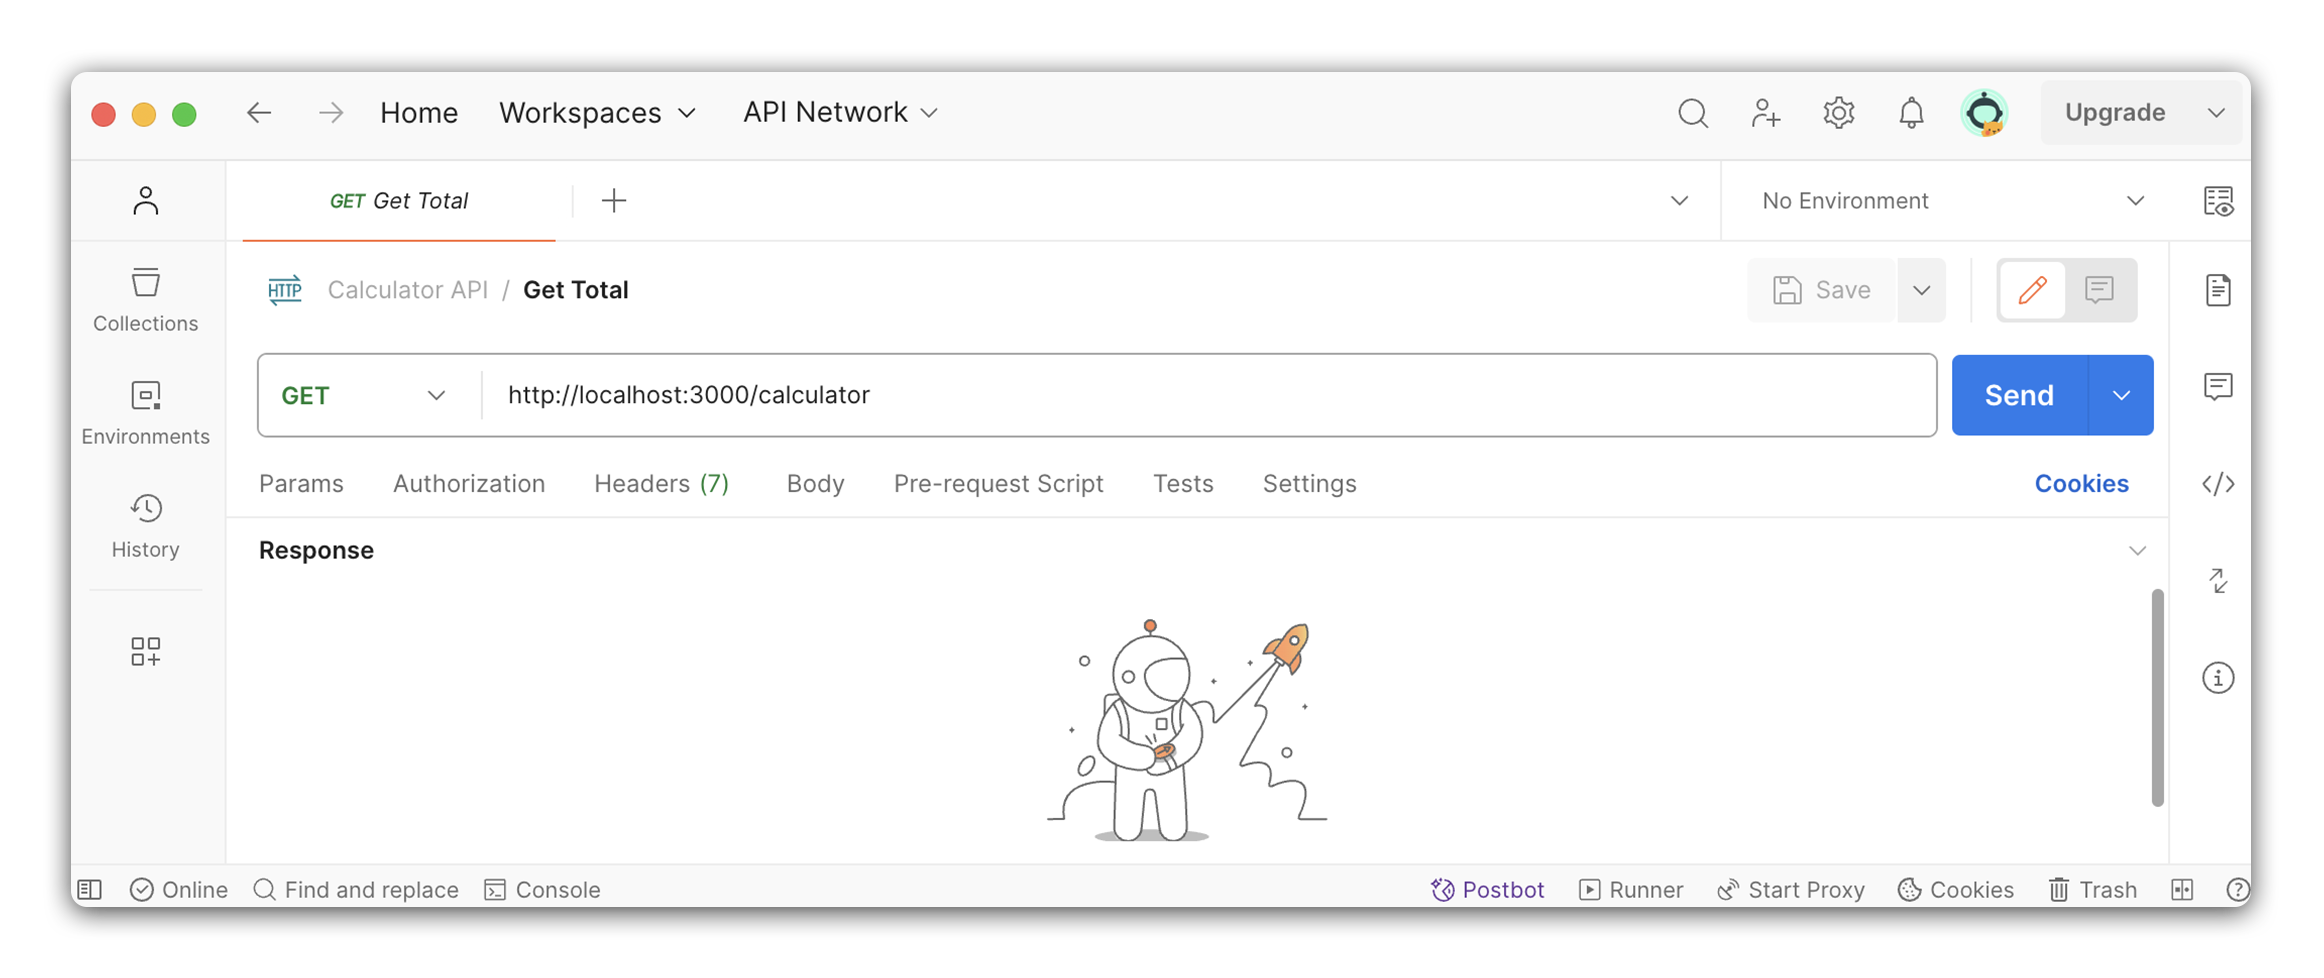
Now that we have created the request, we can send it. Click on the Send button to send the request. You should see the response in the bottom half of the Postman window:
{
  "total": 0
}