Hoot Back-End Update Hoot
Learning objective: By the end of this lesson, students will be able build a route that updates a single hoot in the database before issuing this updated object as a JSON response to the client.
Overview
In this section, we will create an update route to find and update a single hoot. This route will be a PUT request on /hoots/:hootId, returning a JSON response with a single updated hoot from the database.
We will be following these specs when building the route:
- CRUD Action: UPDATE
- Method:
PUT - Path:
/hoots/:hootId - Response: JSON
- Success Status Code:
200Ok - Success Response Body: A JSON object with the updated hoot.
- Error Status Code:
500Internal Server Error - Error Response Body: A JSON object with an error key and a message describing the error.
Define the route
Our route will listen for PUT requests on '/hoots/:hootId':
PUT /hoots/:hootId
Add the following to controllers/hoots.js:
// controllers/hoots.js

router.put("/:hootId", verifyToken, async (req, res) => {
  // add route
});
❗ A user needs to be logged in to update a hoot, so be sure to include the
verifyTokenmiddleware.
Code the controller function
Let’s breakdown what we’ll accomplish inside our controller function.
First, we’ll retrieve the hoot we want to update from the database. We’ll do this using our Hoot model’s findById() method.
With our retrieved hoot, we need check that this user has permission to update the resource. We accomplish this using an if condition, comparing the hoot.author to _id of the user issuing the request (req.user._id). Remember, hoot.author contains the ObjectId of the user who created the hoot. If these values do not match, we will respond with a 403 status.
If the user has permission to update the resource, we’ll call upon our Hoot model’s findByIdAndUpdate() method.
When calling upon findByIdAndUpdate(), we pass in three arguments:
-
The first is the ObjectId (
req.params.hootId) by which we will locate thehoot. -
The second is the form data (
req.body) that will be used to update thehootdocument. -
The third argument (
{ new: true }) specifies that we want this method to return the updated document.
After updating the hoot, we’ll append a complete user object to the updatedHoot document (as we did in our create controller function).
Finally, we issue a JSON response with the updatedHoot object.
Add the following to controllers/hoots.js:
// controllers/hoots.js

router.put("/:hootId", verifyToken, async (req, res) => {
  try {
    // Find the hoot:
    const hoot = await Hoot.findById(req.params.hootId);

    // Check permissions:
    if (!hoot.author.equals(req.user._id)) {
      return res.status(403).send("You're not allowed to do that!");
    }

    // Update hoot:
    const updatedHoot = await Hoot.findByIdAndUpdate(
      req.params.hootId,
      req.body,
      { new: true }
    );

    // Append req.user to the author property:
    updatedHoot._doc.author = req.user;

    // Issue JSON response:
    res.status(200).json(updatedHoot);
  } catch (err) {
    res.status(500).json({ err: err.message });
  }
});
💡 As an extra layer of protection, we’ll use conditional rendering in our React app to limit access to this functionality so that only the author of a hoot can view the UI elements that allow editing.
Test the route in Postman
Now that we have finished the route, let’s test it with Postman. We’ll do this by sending a PUT request to /:hootId.
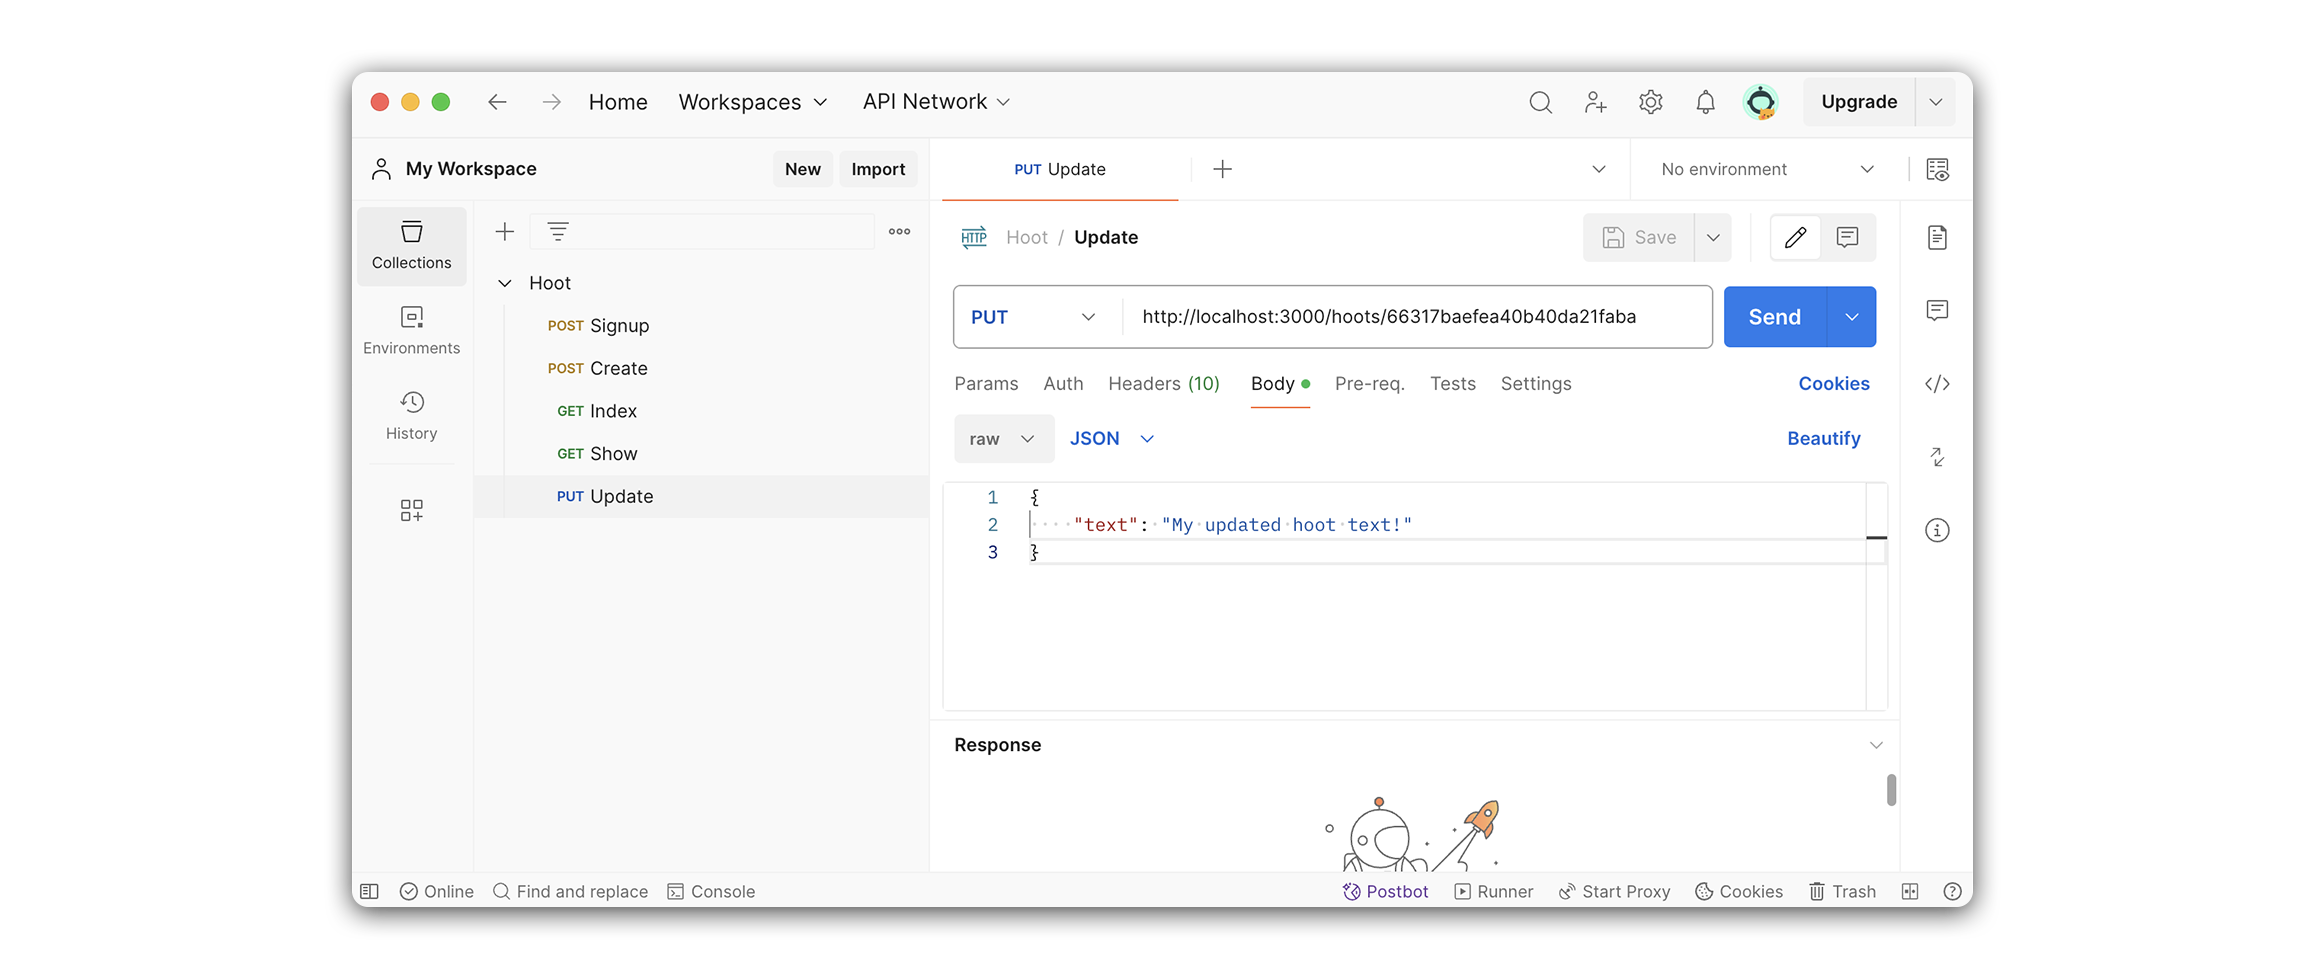
Create a new request in Postman. We will name this request Update and set its request type to PUT. To test it out, we’ll need to grab a hoot _id again. Feel free to use the same Postman URL we used for Show.
http://localhost:3000/hoots/65f88f758b9a40bd02dacdbc
Add the following to the body section in Postman.
{
  "text": "My updated hoot text!"
}
Your request should look something like this:
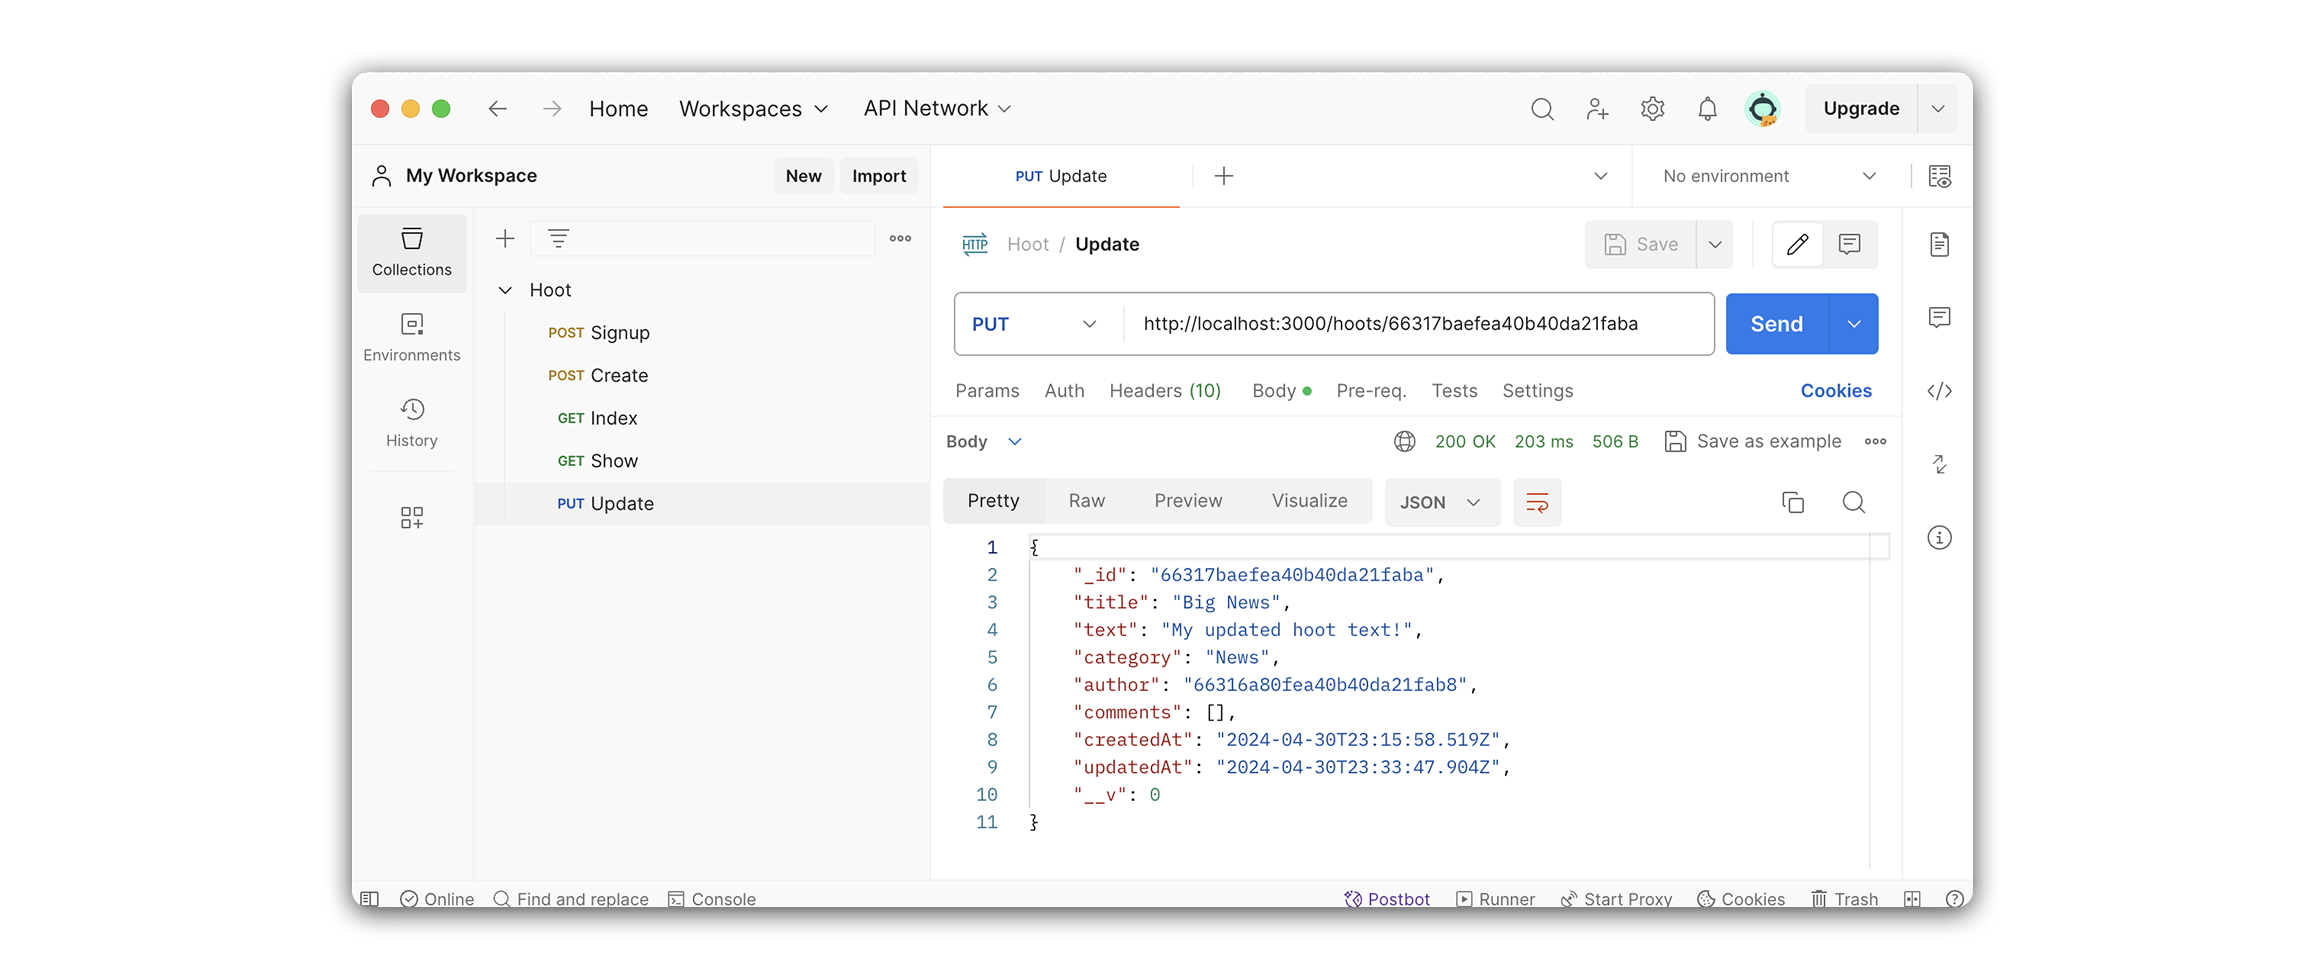
After sending the request, you should see the updated hoot object issued in the response: