Intro to the CLI Manipulating the File System
Learning objective: By the end of this lesson, students will be able to execute CLI commands such as mkdir, touch, rm, and rmdir to create, modify, and delete files and directories.
Creating
Let’s create directories and files! We’ll get some additional practice navigating the file system too.
mkdir
The mkdir command is used to create directories. The mkdir command takes a command argument like the cd command did. The meaning of that argument is different in this case though. Here, we will specify the path to the directory we want to create. We’ll use a relative path again.
Ensure your prompt indicates that you’re in the ~ directory. If you’re not, run:
cd ~
Once you’re there, let’s try out the mkdir command:
mkdir code
Running this command will create a code directory! Let’s move into that directory with the cd command.
This time, only type cd co into the command line, then hit the Tab key. This should autocomplete the rest of the line, and it should now say cd code. Execute that command!
This is called tab completion, and it is the best.
♻ Repeatable pattern: Tab completion will let you do less typing and save time. It’s also more precise than manually typing paths out because it will only complete valid commands and paths. It’s also a great tool in VS Code when we start using it.
🎓 You Do
Create another directory of your choice and move into it.
touch
You should be in the directory that you just created.
The touch command works very similarly to the mkdir command, except instead of creating an empty directory, it creates an empty file. Files typically have a file extension like .html for HTML files or .png for PNG image files.
touch file.txt
The command creates a file with the .txt extension, representing a text file.
Deleting
We may have created more than we need; let’s clean up some.
🎓 You Do
Delete the file and the directory that you just created.
- Use the
rmcommand to delete thefile.txtfile. The syntax for thermcommand is similar to thetouchcommand, but it destroys instead of creates. There is no trash to recover files from after they are deleted with this command, so use it carefully. - Navigate out of the current directory so you can delete it. Maybe return to the parent directory like we did earlier?
- Use the
rmdircommand to delete the directory you created in the You Do section earlier. This command works similarly to themkdircommand but will destroy instead of create like thermcommand. This command will only delete empty directories.
After you’ve accomplished those tasks, create the directory structure we’ll use for the rest of the course.
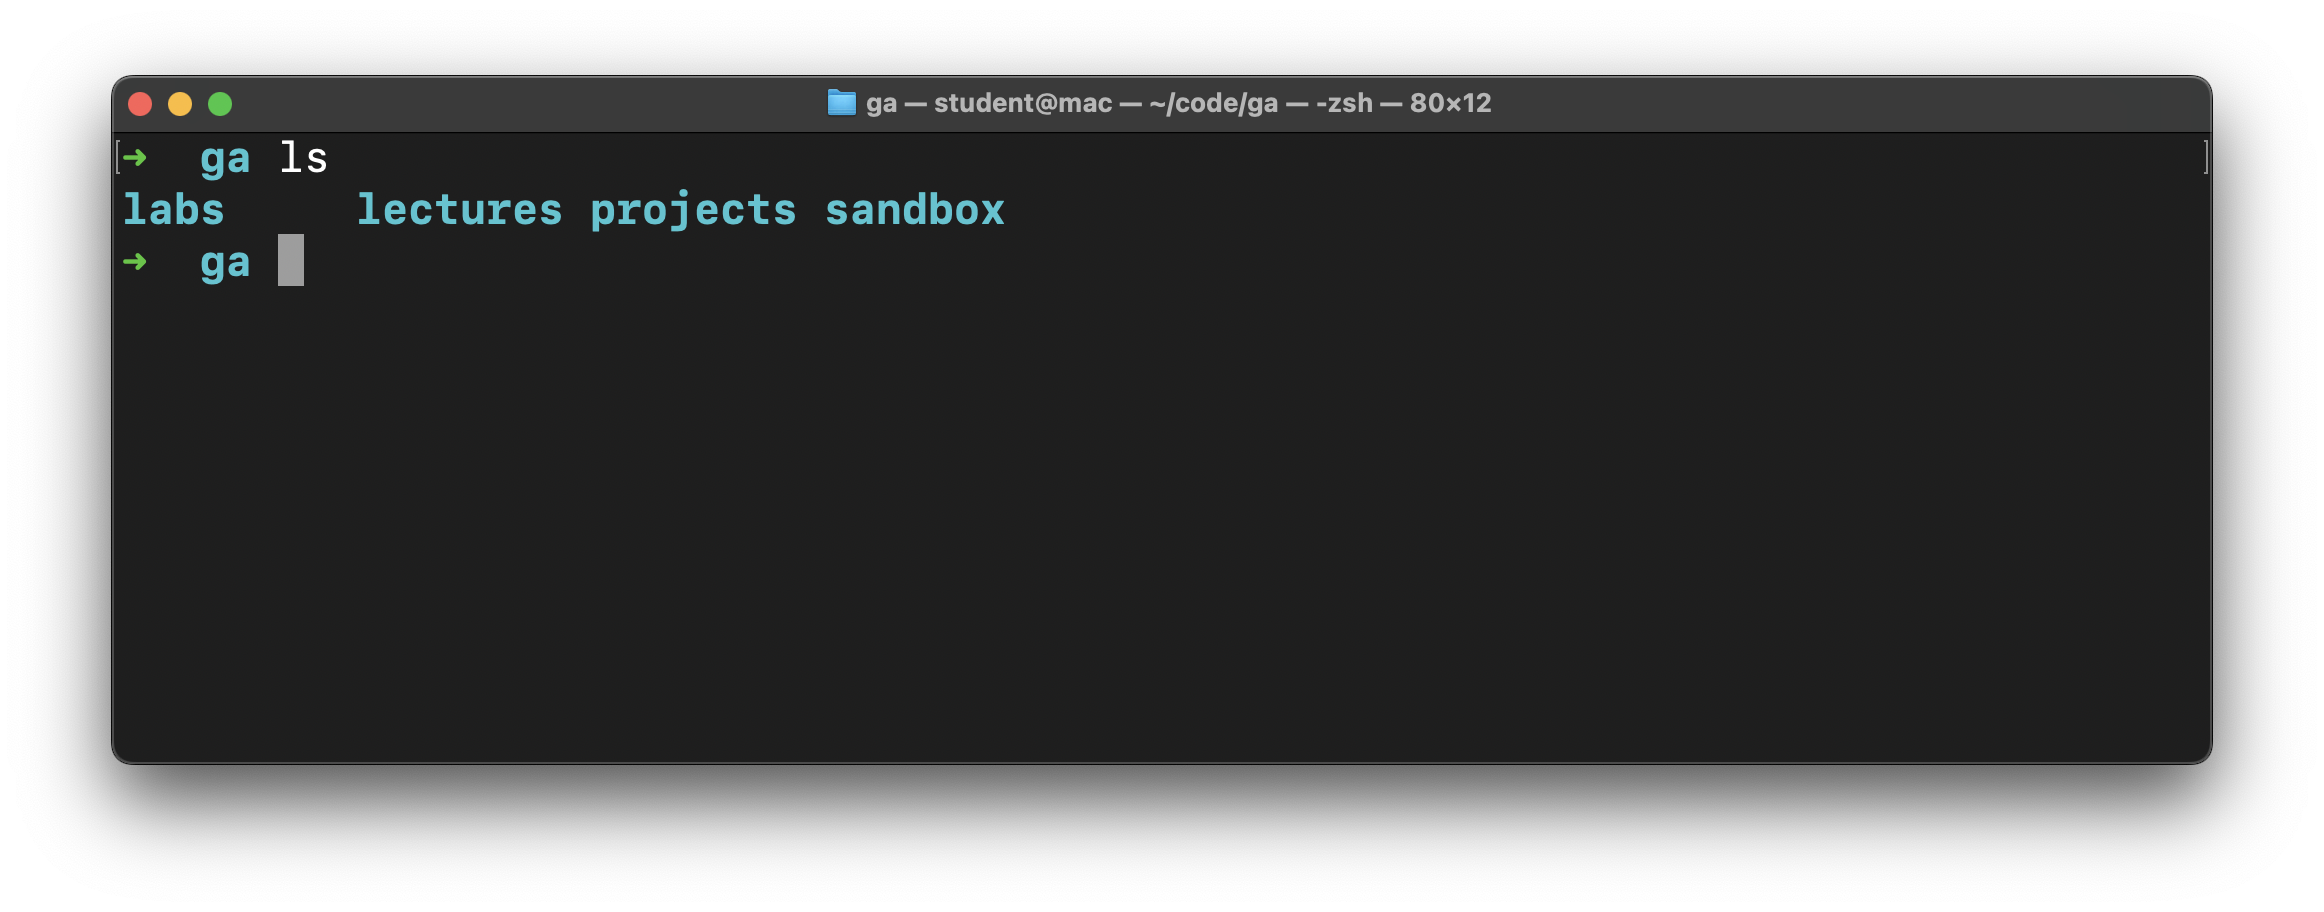
In your code directory, create a ga directory to hold everything you do at General Assembly. Inside of this ga directory, make four more directories:
labs- For all lab assignments.lectures- For all class lectures.projects- For any large projects done in a course.sandbox- For quick experimentation.
All lecture material will assume you have this base directory structure, but if you’d like, you may further divide these directories based on topic, week, or any other method you choose.
When you’re done, you should be able to run the ls command in the ga directory and see the following: