Intro to the DOM Selecting an Element
Learning objective: By the end of this lesson, students will be able to select an element from the DOM using querySelector() in JavaScript.
Selecting in the browser
Let’s start exploring the DOM with Chrome’s DevTools.
With the index.html file open in your browser, open the DevTools:
- In macOS, use
⌘ Command+Shift+C - In Windows or Linux, use
Ctrl+Shift+C
Click on the Elements tab to browse the HTML hierarchy of the DOM.
Look closely after the closing </h1> tag - you see that == $0?
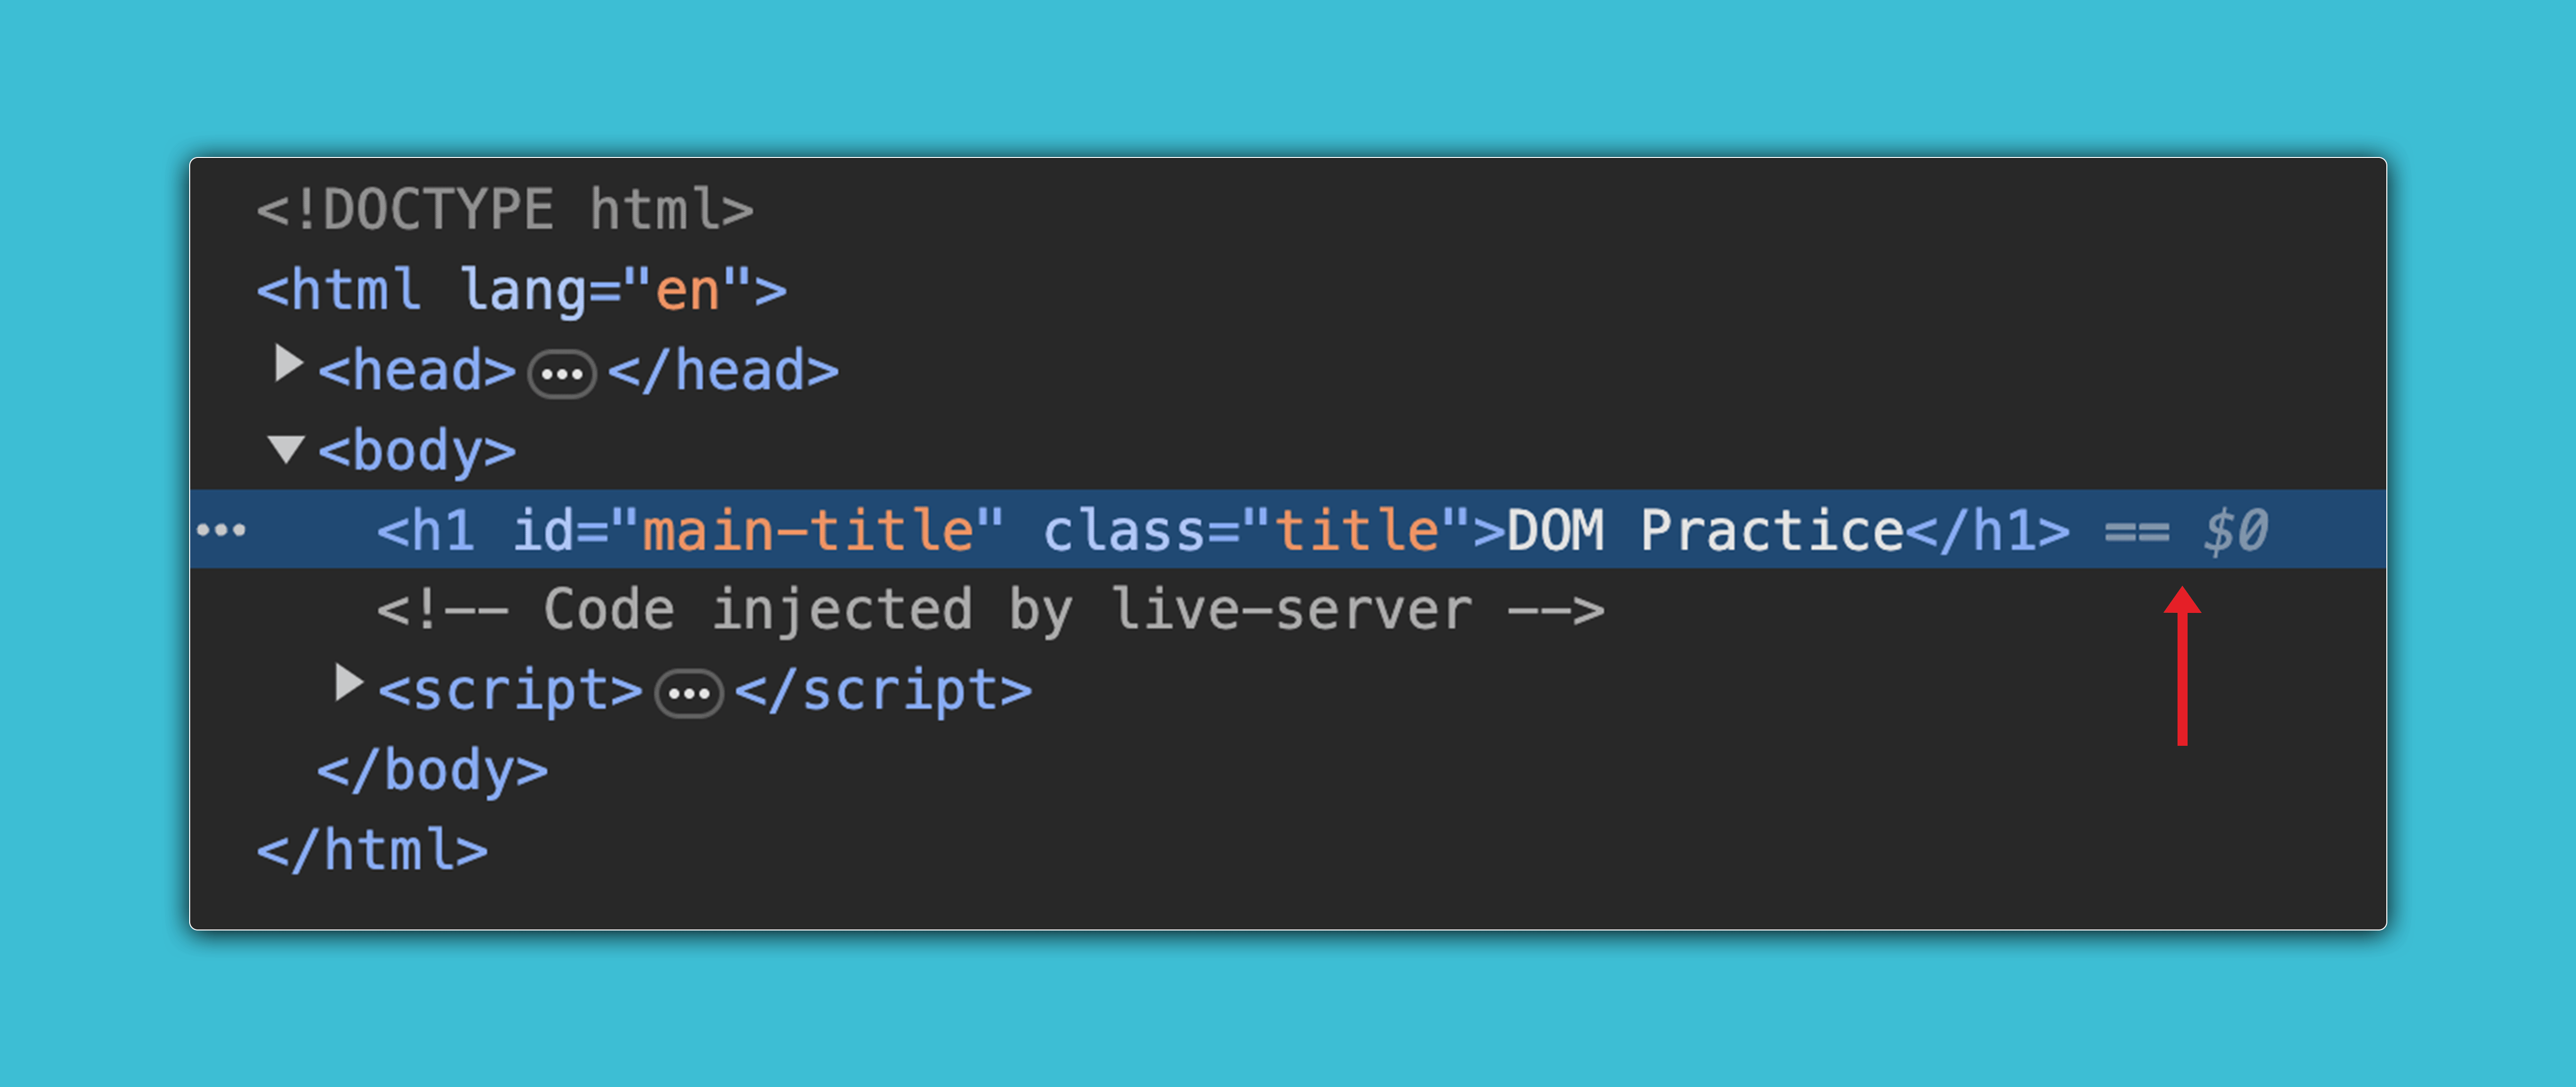
That tells us that the browser has created a variable named $0 that represents the <h1> element in the DOM!
Click on the Console tab, and let’s explore the properties on the $0 element/object by typing console.dir($0).
You can now explore the <h1> element’s DOM object - aka the <h1> node.
Selecting with querySelector()
Now that we’ve explored the DOM a bit in the browser, let’s talk about how we can select these same elements using our code. In web development, selecting elements on a webpage is a fundamental skill. For this, we use querySelector().
querySelector() is a method of the document object. It lets us select a single element on the webpage using CSS selectors. This is similar to how we select elements for styling with CSS.
To use querySelector(), you provide a string that matches the CSS selector of the element you want to select. Here’s an example:
const titleElement = document.querySelector('#main-title');
console.dir(titleElement);
In this code, we’re doing a few important things:
- Selecting an Element: We use
querySelector()to find the element with theidofmain-title. This is the same way we’d target an element in CSS. - Storing the Element: We store the selected element in a variable named
titleElement. This way, we can easily use it later in our code. - Naming Conventions: Notice the name
titleElement. AddingElementorElto the end of variable names holding DOM elements is a good practice. It helps us quickly identify that the variable is an element, not just a piece of data. - Verification with console.dir: Right after selecting the element, we use
console.dir(titleElement)to display its properties in the console. We do this to confirm we have selected the correct element from the DOM. You should always follow this pattern in your apps
♻ Repeatable Pattern: Every time you select an element out of the DOM, you should
console.dir()it to confirm it is what you think it is!
❓ Could we use any other CSS selectors to retrieve this same element?
More than one match
If the CSS selector provided to querySelector() matches multiple elements, it returns the first matching element from the document. You should avoid this scenario by using a more specific selector (such as an id) that only matches one element when possible.
If no matching DOM element is found, querySelector() will return null.
Caching elements
In the example above, we stored the result of document.querySelector('#main-title) to a variable (titleElement). We’ll commonly refer to that variable as a cached element reference. That sounds fancy, but it means that we don’t need to query the DOM repeatedly for the same element. When we want to interact with it, we use the variable.
Creating cached element references is a technique in which a DOM element is stored in a variable for future use, minimizing the need to query the DOM to access the same element repeatedly. This phrase is derived from the term caching in computer science. Caching is a technique used in computing to store data temporarily in a local storage location, known as a cache, so that future requests for that data can be accessed faster.
This is important for a few reasons:
- We can write less code.
- Querying for elements in the DOM is prone to errors. Doing it less avoids some of those errors.
- It improves performance (querying for elements in the DOM is relatively slow).
🎓 You Do
-
In
index.html, add a<p>tag below the<h1>and give it aclassof"cool". -
Add some content inside the
<p>tag. To do this quickly, try typinglorem, then hitTabon your keyboard to insert placeholder text. -
Use
document.querySelector()to select the<p>element with a class ofcooland assign it to a variable namedparagraphElement. -
Verify that the
<p>element was selected by logging outparagraphElement.