Tamagotchi Lab Exercise Parts 4-5
Step 4
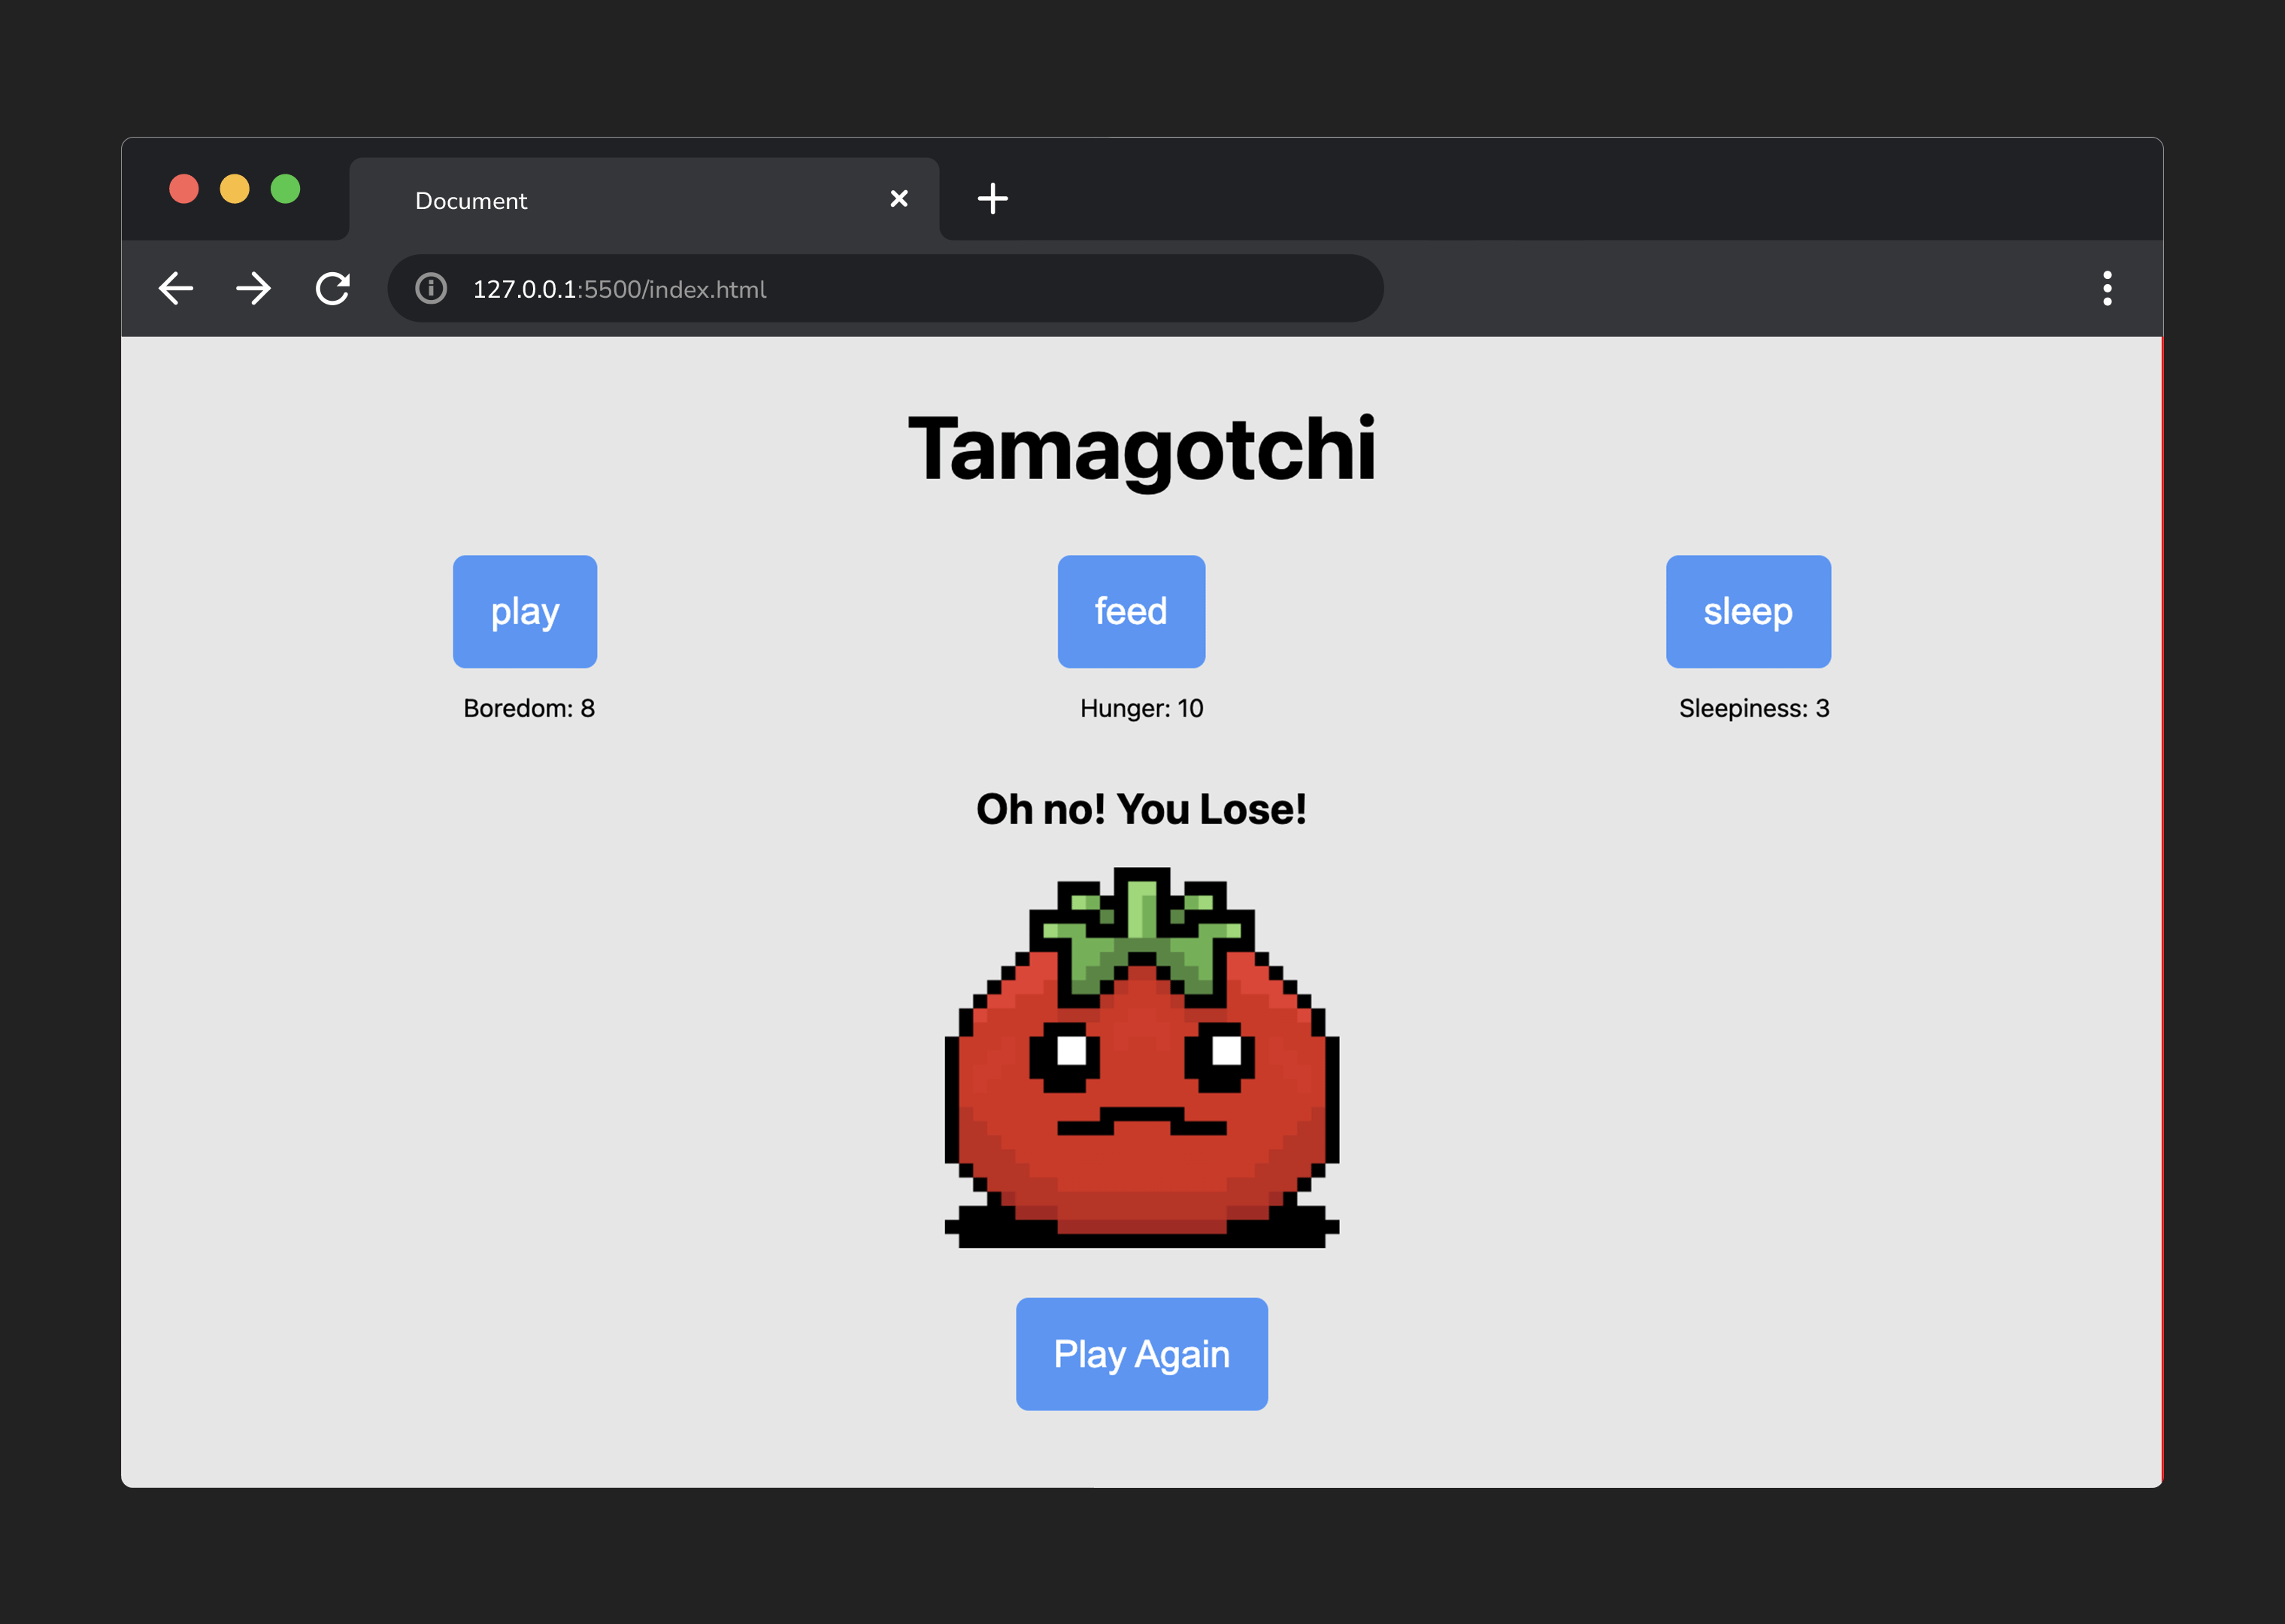
The state of the game should be rendered to the user
a. Create an empty function called render, then set it aside for now.
b. Create a function called updateStates.
c. In the updateStates() function, increment each property of state by a random number between 0 and 3.
💡 While not strictly necessary, a helper function that handles the logic of generating a random number might be helpful here!
Check out MDN’s
Math.random()documentation for more info on generating random numbers.
d. Remove the console.log in runGame(). Then, inside runGame(), invoke updateStates() and render().
e. Inside render(), assign each cached stat element’s textContent to their corresponding property in state.
💡 For example,
boredomStatEl’stextContentwould be set equal tostate.boredom.
Let’s pause a second to run through the current flow of our program. When the page loads, we call init(). init() starts a timer that calls runGame() every 2000 milliseconds.
runGame() calls updateStates(), which increments each of the stats in our state variable by a random number between 0-3. After this happens, runGame() calls render(). The render() function updates the user interface to reflect the newly updated state of each stat.
Then, around two seconds later, runGame() is called again. Our state updates. We render these changes to the UI. Two seconds later, runGame() is called again - the whole process repeats on and on.
For now, we don’t have any condition by which this timer will end, so we’ve made something of an endless loop! We’ll address that in the next step!
Step 5
Handle the game over logic
a. Create a function called checkGameOver.
b. Inside this new function, create an if statement that checks if any state property has a value of 10 or more.
c. If so, set gameOver to true.
d. Inside of runGame(), invoke checkGameOver() between updateStates() and render().
💡 The order in which we invoke these functions matters. Our
checkGameOver()function referencesstateto determine whether the game over condition has been met. If we do this beforeupdateState()has a chance to run, we’ll always be referencing the old state!
e. In render(), add an if statement that checks if gameOver is true. If it is, end the countdown using the Window’s clearInterval() method. You’ll need to pass the timer you created earlier as an argument to the method. See MDN’s clearInterval() documentation for more details about how this works.
A quick aside
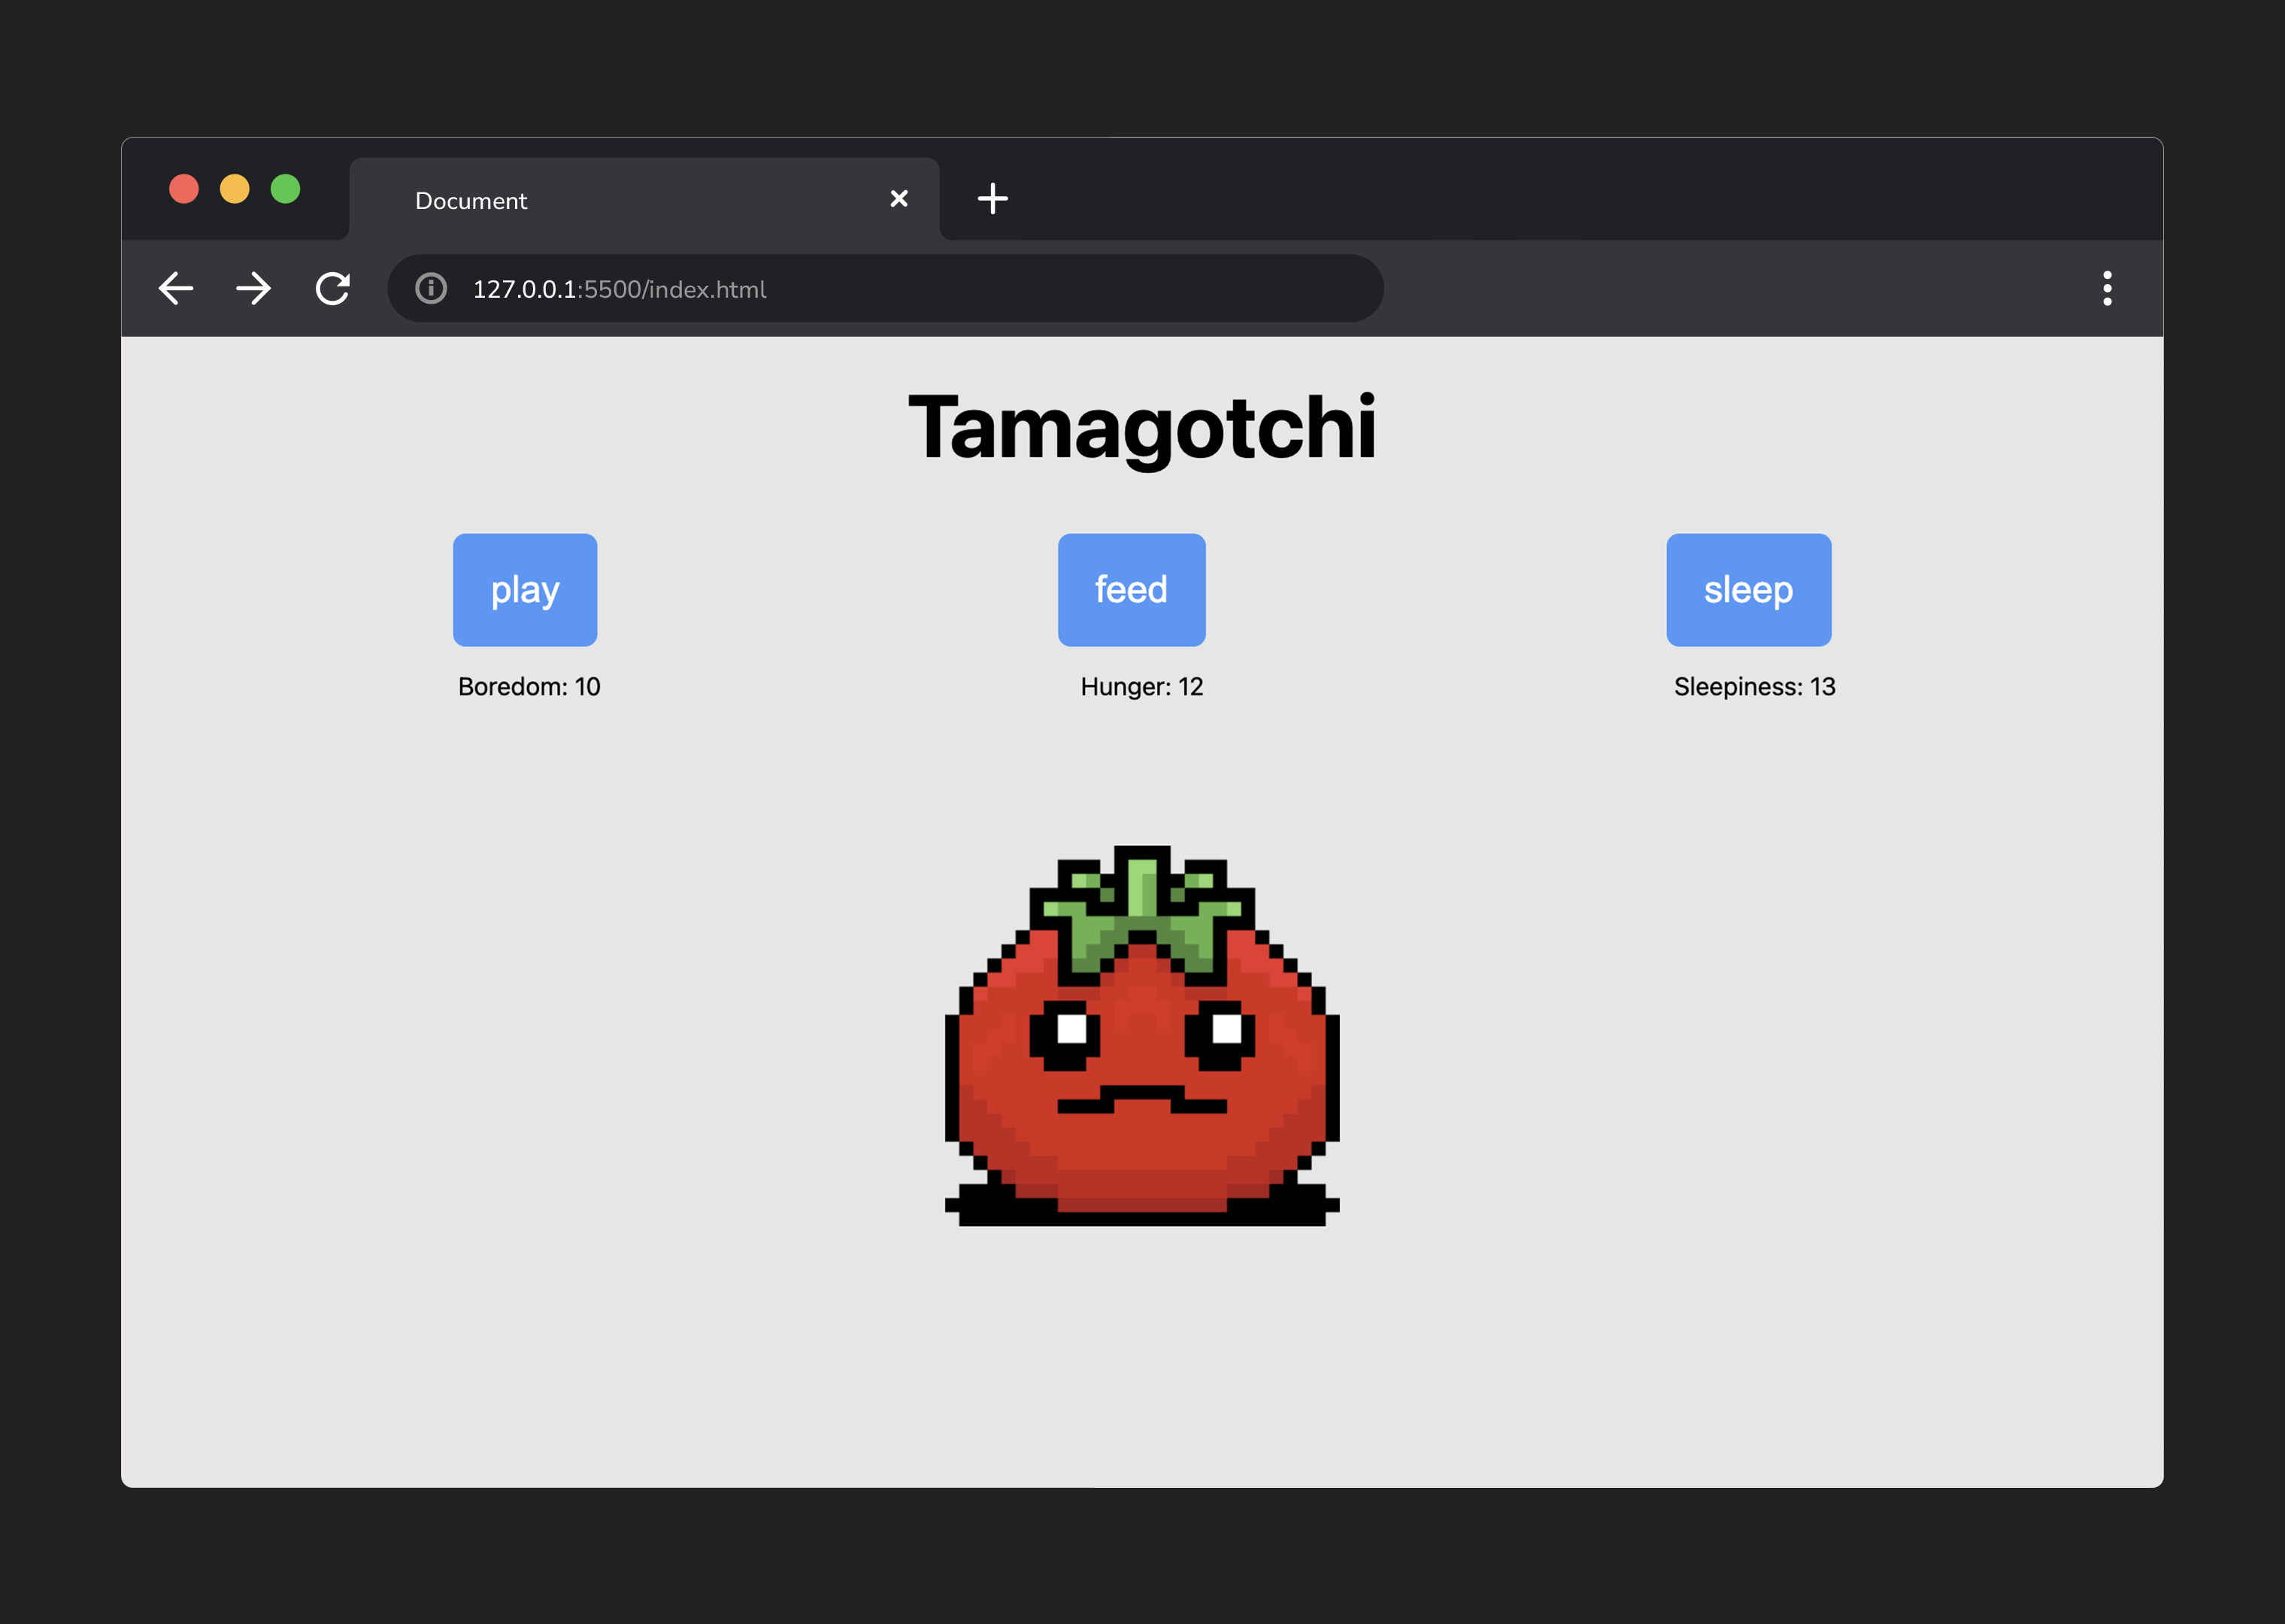
At this stage, the logic for ending the game is complete! However, aside from the numbers no longer incrementing, the user will have no way to know they have lost. So, next, we’ll need to render a message to the user.
In the CSS of the starter code, we created a rule for the hidden class, which sets the visibility of an element with this class to hidden.
.hidden {
  visibility: hidden
}
We also gave this class to two elements inside this HTML section:
<section class="game-state-wrapper">
  <h2 id="message" class="hidden">
    Oh no! You Lose!
  </h2>
  <img
    src="../assets/wolf-1.png"
    class="game-graphic"
    alt="a cute pixelated wolf"
  />
  <button id="restart" class="hidden">Play Again</button>
</section>
As a result, both the h2 and the button are hidden by default.
When the game ends, we want to remove these two instances of the ‘hidden’ class.
f. Inside the if statement in render(), remove the “hidden” class from the resetBtnEl and the gameMessageEl.
💡 Check out the docs on classList for help if you need it!
Give it a test! When the loss conditions are met, you should see both the h1 and the button element appear!