JWT Authentication in Express APIs Sign up Route
Learning objective: By the end of this lesson, students will be able to implement a sign-up route with Express and JWTs.
User model
This section will set up an Express application to use JSON Web Tokens (JWT) for authentication and authorization. For this, we will need a user model to store user information. We’ll use Mongoose to create a user model with the following fields:
| Field | Type | Description |
|---|---|---|
| username | String | User’s username |
| hashedPassword | String | User’s hashed password |
🎓 You Do: Create a user model
The goal of this exercise is to create a user model using Mongoose. Create a new file called user.js in a models directory and define the user schema and model.
The user schema should have the following fields:
username: A string that is required.hashedPassword: A string that is required.
Make sure to create and export the user model at the end of the file.
Sign up route
Next, let’s create a route to allow users to sign up for our application. This route will be responsible for creating a new user in the database. For this step, we will use bcrypt to hash the user’s password before saving it to the database.
While this route will help to create a new user, which we’d typically make a users.js controller file for, we’re instead going to keep all the routes related to authentication in their own controller file - auth.js.
Create a new file in the controllers folder called auth.js.
touch controllers/auth.js
Inside auth.js, we want to set up a new router and create a POST route for /sign-up. This route will be responsible for creating a new user in the database, but for now, let’s send back a message to the user to let them know that the route is working.
// /controllers/auth.js
const express = require('express');
const router = express.Router();

router.post('/sign-up', (req, res) => {
  res.json({ message: 'Sign up route' });
});

module.exports = router;
Require and use the route inside of server.js:
// server.js

// ... other imports
const testJwtRouter = require('./controllers/test-jwt');
const authRouter = require('./controllers/auth');

// ... other middleware

// Routes go here
app.use('/auth', authRouter);
app.use('/test-jwt', testJwtRouter);
Using Postman, make a POST request to http://localhost:3000/auth/sign-up and check if you get the expected response.
bcrypt
Storing plain text passwords in a database is a significant security risk. If the database is exposed, nothing prevents a bad actor from accessing every user’s password. The risk is even higher to users that use the same password for multiple online accounts (as many do).
Never store passwords in plain text in a database. Ever.
To mitigate this risk, we use an encryption package called bcrypt.
bcrypt is a package that will encrypt passwords for us, so we do not save them directly to the database as plain text. Knowing precisely how bcrypt works is not essential, but let’s review a high-level overview of what it’s doing to our passwords:
- Hashes the password: Applies a one-way hash function to our passwords, converting them into a fixed-length string of characters. This mathematical process produces a unique output for each input, making it practically impossible to reverse-engineer the original password from the hash.
- Salting: Salting is where a random string of characters is added to the password before hashing it. This random string of characters is often called the “salt” - adding the salt to a password ensures that if two users have the same password, they do not end up with the same hash.
- Adjustable work factor: You can adjust the “work factor” or the number of times a password is hashed. However, this will increase the time the hash function runs. As we increase the number of times we hash, we directly increase the time the function will need to run.
We will use the hashSync() method for our hashing, which synchronously generates a hash for the given string.
Let’s install Bcrypt and require it in our controllers/auth.js file along with the user model.
npm i bcrypt
// controllers/auth.js

const express = require('express');
const router = express.Router();
// Add bcrypt and the user model
const bcrypt = require('bcrypt');

const User = require('../models/user');

// More code below
Inside our sign-up route, remove the placeholder res.json, add async to the start of the callback function, and include a try...catch block:
// controllers/auth.js

// ... require statements above
router.post('/sign-up', async (req, res) => {
  try {
    // Set up for try
  } catch (err) {
    // Set up for catch
  }
});
We will create a new user using the create method on the user model. For the field hashedPassword, we want to call the Bcrypt method hashSync. This method intakes two arguments:
- The password to be hashed.
- The effort that should be spent generating a salt. This should be balanced between being secure and not taking too long to generate - see the bcrypt documentation for more details.
Once we create the new user, we will want to send the status of 201 created along with the user to the client.
Of course, it’s also vital that we don’t end up with two users with the same username, so we’ll also add a database call to check whether the username has already been taken before creating a new one. We’ll send a 409 status code if the username is already in use.
// controllers/auth.js

// ... require statements above

// Add in constant for the number of rounds
const saltRounds = 12;

router.post('/sign-up', async (req, res) => {
  try {
    // Check if the username is already taken
    const userInDatabase = await User.findOne({ username: req.body.username });

    if (userInDatabase) {
      return res.status(409).json({err:'Username already taken.'});
    }

    // Create a new user with hashed password
    const user = await User.create({
      username: req.body.username,
      hashedPassword: bcrypt.hashSync(req.body.password, saltRounds)
    });

    res.status(201).json({ user });
  } catch (err) {
    // Set up for catch
  }
});
The last thing we have to do for this route is handle any errors that might happen. Let’s set the status code to 500 and send the error message to the client.
// controllers/auth.js

router.post('/sign-up', async (req, res) => {
  try {
    const userInDatabase = await User.findOne({ username: req.body.username });

    if (userInDatabase) {
      return res.status(409).json({err:'Username already taken.'});
    }

    const user = await User.create({
      username: req.body.username,
      hashedPassword: bcrypt.hashSync(req.body.password, saltRounds)
    });

    res.status(201).json({ user });
  } catch (err) {
    // Send the error message to the client
    res.status(500).json({ err: err.message });
  }
});
Test this using Postman to make a POST request to http://localhost:3000/auth/sign-up. Make sure to select raw and the dropdown data type from “Text” to “JSON”.
The body of your request should be formatted as such:
{
  "username": "<insert test username>",
  "password": "<insert test password>"
}
We should receive a response that includes the hashedPassword. While this is not our plain text password, we still shouldn’t send it inside a JSON object. It should live safely inside our database. Let’s fix that next.
You can test the error handling too - try to sign up with the same username twice, and you should receive a response with a 409 status code and the message “Username already taken.”
Remove the hashed password from the response
We will need to add a function to our Schema to remove the hashed password from our JSON response.
In Mongoose, there is a method called set() where we set options for our Schemas. There is an option in our Schemas called toJSON, which is called when we take an instance of a document and send it through a function or method, like res.json(), that transforms the document to JSON. This is perfect because we want to remove the field hashedPassword when we send it to the client using res.json().
Inside models/user.js, where we created our userSchema, let’s call the set() method on our userSchema.
// models/user.js
// ... userSchema above

userSchema.set();
The set method is going to intake two arguments:
- Key: String - The option’s name to set.
- Value: Object - The option’s value we want to set.
We already know we want to change the toJSON option, so that will be the key we want to change. For the value, we want to delete the field hashedPassword from the document. To do this, we will use transform. transform expects a callback function and will pass that callback function two arguments.
- The original document from the database.
- What is returned when the function is run.
Inside the set method, let’s add the two arguments.
// models/user.js
// ... userSchema above
userSchema.set('toJSON', {
  transform: (document, returnedObject) => {
    delete returnedObject.hashedPassword;
  }
});
Test again with Postman, and you can see that the hashed password has been removed.
Return a token instead of the user
Now that we have a user created and have confirmed the hashed password is removed from any JSON response from the server containing user data, we want to return a JWT to the client instead of the user object. The JWT will be used to authenticate the user in future requests. Start by importing jsonwebtoken into this file, as we did with the test-jwt controller.
const express = require('express');
const router = express.Router();
const bcrypt = require('bcrypt');
// Add jsonwebtoken import
const jwt = require('jsonwebtoken');
We’ll use the same jwt.sign() method we used in the test-jwt controller to create a token. This method takes two arguments:
- The payload: An object that contains the data we want to encode in the token. We’ll craft the payload with the exact data we want - just the
usernameand the_idof a user. - The secret: A string that is used to sign the token. This is the secret we stored in an environment variable earlier.
🧠 The payload can contain any data you want, but it’s best to keep it small since the data in the payload is attached to every authenticated request the client makes. You don’t want to store data that will change frequently in the token, as it could become stale.
Here’s our final sign-up route:
// controllers/auth.js

router.post('/sign-up', async (req, res) => {
  try {
    const userInDatabase = await User.findOne({ username: req.body.username });

    if (userInDatabase) {
      return res.status(409).json({err: 'Username already taken.'});
    }

    const user = await User.create({
      username: req.body.username,
      hashedPassword: bcrypt.hashSync(req.body.password, saltRounds)
    });

    // Construct the payload
    const payload = { username: user.username, _id: user._id };

    // Create the token, attaching the payload
    const token = jwt.sign({ payload }, process.env.JWT_SECRET);

    // Send the token instead of the user
    res.status(201).json({ token });
  } catch (err) {
    res.status(400).json({ err: err.message });
  }
});
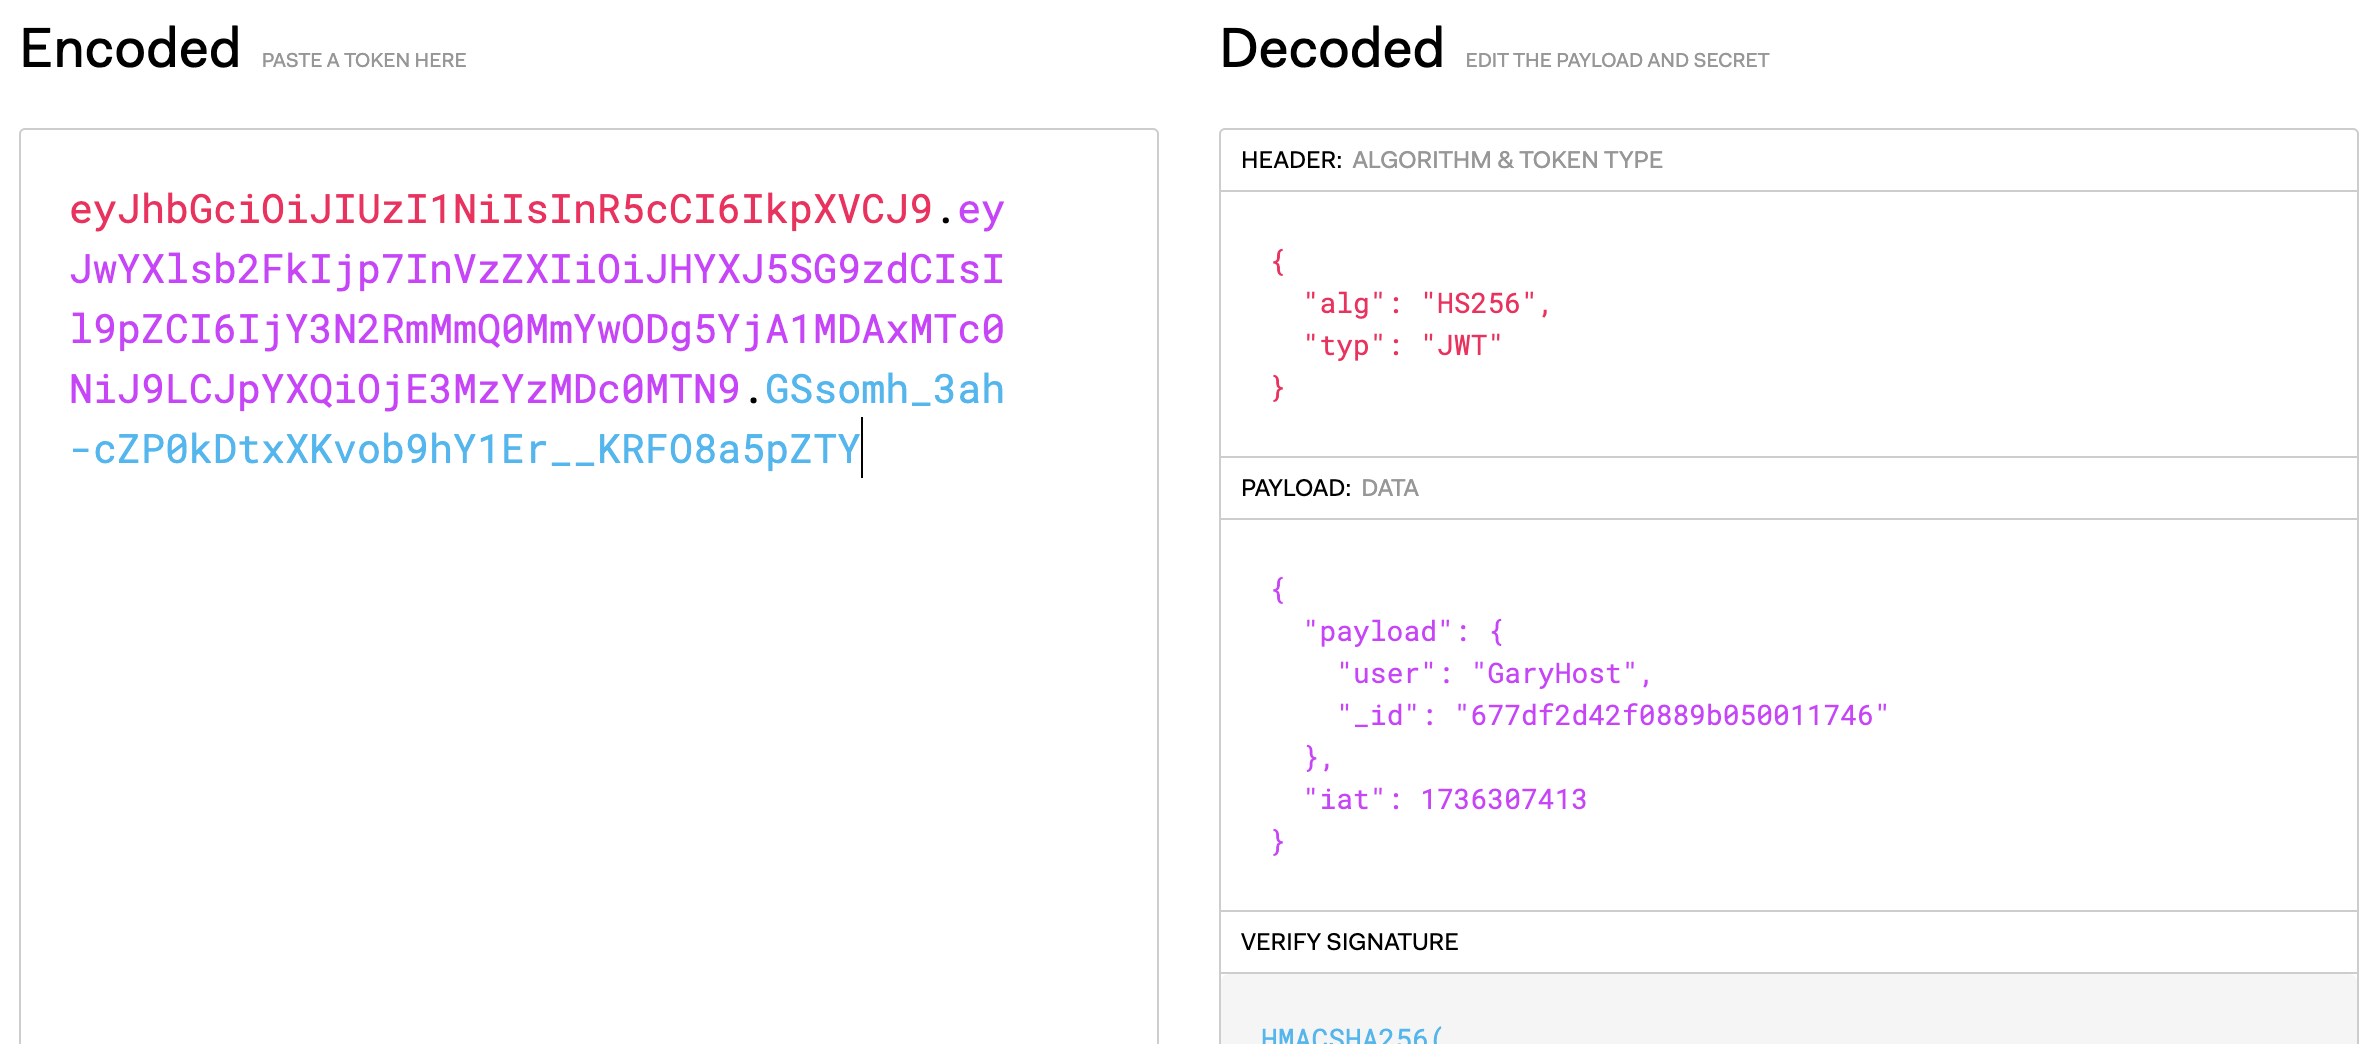
Test this in Postman by making a POST request to http://localhost:3000/auth/sign-up. You should receive a token in the response that looks like this:
{
    "token": "eyJhbGciOiJIUzI1NiIsInR5cCI6IkpXVCJ9.eyJwYXlsb2FkIjp7InVzZXIiOiJnYXJ5aG9zdCIsIl9pZCI6IjY3N2RmMTg1MGU1ZjM2MWFhNGU2NmViYSJ9LCJpYXQiOjE3MzYzMDcwNzd9.C5ofiUptXCPKPHI5afLHBWCrUk6BLjGMdcBM1nEjRP4"
}
You can confirm the token includes the specified payload by pasting the token’s value (excluding the quotes) into jwt.io and observing the decoded payload.