Lifting State with Arrays in React Shopping Cart
Adding State to the Shop Component
Learning objective: By the end of this lesson, students will be able to import data and use it as the initial value of a state variable.
A refresher on state
We are about to introduce state to our application, so let’s take some time to review the concept.
State in general
State is data or information an application or component needs to implement its functionality. State can only be passed down the component hierarchy, not up.
Examples of state include:
- An object representing the logged-in user.
- An array of todo objects.
- A boolean representing whether a component’s detail panel should be visible.
- A number representing the selected or current index of an item in an array.
The difference between state and props summarized
Let’s summarize the key differences between state and props:
State
- State holds information owned by that component.
- State can be modified with hooks.
- When changed, it causes a component and all of its children and their children to re-render.
Props
- Props hold the information passed down the component hierarchy.
- Props cannot be modified.
- Since props cannot be changed, methods can be passed through props that will update state on the component that owns the state.
State in our app
In our app, we will need state for remembering the following:
- items available in the shop (the shop’s inventory).
- items in a user’s inventory (their cart).
Where are we going to store our state?
If evaluating an application’s state and data structures seems complicated, that’s okay - it takes a bit of experience. Soon enough, you’ll be able to recognize scenarios that you’ve seen before and apply those previous data structures and patterns.
Initializing state
Let’s begin by importing useState in Shop.jsx.
// src/components/Shop/Shop.jsx

// npm modules
import { useState } from 'react';
Next, we’ll want to make a few updates to Shop.jsx.
Create a new useState() variable called inventory and set the initial state to inventoryData. Then, we’ll pass the inventory state down as props to the InventoryList.
The component should look like this when we are done:
// src/components/Shop/Shop.jsx

// npm modules
import { useState } from 'react';

// components
import InventoryList from '../../components/InventoryList/InventoryList';

// data
import { inventoryData } from '../../data/data';

const Shop = () => {
  // Create state variable and pass new inventory state
  // to the InventoryList component below
  const [inventory, setInventory] = useState(inventoryData);

  return (
    <main>
      <h1>Shop</h1>
      <InventoryList inventory={inventory} />
    </main>
  );
};

export default Shop;
Check your browser. You’ll see the same list of inventory items as before, but the source of this data is now a useState() variable called inventory, as opposed to the hardcoded inventoryData we were rendering earlier!
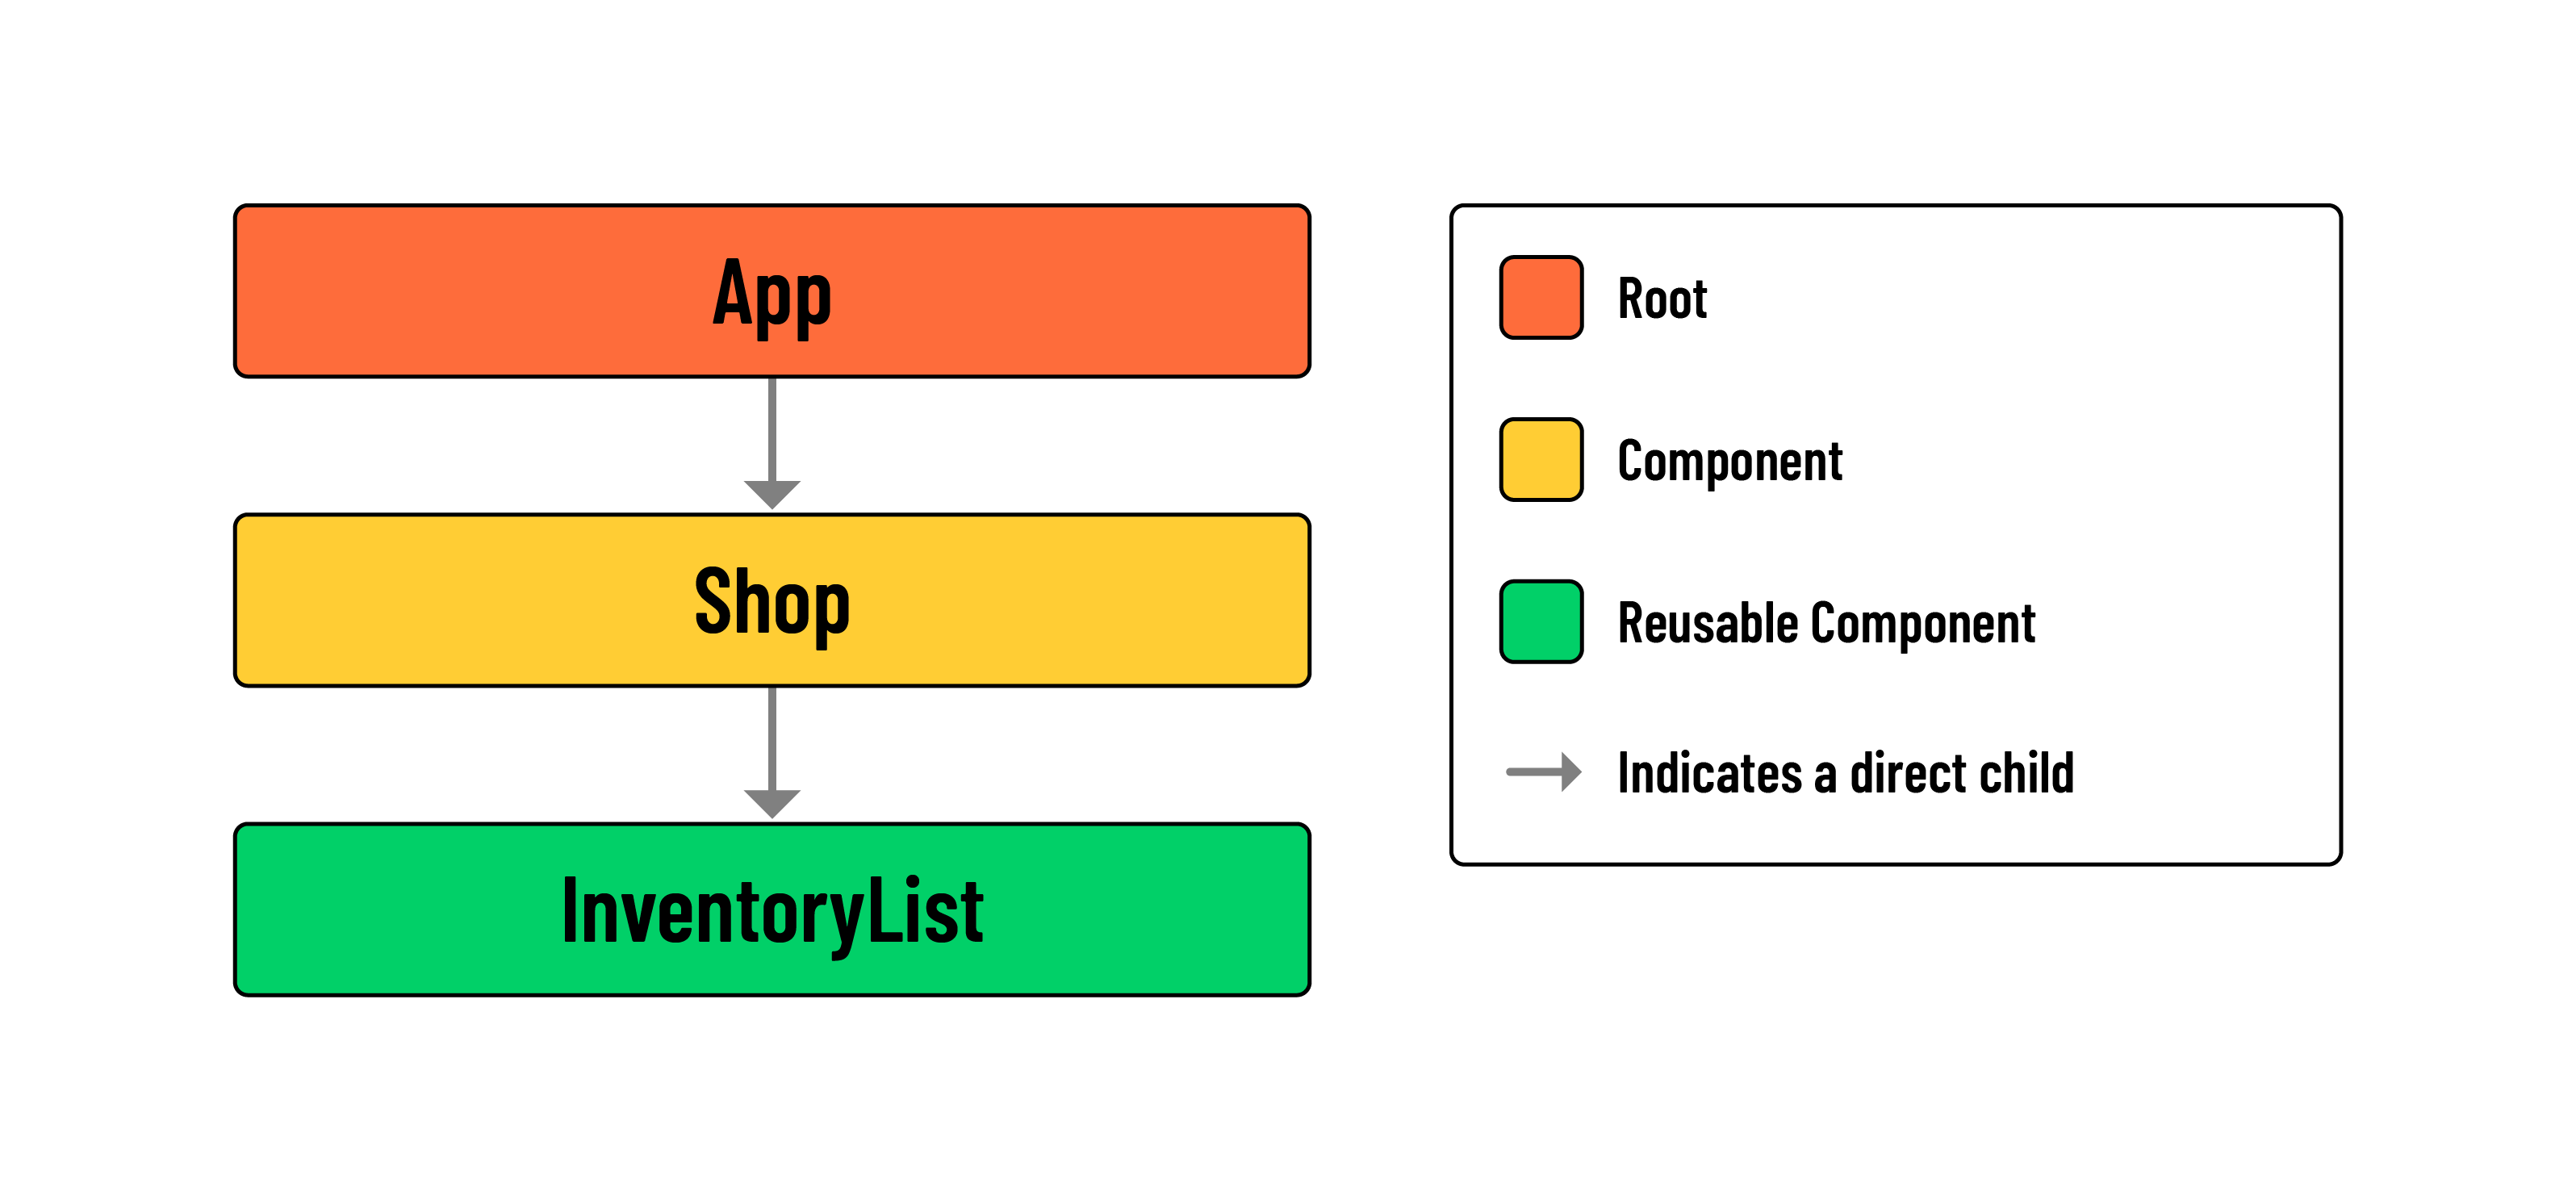
Here is the component hierarchy diagram for our work so far: