Fruits Build the Fruits Index Page
Learning objective: By the end of this lesson, students will be able to build an express route that will find and render all of the fruits in the database.
The index route
Now that we have created a way for users to add fruits to our database, the next step is to display these fruits. In this section, we will develop the Index Route. This route will retrieve and display all the fruits currently stored in our database.
In keeping with RESTful routing conventions, the url for this route will be: /fruits.
Define the route
Let’s start by defining and testing the route. Add the following code to server.js, beneath the landing page route / and above the /fruits/new route:
// GET /fruits
app.get("/fruits", (req, res) => {
  res.send("Welcome to the index page!");
});
Test it by visiting localhost:3000/fruits. You should see your message in the browser: “Welcome to the index page!”
Retrieve all fruit data
Now that we know our route is set up, our next step is to retrieve data from the database. In this case, we are looking for all of the fruits. To accomplish this, we’ll use Mongoose’s .find() method. When called without any arguments, .find() retrieves all documents within a collection, returning them as an array.
Let’s use .find() inside our route:
app.get("/fruits", async (req, res) => {
  const allFruits = await Fruit.find();
  res.send("Welcome to the index page!");
});
In the above snippet, we’ve modified our route to be an asynchronous function. This allows us to use the await keyword to wait for .find() to complete its operation and assign the result to the allFruits variable.
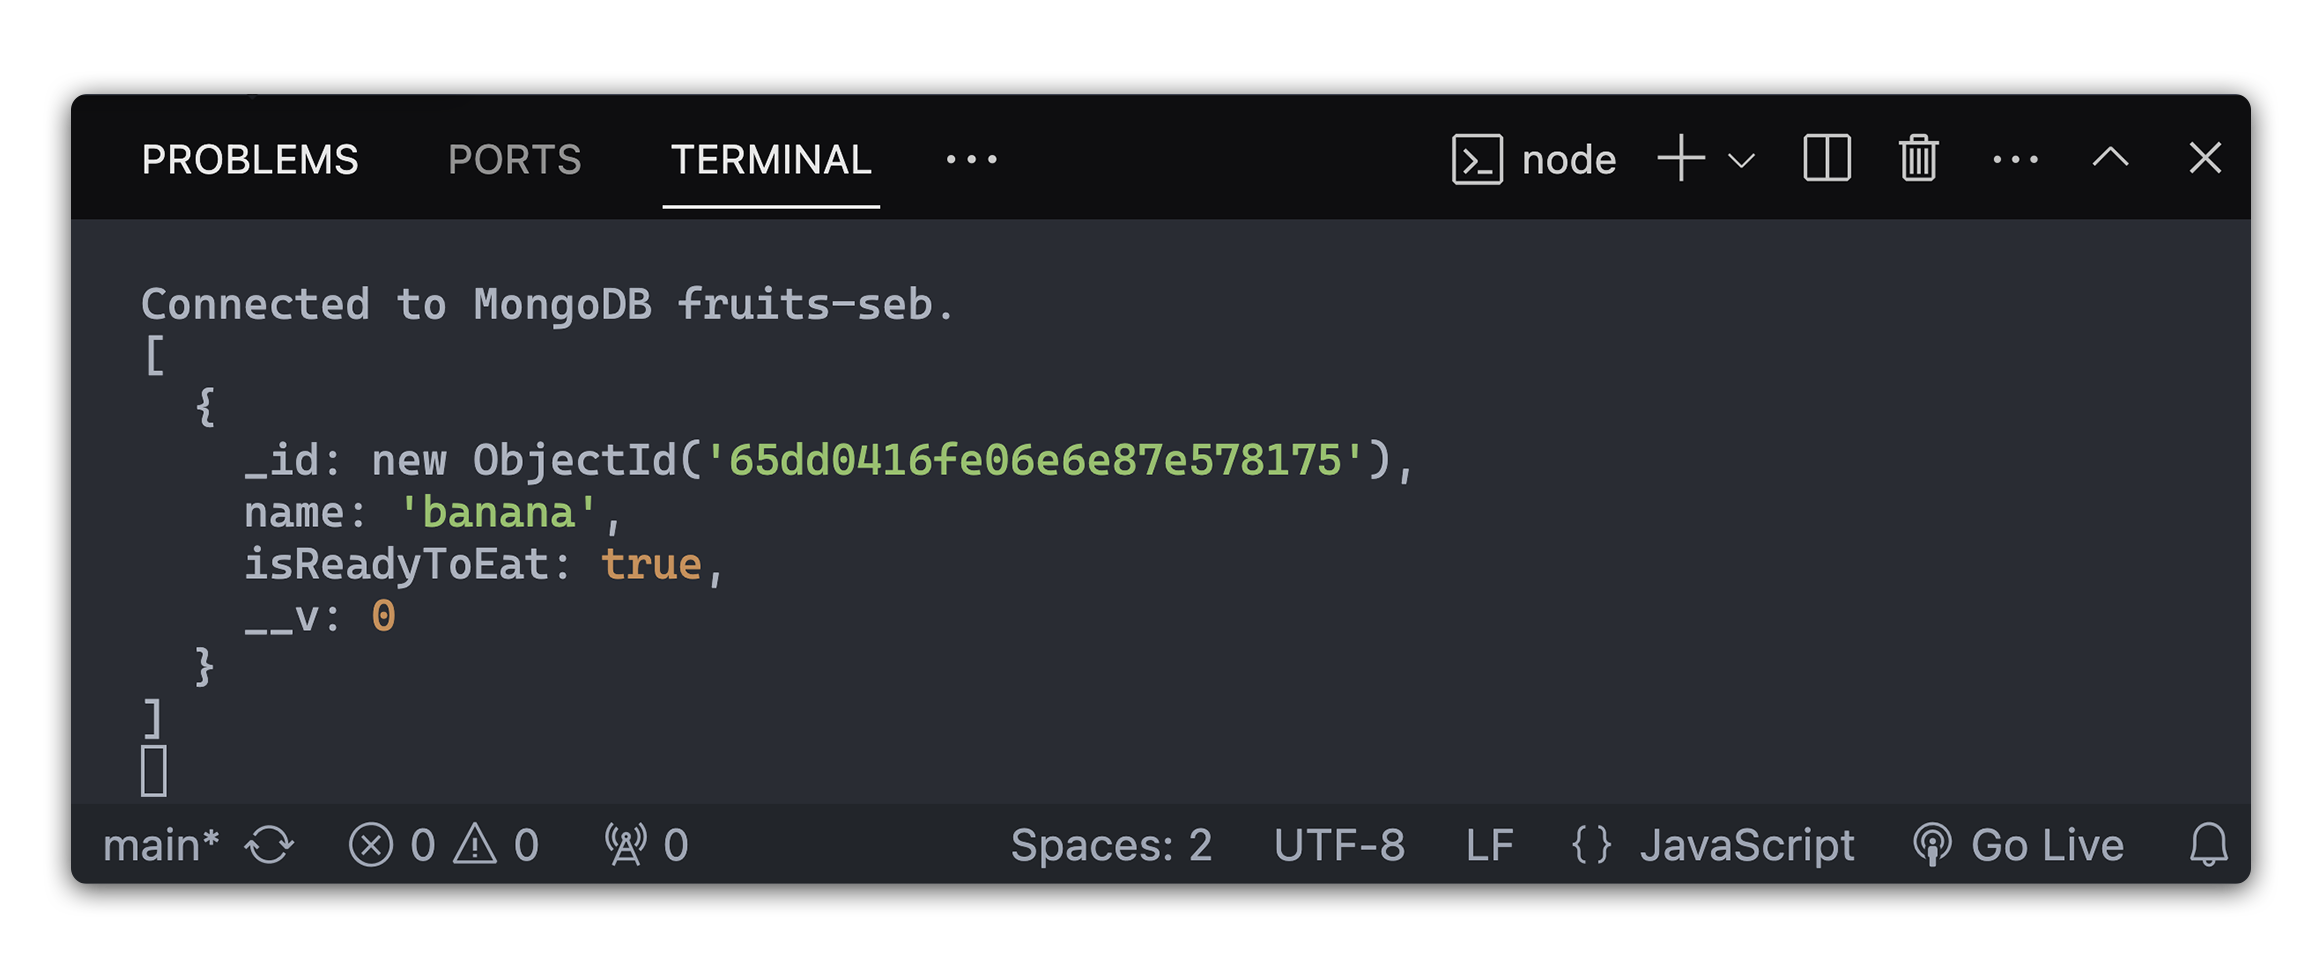
To be sure we have the data we are looking for, let’s log allFruits to the console:
app.get("/fruits", async (req, res) => {
  const allFruits = await Fruit.find();
  console.log(allFruits); // log the fruits!
  res.send("Welcome to the index page!");
});
Now when we navigate to localhost:3000/fruits we should see an array of our fruit data logged to our terminal.
Update the route
Now that we’ve successfully retrieved the fruit data from our database, our next objective is to display this data to the user. Up until now, our route’s callback function has been using .send() to deliver a simple message to the user. However, we need to move beyond this to provide a more dynamic and data-driven experience.
In our context, dynamic HTML refers to HTML content generated based on data. It’s not static but changes according to the data we pass to it. We will use EJS templates to create such dynamic HTML pages. These templates will be populated with data from our database each time we render them.
Instead of .send(), we will use .render() to respond with a dynamically generated HTML view. The .render() method takes two arguments:
-
The first argument is a
stringspecifying the path to the EJS template we wish to render. In our case, it’s ‘fruits/index.ejs’. -
The second argument is an
objectcontaining the data we want to pass to the template. This data is provided as key/value pairs, where the key is the name we’ll use to reference the data in our EJS template.
We’ll pass the allFruits data to our template under the key fruits. This way, our EJS template can use fruits to access and display the data:
app.get("/fruits", async (req, res) => {
  const allFruits = await Fruit.find();
  res.render("fruits/index.ejs", { fruits: allFruits });
});
Now if we navigate to localhost:3000/fruits we’ll see… an error!
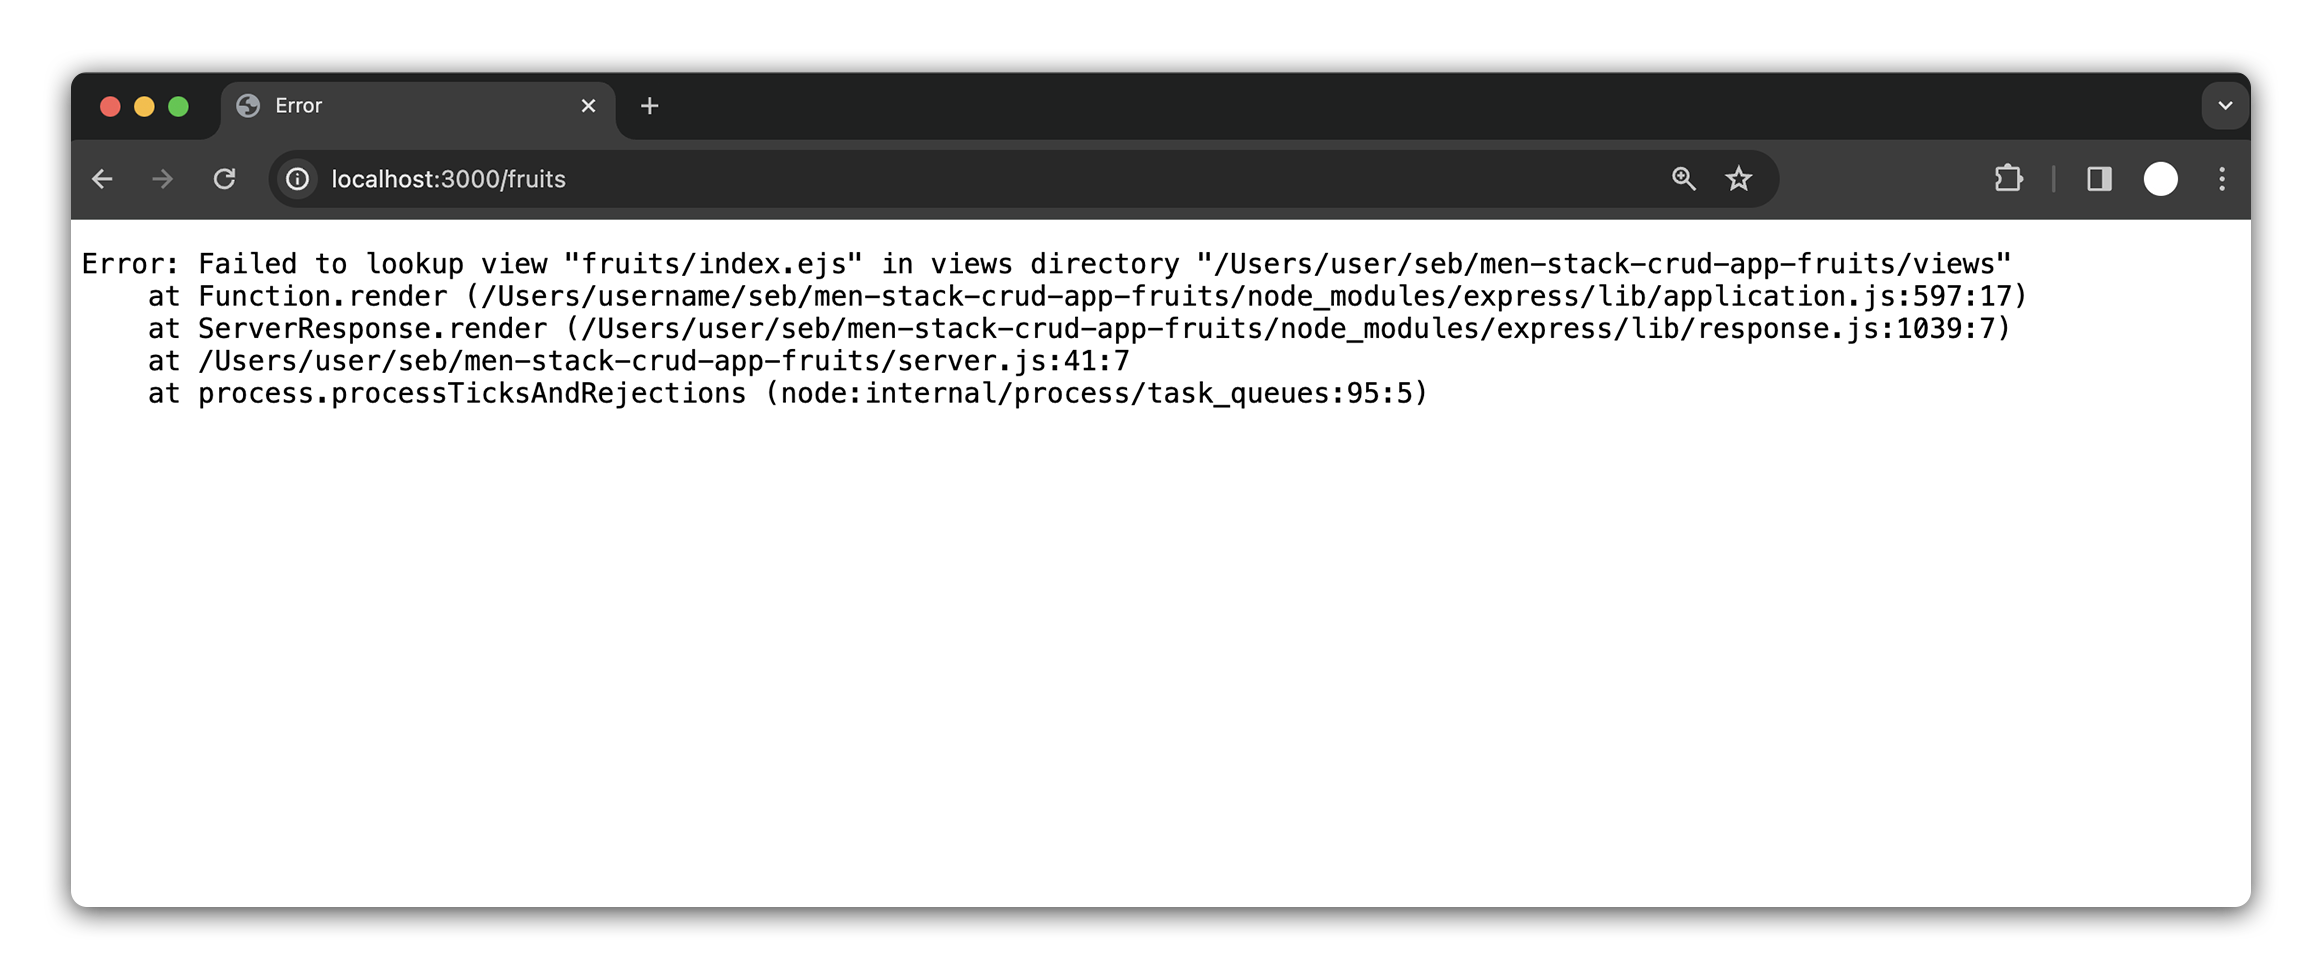
However, this error is actually quite helpful. It points us toward our next step. The message indicates a specific issue: we’re attempting to render a view called index.ejs located in the views/fruits directory, but this file does not currently exist. Let’s fix that!
Create the index template
Now that the route is set up, let’s create the template. Create an index.ejs file inside the views/fruits directory:
touch views/fruits/index.ejs
Inside this template file, add the following HTML boilerplate:
<!-- views/fruits/index.ejs -->

<!DOCTYPE html>
<html lang="en">
  <head>
    <meta charset="UTF-8" />
    <meta name="viewport" content="width=device-width, initial-scale=1.0" />
    <title>Fruits Index</title>
  </head>
  <body>
    <h1>All Fruits</h1>
  </body>
</html>
Now if we refresh the browser at localhost:3000/fruits that should resolve our error and render the <h1>.
In our previous step, we used res.render() to pass the fruits data from our database to the EJS file. By passing { fruits: allFruits }, we made the allFruits array accessible in our EJS file as a variable named fruits.
We can list our fruits in a simple, bulleted list format using an unordered list <ul>. This is done by looping over the fruits array and dynamically generating an <li> for each fruit’s name:
<!-- views/fruits/index.ejs -->

<body>
  <h1>All Fruits</h1>
  <ul>
    <% fruits.forEach(fruit => { %>
      <li><%= fruit.name %></li>
    <% }); %>
  </ul>
</body>
Another refresh at localhost:3000/fruits and we should see our list!
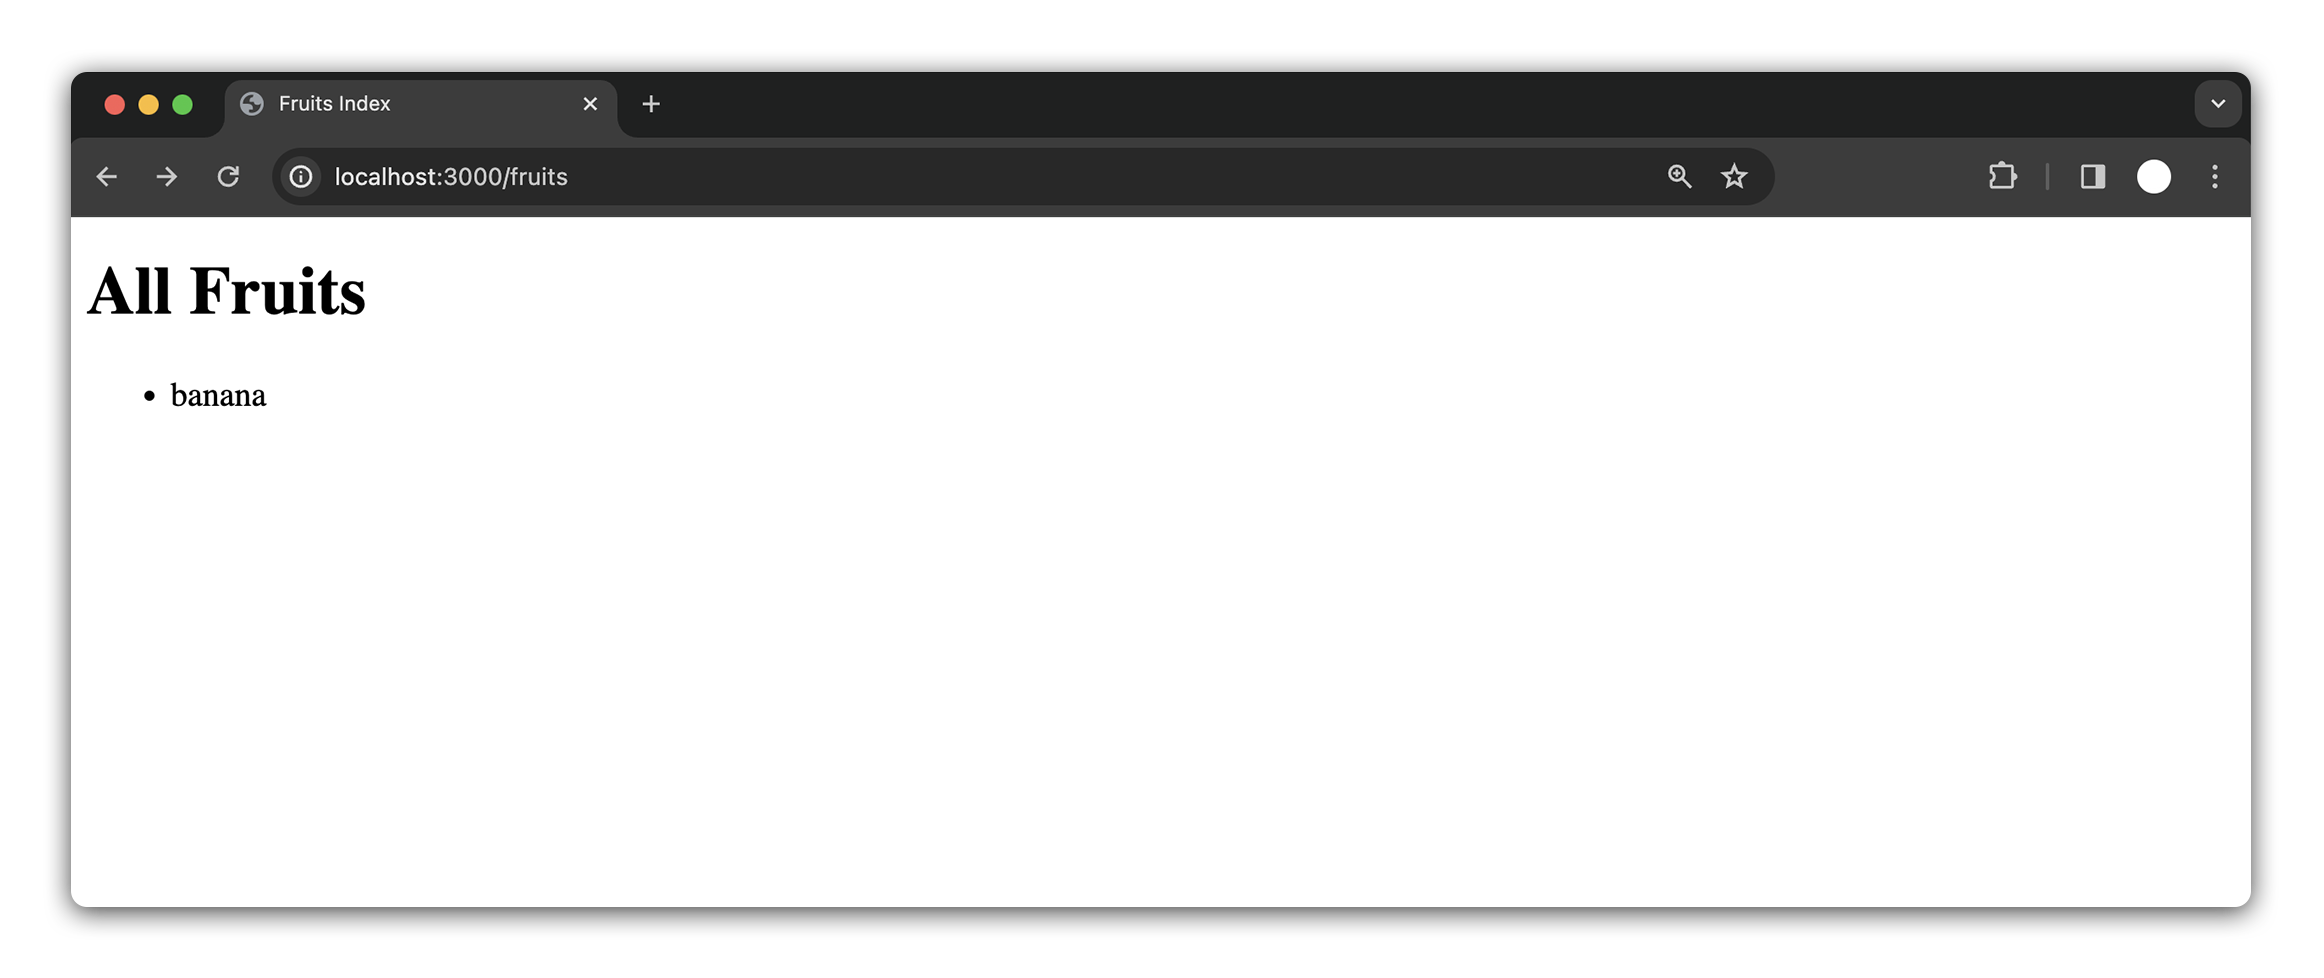
Congrats! You have just completed your second piece of CRUD functionality, Read!
Update ‘create’ route redirect
Now that we have an index page displaying all our fruits, it’s a good idea to update our create route. Instead of redirecting users back to the form after adding a new fruit, we can redirect them to the index page. This is a better user experience because they can immediately see the result of adding a new fruit to the database.
// server.js

// POST /fruits
app.post("/fruits", async (req, res) => {
  if (req.body.isReadyToEat === "on") {
    req.body.isReadyToEat = true;
  } else {
    req.body.isReadyToEat = false;
  }
  await Fruit.create(req.body);
  res.redirect("/fruits"); // redirect to index fruits
});
Adding links
Now that our index page is up and running, it’s time to make some of our pages more accessible.
First, we’ll add a link on the homepage of our application that users can click to visit the index page. This link will be labeled “Browse Fruits” and will direct users to the index page where they can view all the fruits listed.
Add the following HTML snippet to the application homepage:
<!-- views/index.ejs -->
<a href="/fruits">Browse Fruits</a>
Next, let’s add a link on the index page of our application. This link will be labeled “Add Fruit” and will direct users to the new page where they can input details for a new fruit.
Add the following HTML snippet to the fruit index page:
<!-- views/fruits/index.ejs -->
<a href="/fruits/new">Add New Fruit</a>
Once on the new page, we should probably give users an easy way back to index.
Add the following to the fruit new page:
<!-- views/fruits/new.ejs -->
<a href="/fruits/">Back to Fruits</a>