Fruits Build the Fruits Show Page
Learning objective: By the end of this lesson, students will be able to create and implement a show route in Express that displays detailed information about a specific item from a database.
The show route
The show route is designed to display detailed information about a specific item, such as a specific fruit in our application. In keeping with RESTful routing conventions, the url for this route will be: /fruits/:id.
Because :id is just a placeholder, we can be more specific in the case of this app and go with /fruits/:fruitId.
The :fruitId in the URL is a variable segment, known as a URL parameter. It allows our route to dynamically handle requests for different fruits by their unique IDs. So, whenever a user wants to view details about a particular fruit, they will navigate to a URL like /fruits/12345, where 12345 is the fruit’s ID.
Link to the route
To create a way for users to view more details about an individual fruit, we’ll transform the fruit names listed on the app’s index page into clickable links. This will allow users to navigate to the show page for each fruit. Currently, our index.ejs template displays a list of fruits, but they aren’t interactive.
Here is our current index page code:
<!-- views/fruits/index.ejs -->

<body>
  <h1>All Fruits</h1>
<ul>
  <% fruits.forEach(fruit => { %>
    <li><%= fruit.name %></li>
  <% }); %>
</ul>
</body>
To make each fruit name a clickable link, we’ll wrap the <%= fruit.name %> with an <a> tag. The href attribute of each link will point to the show route of the corresponding fruit. We’ll use the fruit’s ID to build this URL.
Lets update the code and wrap each fruit item in a link:
<!-- views/fruits/index.ejs -->

<body>
  <h1>All Fruits</h1>
  <ul>
    <% fruits.forEach(fruit => { %>
      <li><a href="#"><%= fruit.name %></a></li>
    <% }); %>
  </ul>
</body>
Adding a dynamic href
As we iterate through the fruit objects, we already access their names using fruit.name. We can do the same for its id. Looking back at when we logged our data to the console, we saw:
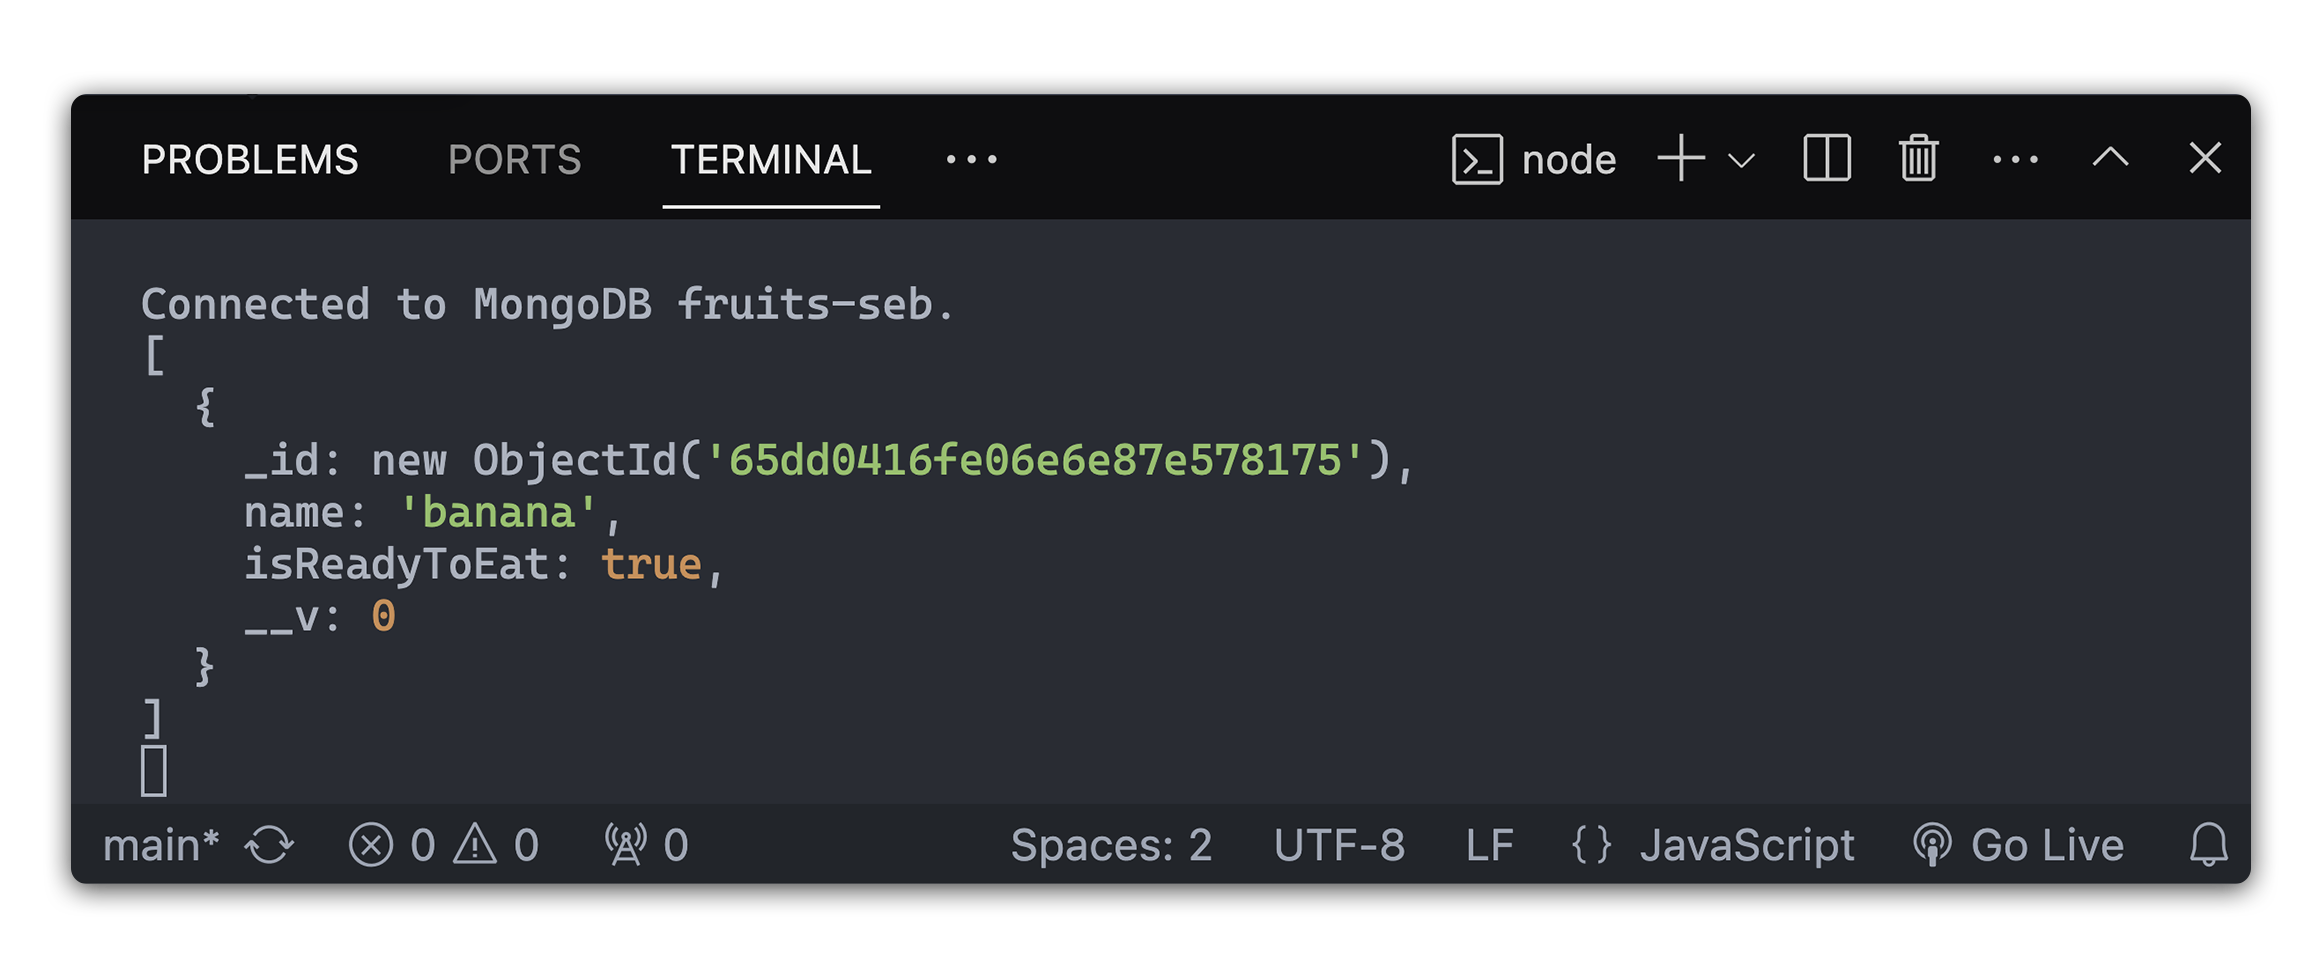
Utilizing _id will give us the id that we need. Now we can make the adjustment to the <a> tag and add a dynamic href.
<!-- views/fruits/index.ejs -->

<body>
  <h1>All Fruits</h1>
  <ul>
    <% fruits.forEach(fruit => { %>
      <li>
        <a href="/fruits/<%= fruit._id %>"> <%= fruit.name %> </a>
      </li>
    <% }); %>
  </ul>
</body>
In this updated code, each fruit name is now a link. When clicked, it will take the user to the show page for that specific fruit, using its unique ID in the URL.
The items should now render as links in the browser:
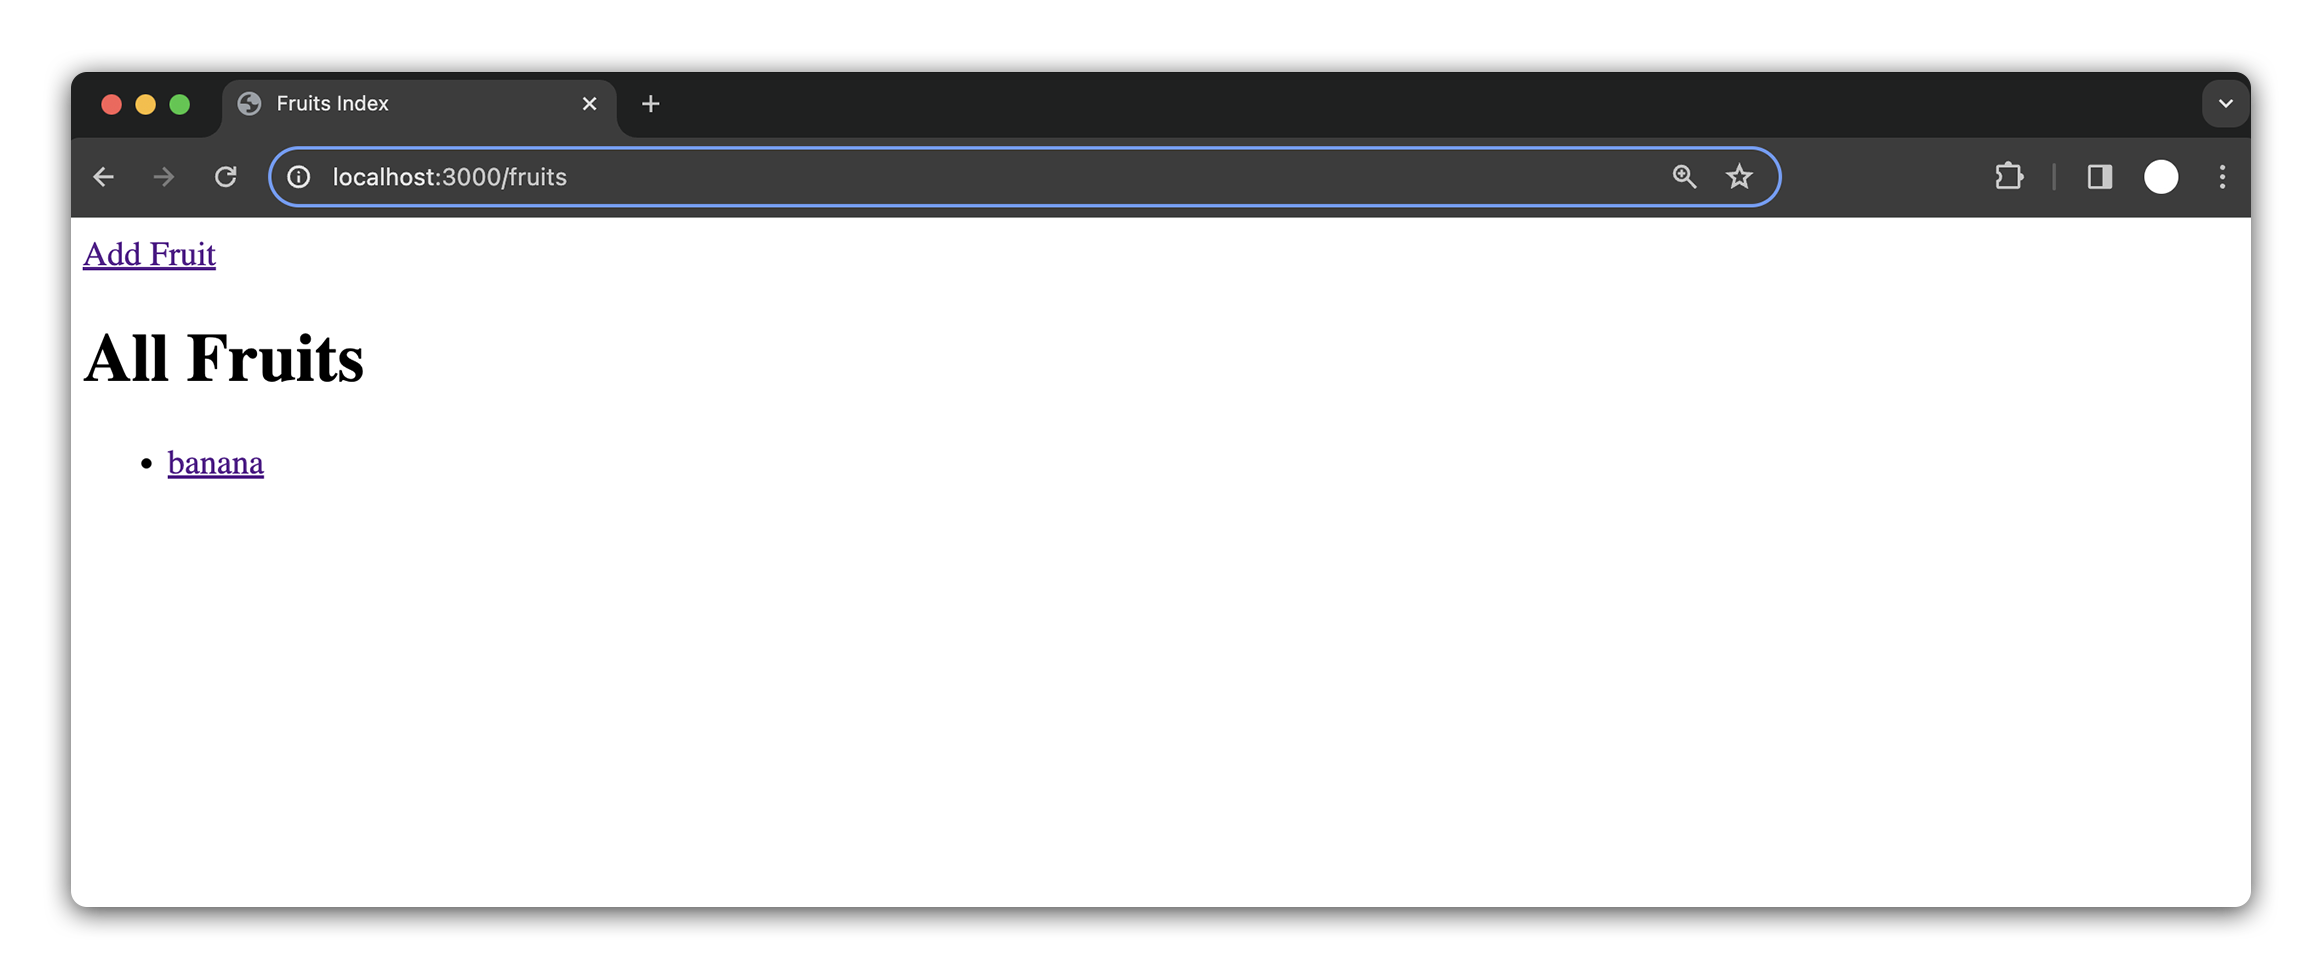
Let’s test a link. Uh-oh! Error!
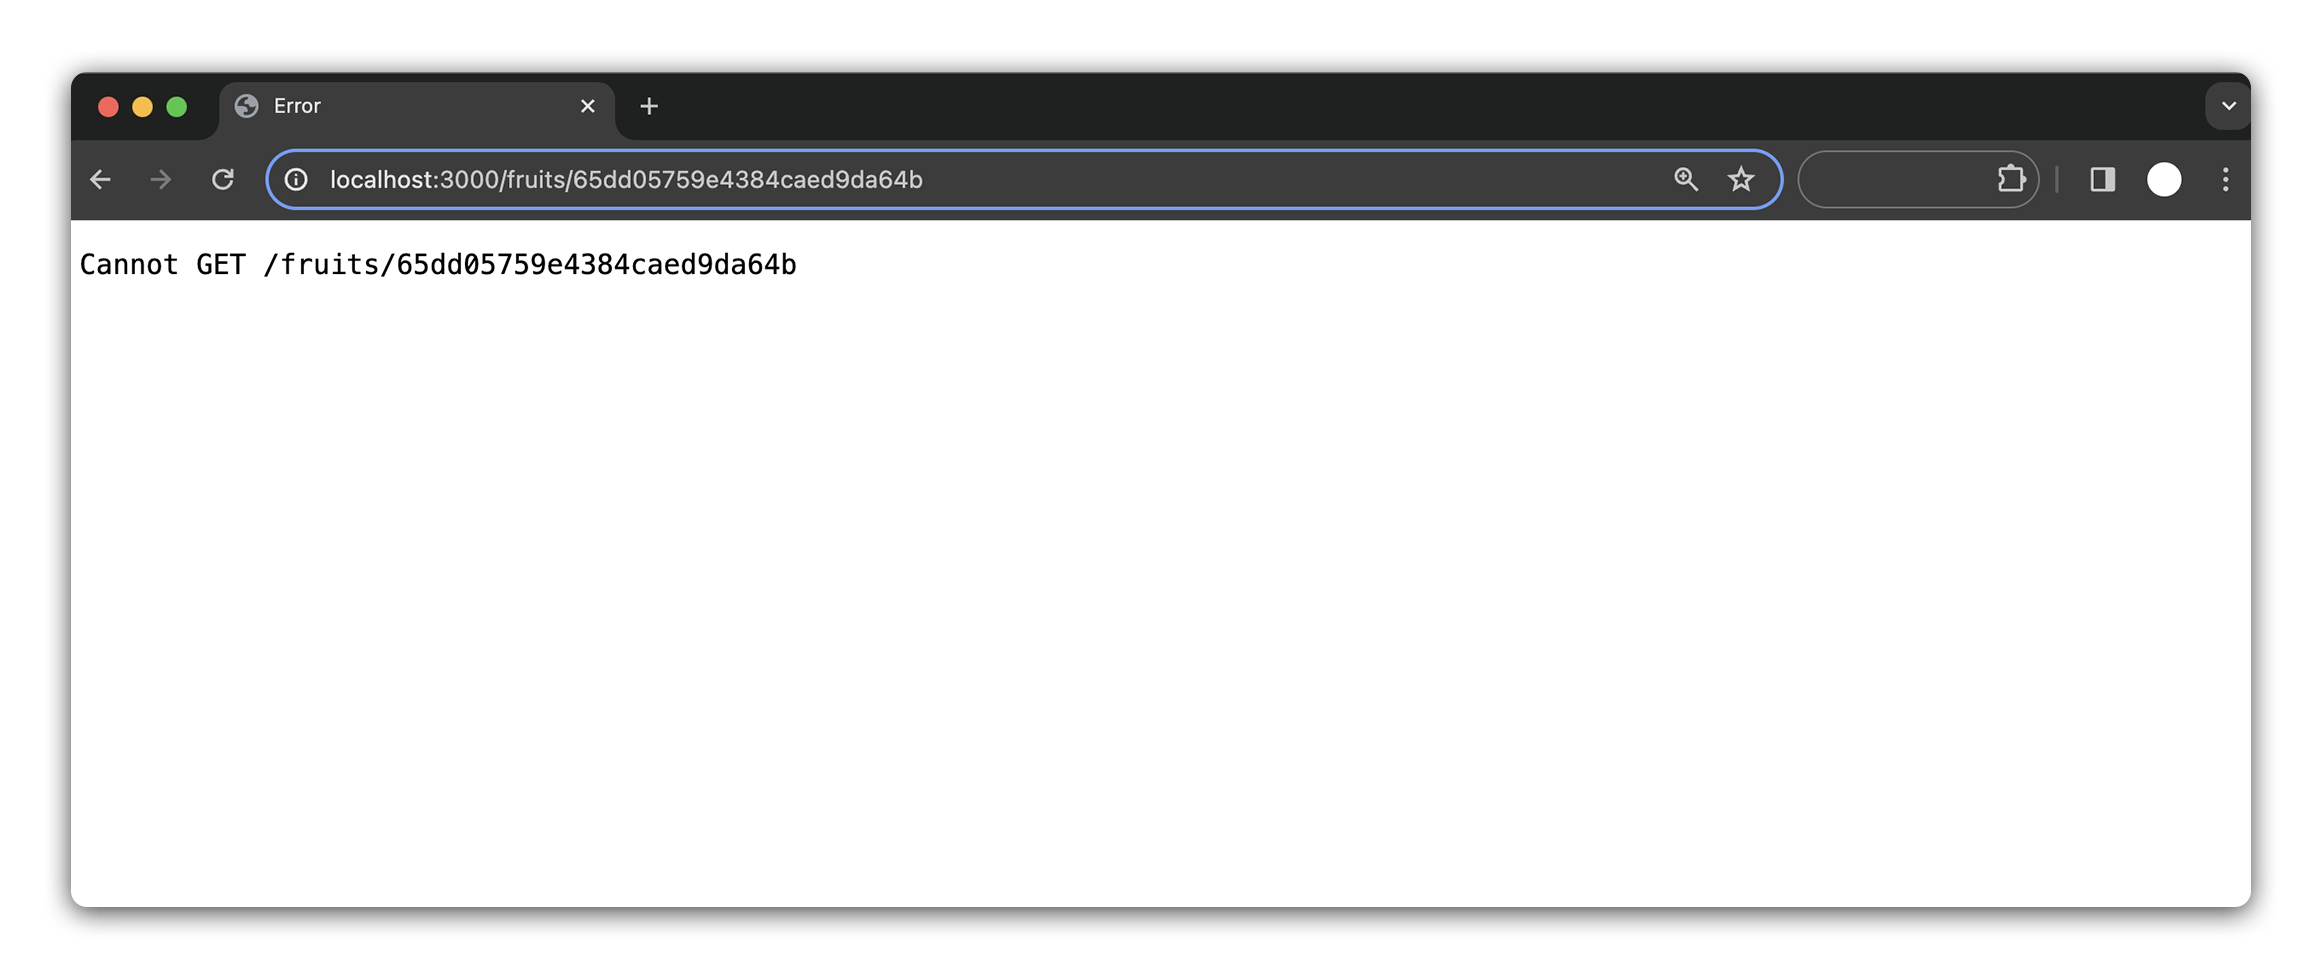
Looks like this route does not exist. Which makes sense, we haven’t built it yet. Let’s get started.
Define the route
Let’s define and test our show route.
Add the following rote to server.js, below the fruits/new route:
app.get("/fruits/:fruitId", (req, res) => {
  res.send(
    `This route renders the show page for fruit id: ${req.params.fruitId}!`
  );
});
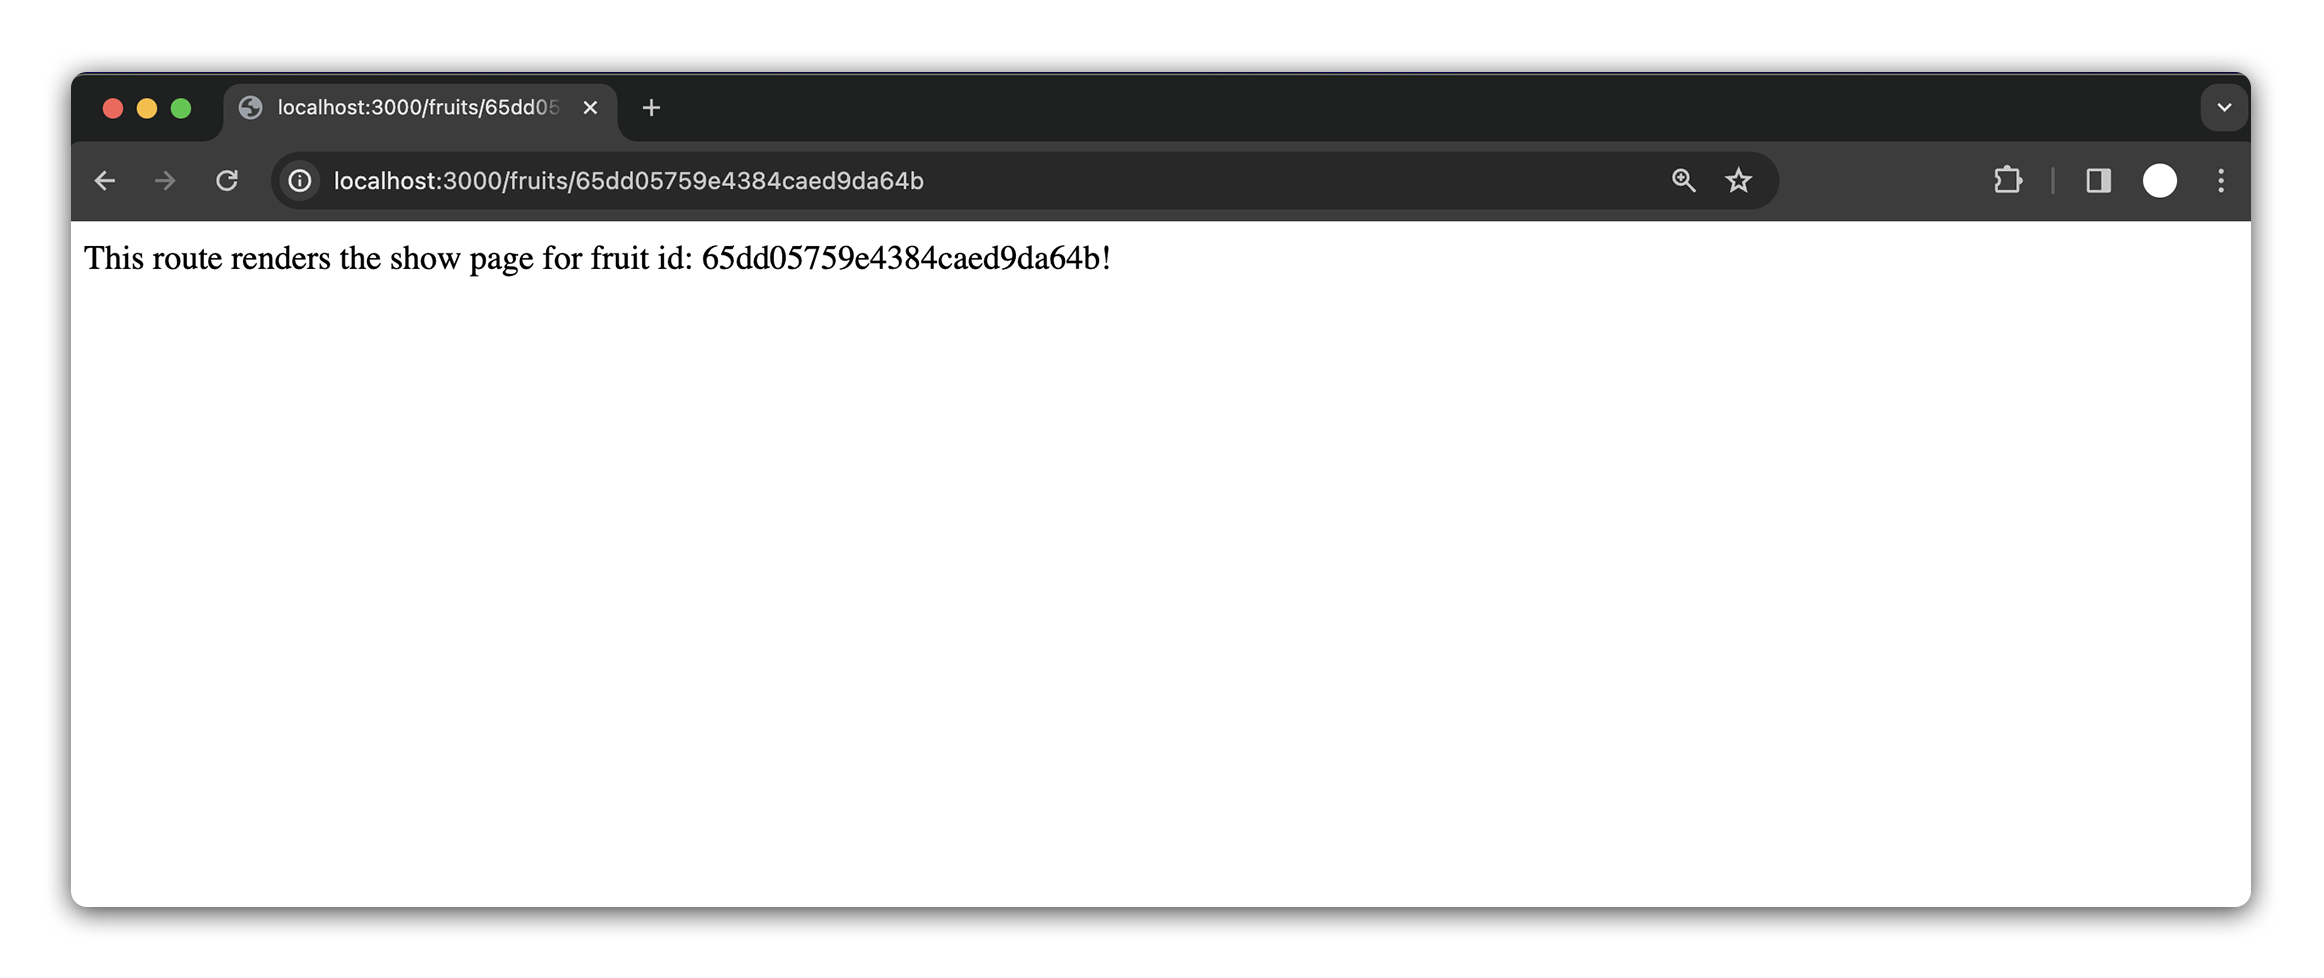
Test your new route in the browser.
You should see your message along with our fruitId route parameter.
A note on route order
The order in which routes are placed in an express server is important, as Express evaluates them top-to-bottom. This means the placement of routes can affect how your application responds to specific URLs.
As an experiment, temporarily move your /fruits/:fruitId route above your fruits/new route. Now navigate to your new fruit page. What happened?
The issue arises because Express matches routes in the order they are defined. The URL /fruits/new is mistakenly caught by the /fruits/:fruitId route. In this route, :fruitId acts as a placeholder and accepts any string, including “new”. So, Express thinks “new” is a fruit ID and stops looking for further route matches.
To resolve this, we need to ensure that any route with an /:id is placed after /new in our express applications.
Build the read functionality
We’ll use Mongoose’s .findById() method for fetching a specific fruit by its _id. This method is perfect for retrieving a single document based on its unique identifier.
Update the route with the following:
app.get("/fruits/:fruitId", async (req, res) => {
  const foundFruit = await Fruit.findById(req.params.fruitId);
  res.send(`This route renders the show page for fruit id: ${req.params.fruitId}!`);
});
In the above code, req.params.fruitId captures the ID from the URL, and we use it to find the specific fruit. We’ve also made the function async so that we can await the asynchronous database operation.
Rendering the Fruit details
After fetching the fruit, we’ll update from res.send() to res.render() to display the show page template. We’ll also pass the retrieved fruit data to the template:
app.get("/fruits/:fruitId", async (req, res) => {
  const foundFruit = await Fruit.findById(req.params.fruitId);
  res.render("fruits/show.ejs", { fruit: foundFruit });
});
If you test the route, you’ll see a familiar error. We need a show page.
Create the show template
Now that the route is set up, let’s create the template. Create a show.ejs template inside the views/fruits:
touch views/fruits/show.ejs
Add the following HTML boilerplate to show.ejs:
<!DOCTYPE html>
<html lang="en">
  <head>
    <meta charset="UTF-8" />
    <meta name="viewport" content="width=device-width, initial-scale=1.0" />
    <title>Fruit Show Page</title>
  </head>
  <body>
    <h1>Here Is Your Fruit</h1>
  </body>
</html>
Refresh your browser to see a rendered page.
Let’s enhance our application to show detailed information about each fruit. We’ll achieve this by dynamically updating our HTML template using the fruit data we’ve passed.
<!-- views/fruits/show.ejs -->

<!DOCTYPE html>
<html lang="en">
  <head>
    <meta charset="UTF-8" />
    <meta name="viewport" content="width=device-width, initial-scale=1.0" />
    <title><%= fruit.name %></title> <!-- Dynamic title based on fruit name -->
  </head>
  <body>
    <h1><%= fruit.name %></h1> <!-- Display fruit name -->
    <!-- Add more details about the fruit here -->
  </body>
</html>
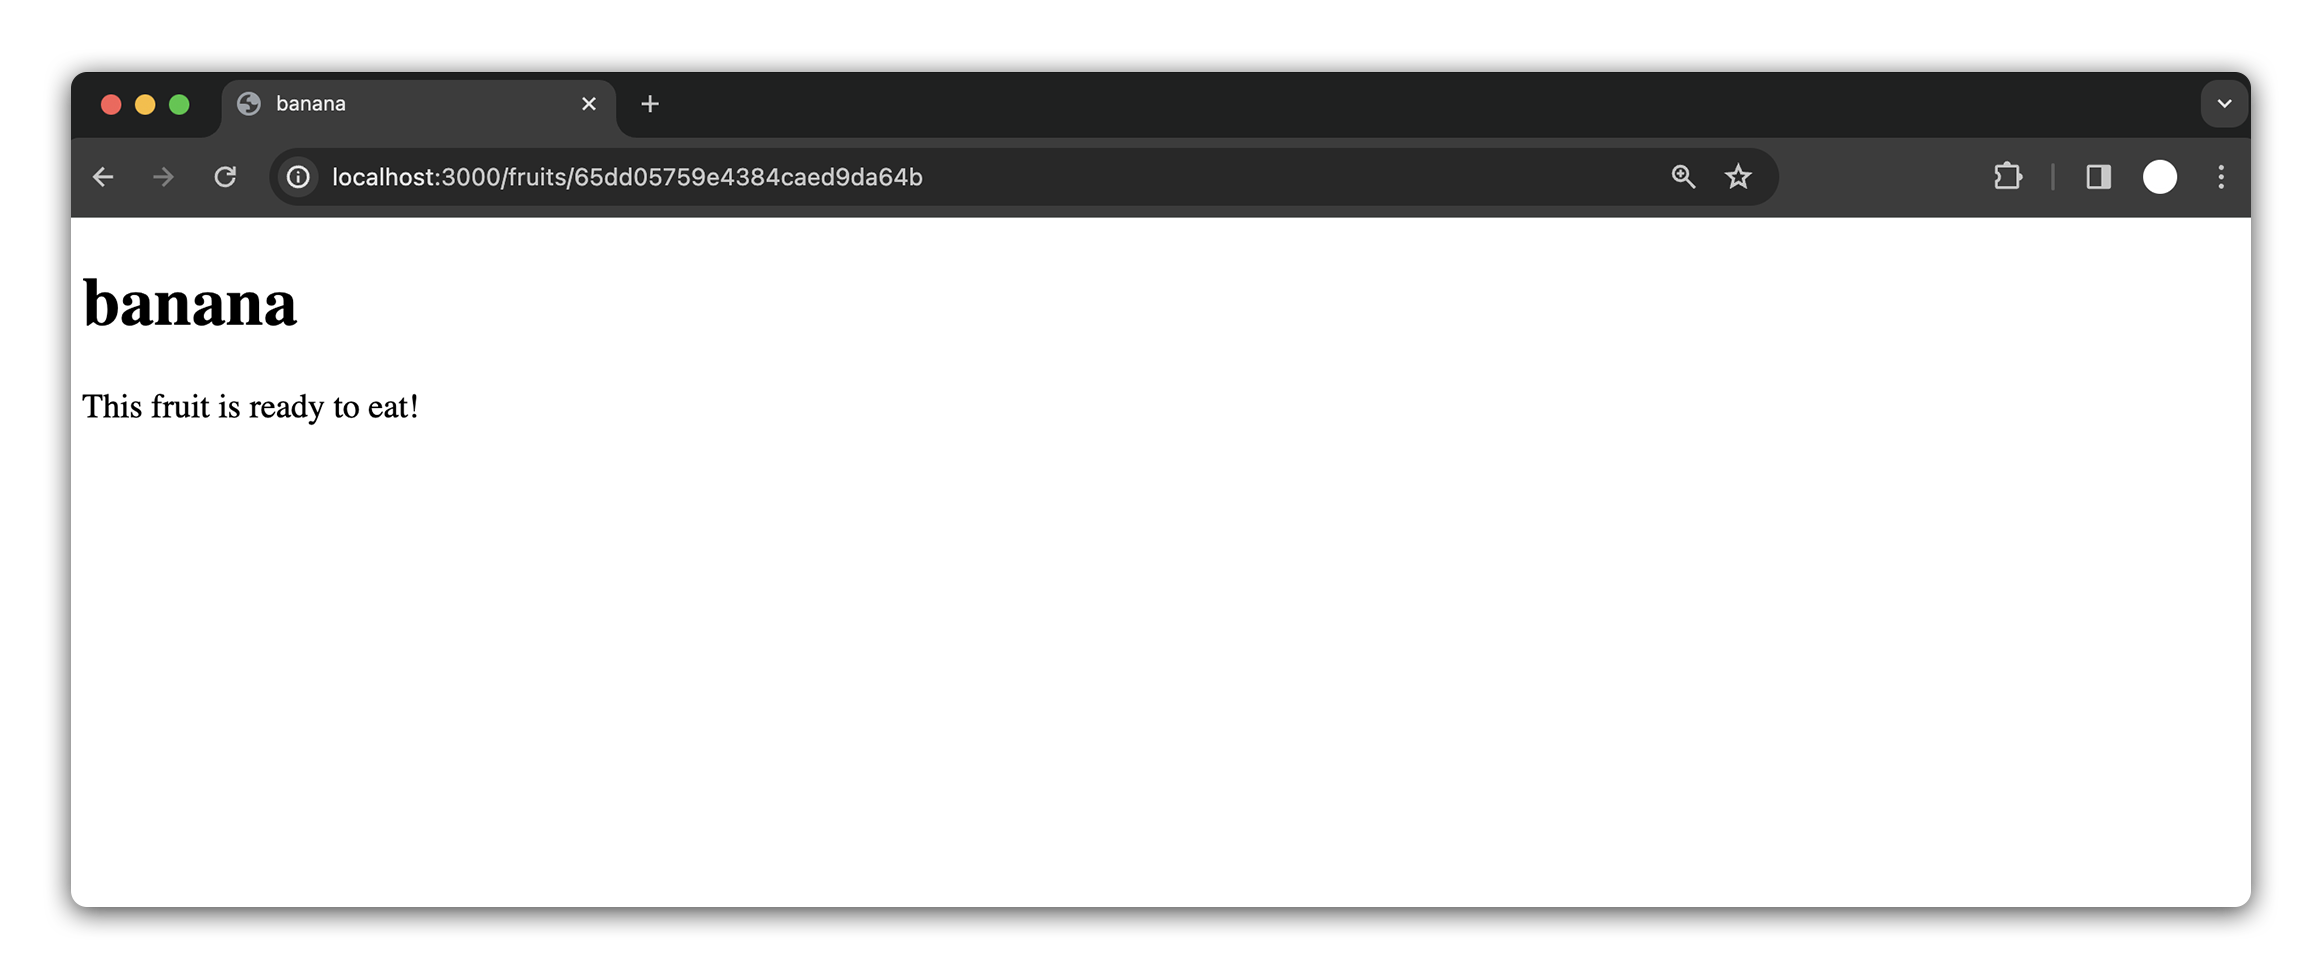
Refresh or click on a specific fruit on our index page, and our show page should be more specific.
To enhance our fruit details page, we’ll incorporate conditional rendering based on the fruit’s isReadyToEat property. This will display different messages depending on whether the fruit is ready to eat or not.
We’ll use EJS control flow to dynamically display a message about the fruit’s readiness. Insert an if/else statement in the HTML body, right after the <h1> tag:
<<!-- views/fruits/show.ejs -->

<body>
  <h1><%= fruit.name %></h1>
  <!-- Conditional rendering based on fruit's readiness -->
  <% if (fruit.isReadyToEat) { %>
    <p>This fruit is ready to eat!</p>
  <% } else { %>
    <p>This fruit is not ready to eat!</p>
  <% } %>
</body>
With this code, our application checks the isReadyToEat property of the fruit. If it’s true, it displays “This fruit is ready to eat!” Otherwise, it shows “This fruit is not ready to eat!”
Link show page back to Fruits index
Now that we’ve viewed a specific fruit, let’s say we want to look at the details of another fruit. We’ll need to navigate back to the index page.
Add the following to the fruit show page:
<a href="/fruits/">Back to Fruits</a>
Test your link!
With a working show page, you have successfully performed your next CRUD operation, Read. Congrats!