Postman Setup Lab Exercise
Welcome to the Postman Setup lab. In this lab, we will guide you through installing and using Postman for the first time. In the request and response cycle, a client sends a request and processes the response from a server. While we’ve previously explored the browser as a client, it’s important to note that various clients can make requests to a server. Some of these clients are:
Let’s take a look at where Postman fits into the client-server relationship.
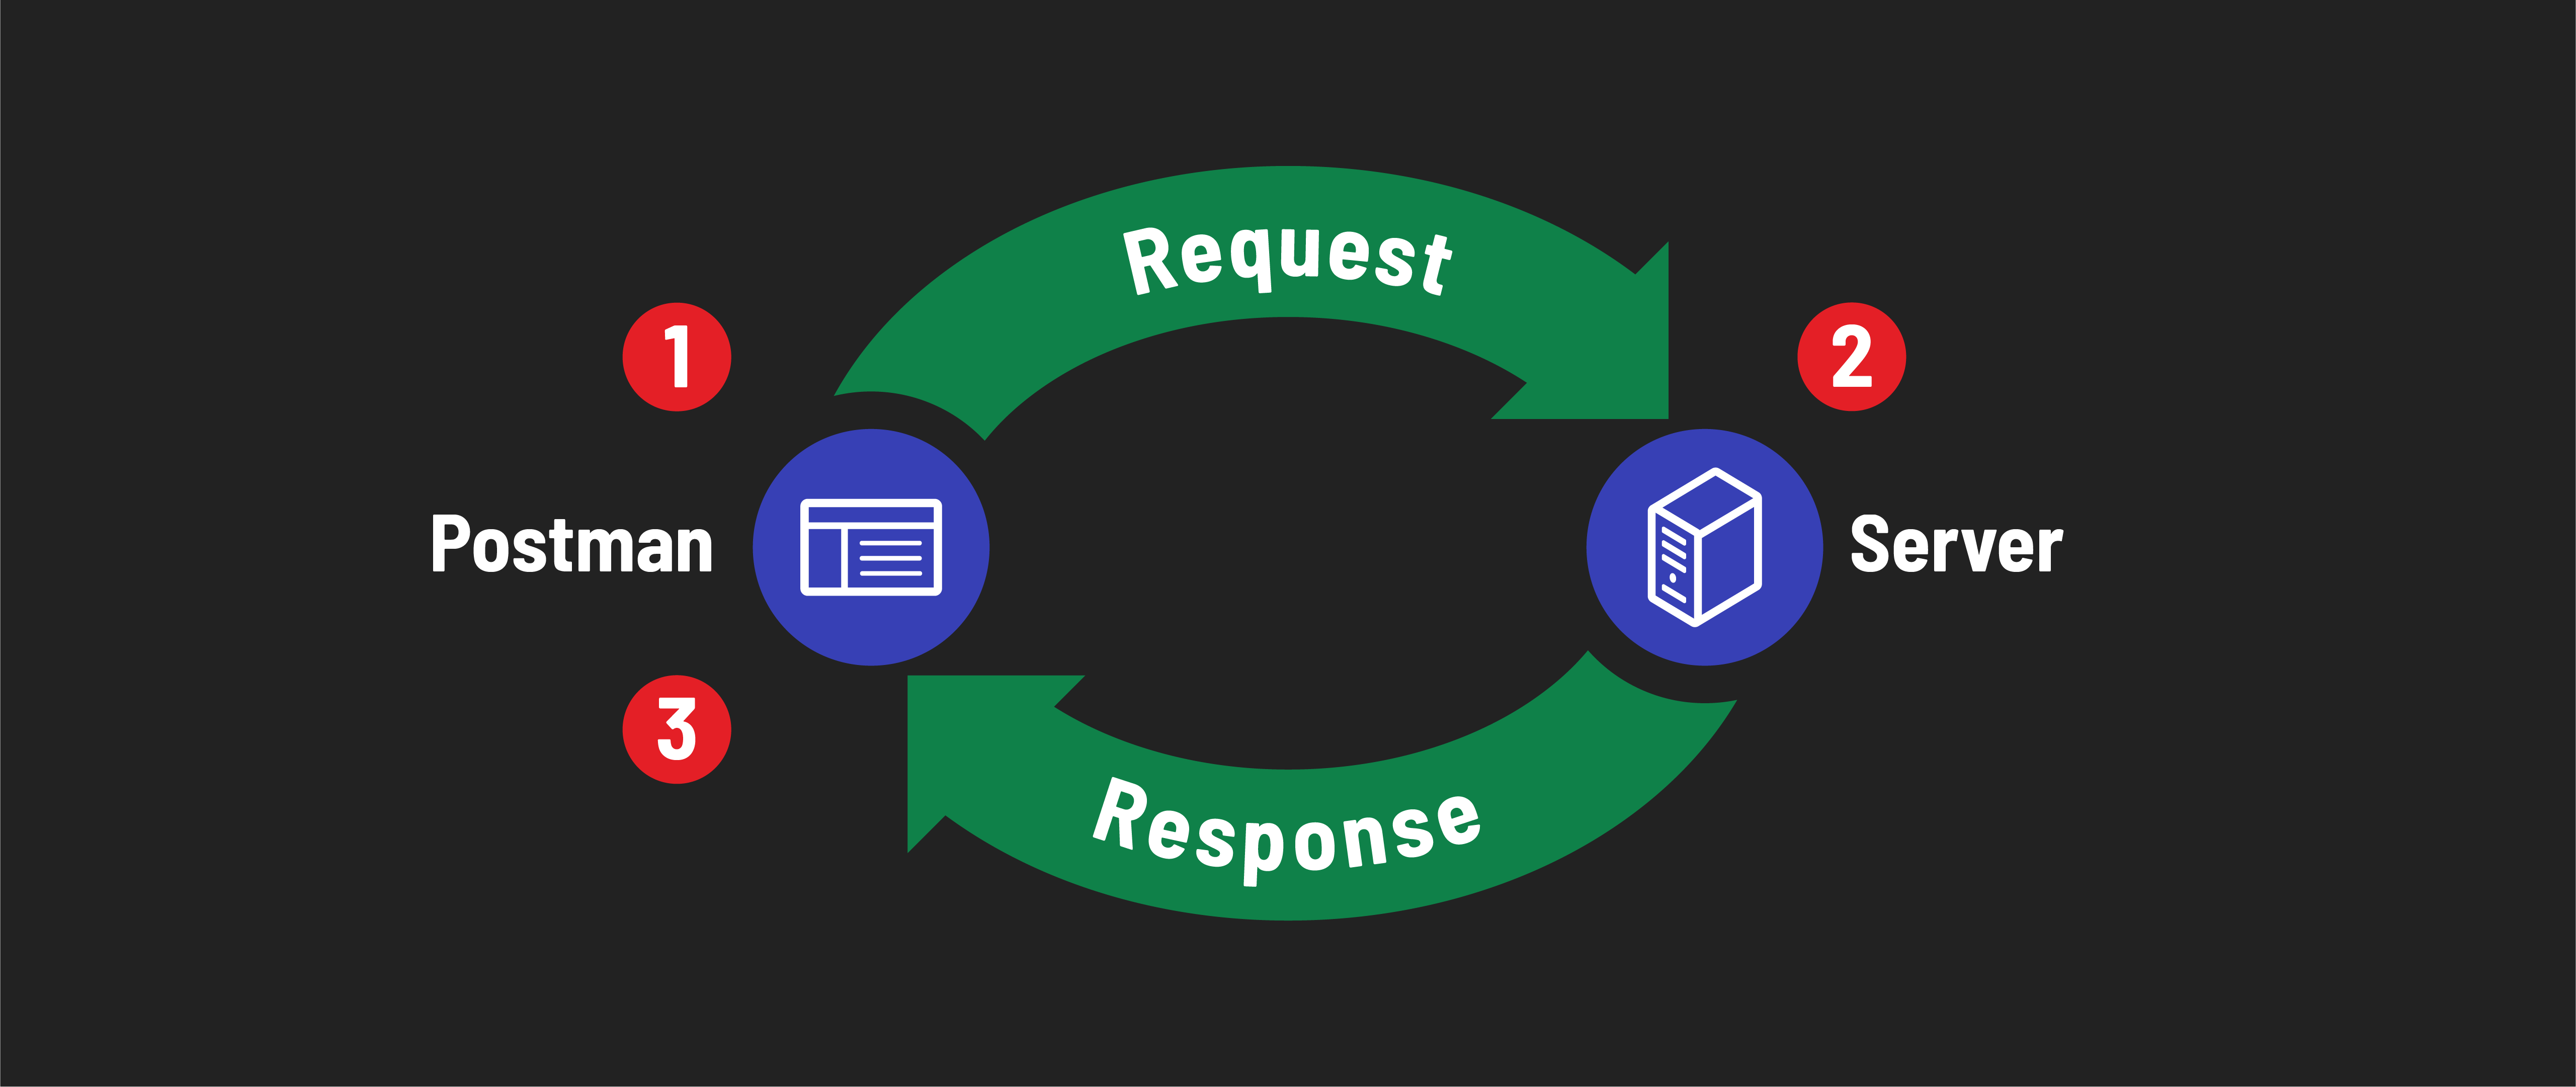
Postman is a tool that allows us to make requests to a URL and then process the response. Above, we can see that without a browser or code, we can:
- Make a request to
https://jsonplaceholder.typicode.com/posts. - The JSONPlaceholder API server will receive the request and send a response back to Postman.
- Postman will display the response using its built-in interface.
Postman opens a world of possibilities for us as developers:
- HTTP Requests - Enables us to make
GETPOST,PUT,PATCH, andDELETErequests. Additionally, we can include headers, query parameters, and request bodies in our API requests. - Create Collections - Organize our requests into a folder-like structure called collections. This makes it easy to find and reuse requests.
- Work in different Environments - Create and store environment variables. This can include things like API keys and root URLs.
- Tests - JavaScript tests can be written to validate the response from an API request.
- Documentation - Allows us to automatically create documentation for our APIs.
- Collaboration - Allows an almost GitHub-like experience for collaborating on APIs, including version control.
Simply said, Postman is a powerful tool that allows developers a lot of flexibility when working with APIs. In this lab, we will focus on some of Postman’s basics. We will explore the interface, make requests, and save requests.
Download and Install Postman
We will be using the desktop version of Postman for this demo. Navigate to the Postman downloads page. Once on the page, Postman will automatically detect your operating system and provide you with the correct download link. Click the download button to begin the download.
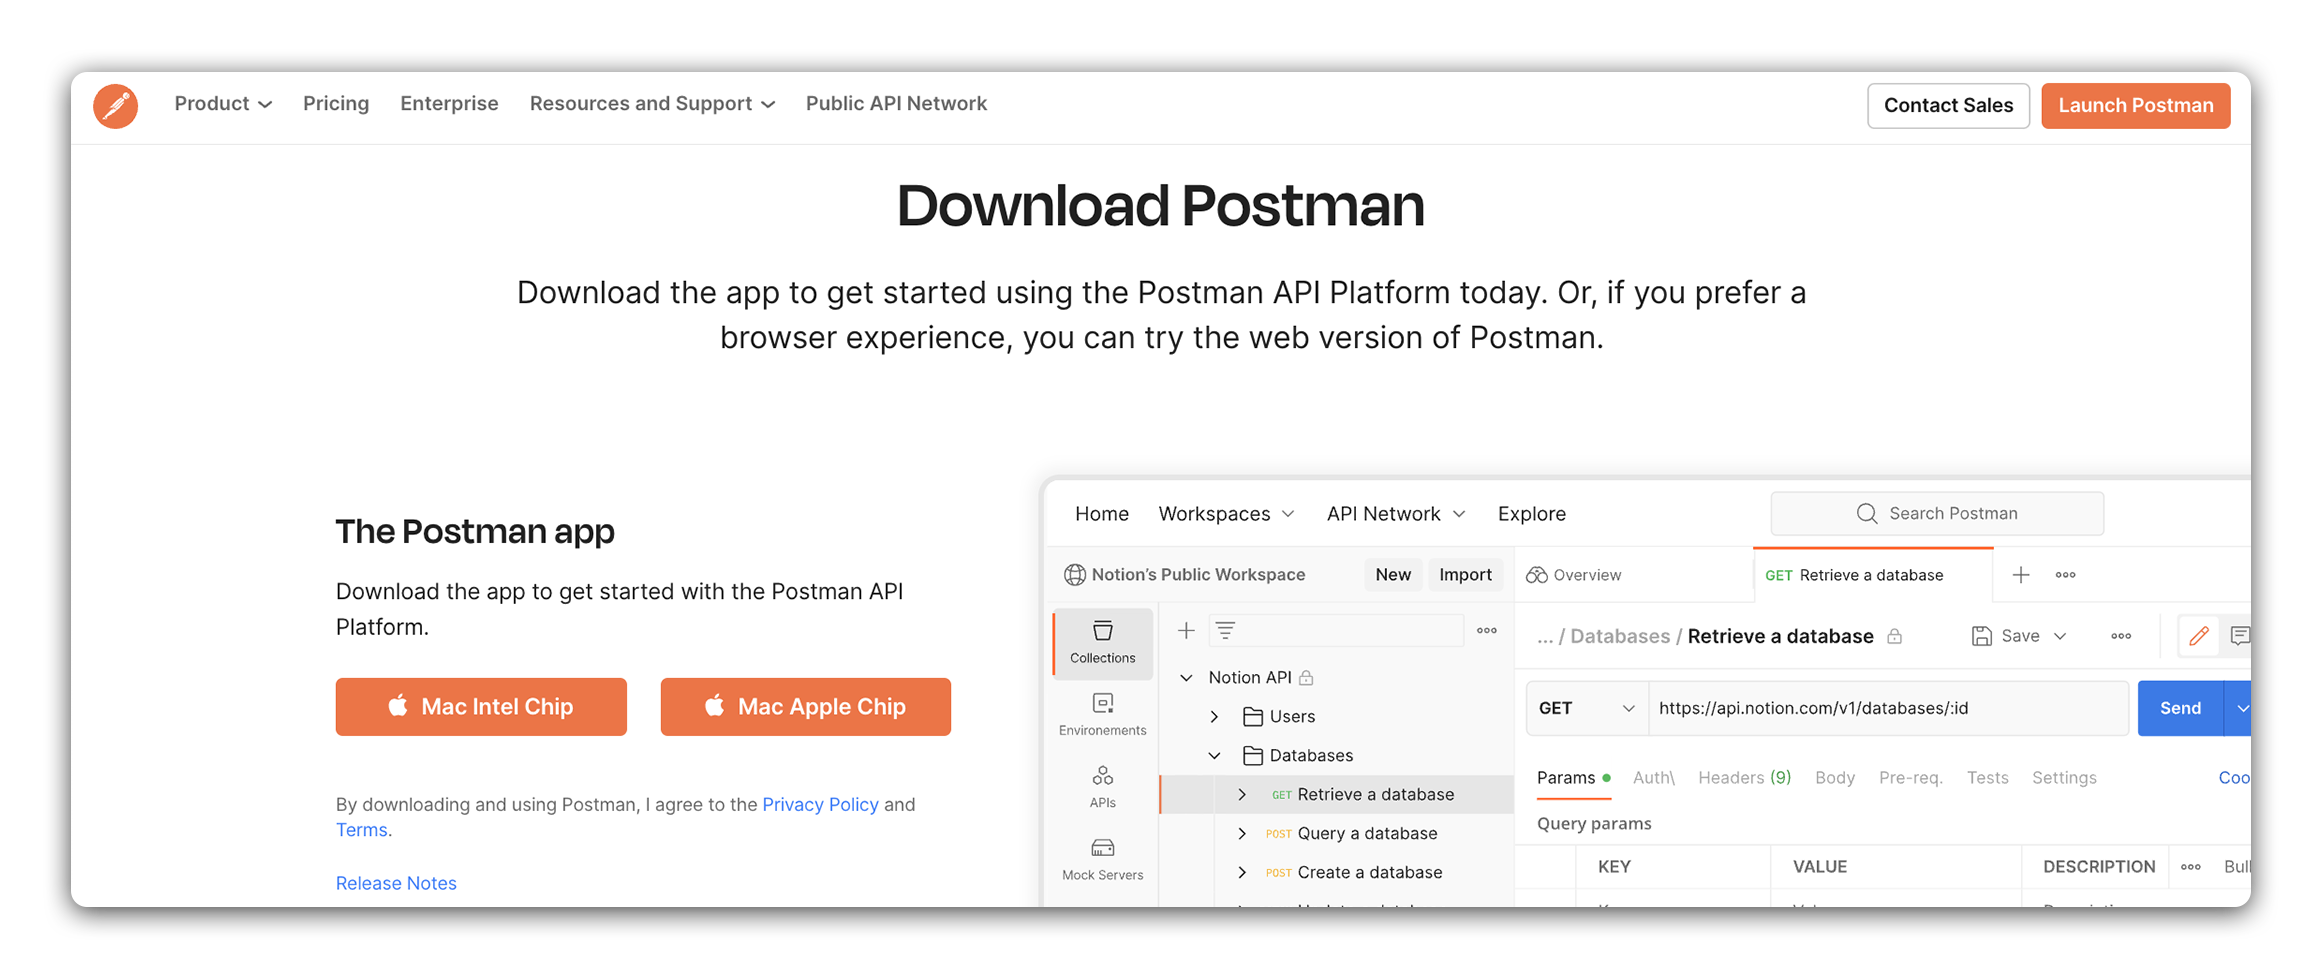
If you are using a Mac, you will be prompted to drag the Postman icon into your Applications folder. You will be prompted to run the installer if you are using Windows. Follow the prompts to complete the installation.
Unsure of what chip your Mac is using? You can find out by clicking the Apple icon in the top left corner of your screen and selecting About This Mac. You will see Apple listed under Chip if you have an Apple chip. The Apple will be followed by the chip type, such as M1. You will see Intel listed under Chip if you have an Intel chip.
Create a Postman Account (Optional)
You have the option to create an account with Postman. This is not required to use basic features of Postman, but it is required to access certain features like Workspace.
It also offers some options that might be useful in the future:
- Sync - Allows us to sync our Postman data across devices.
- Team - Allows us to collaborate with others on Postman in a GitHub-like fashion.
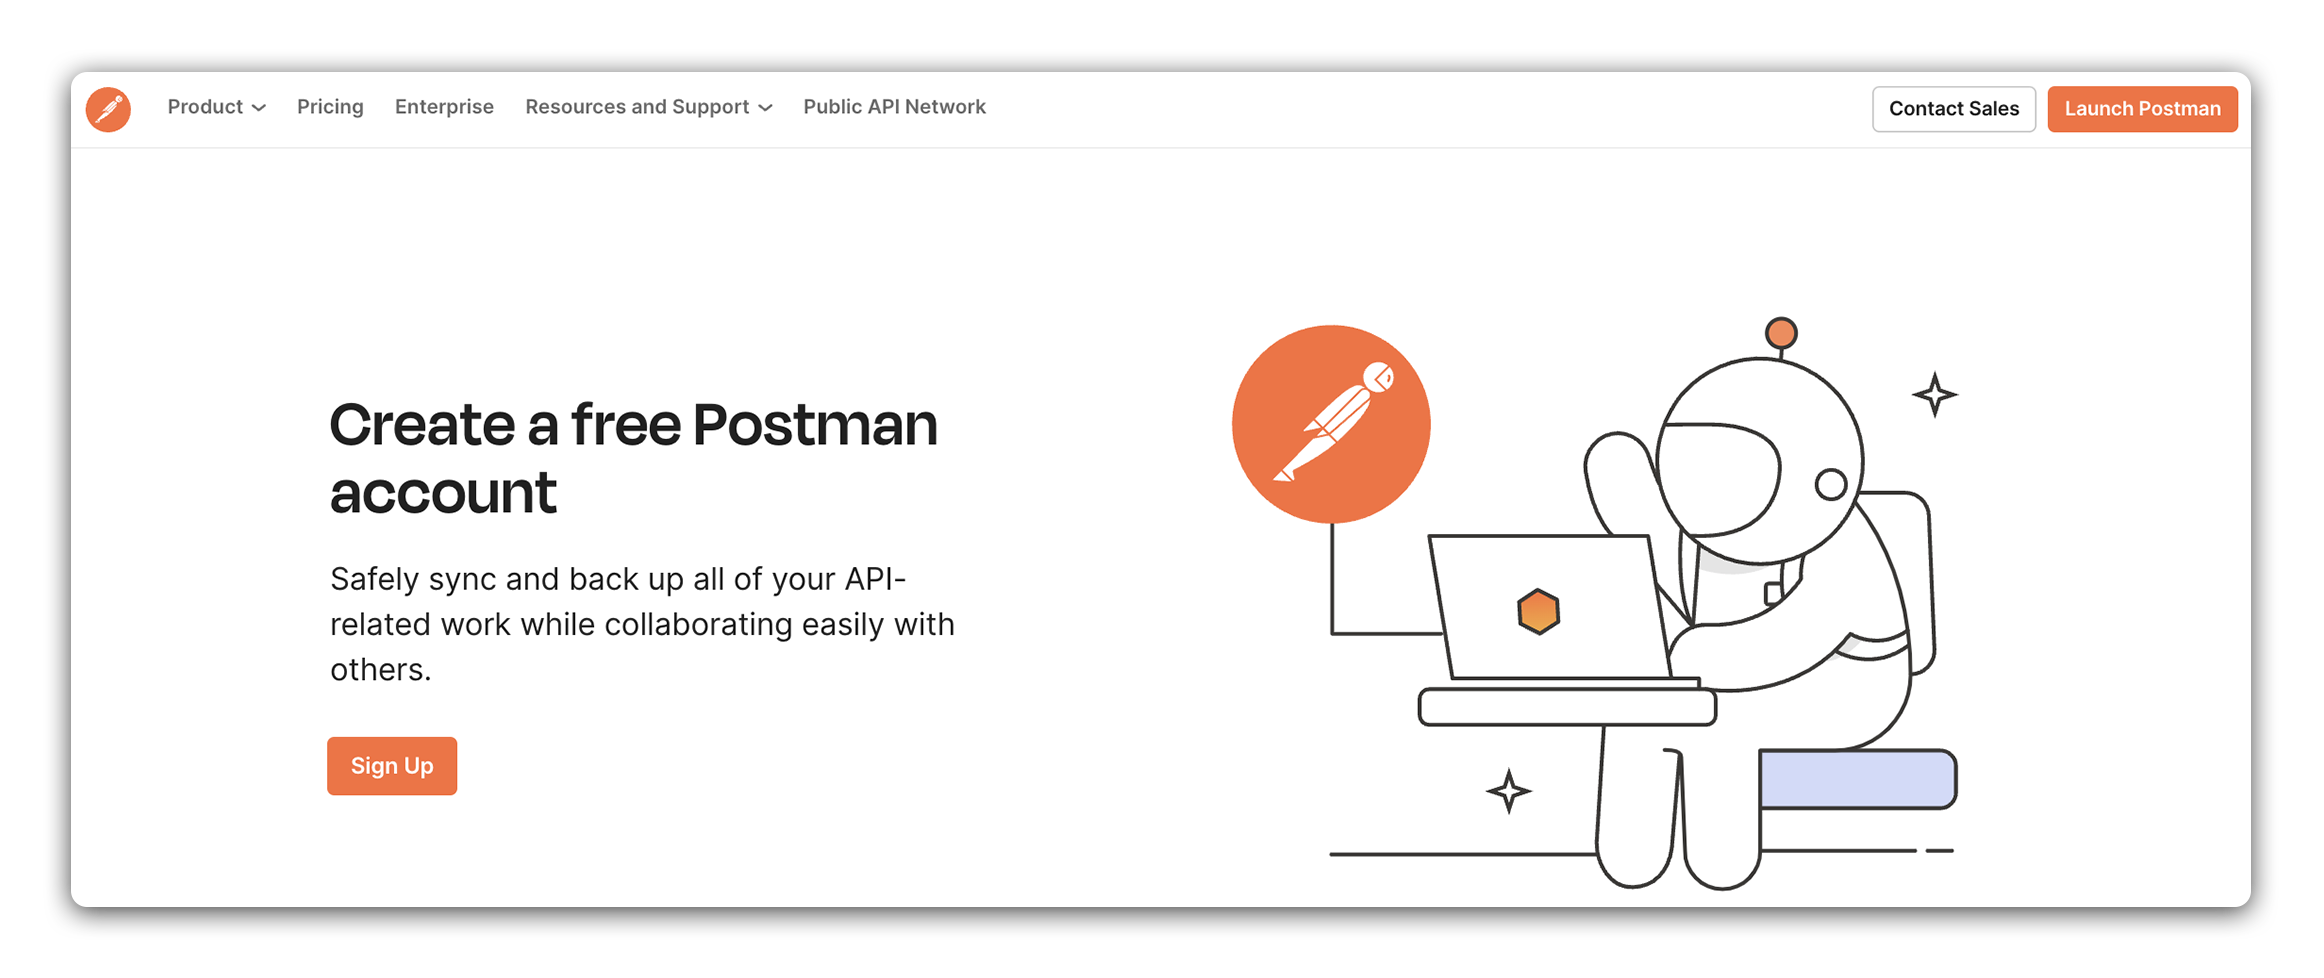
Sign up for a Postman account here. Click the Sign Up button.
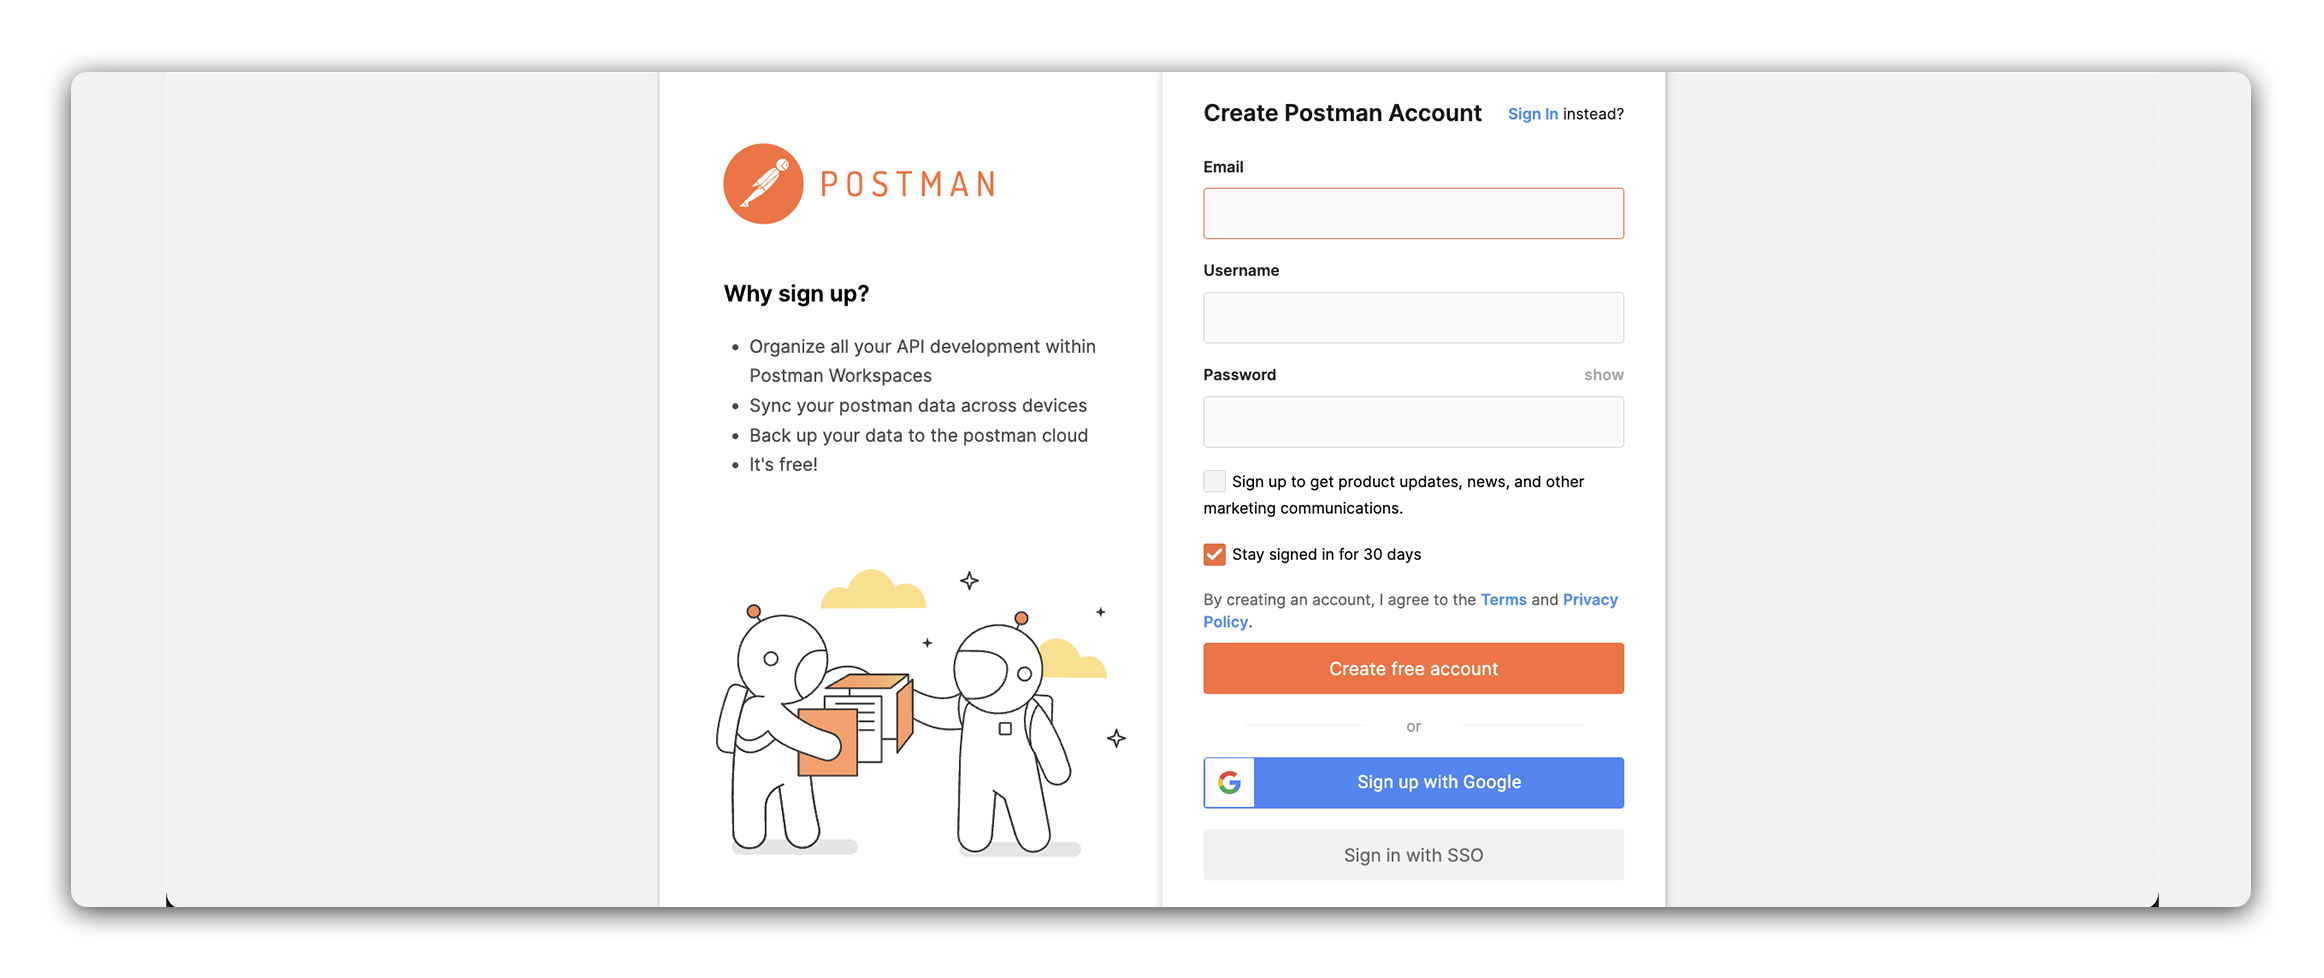
You can use your Google account or, enter your email address, and create a password. Click the Sign Up button.
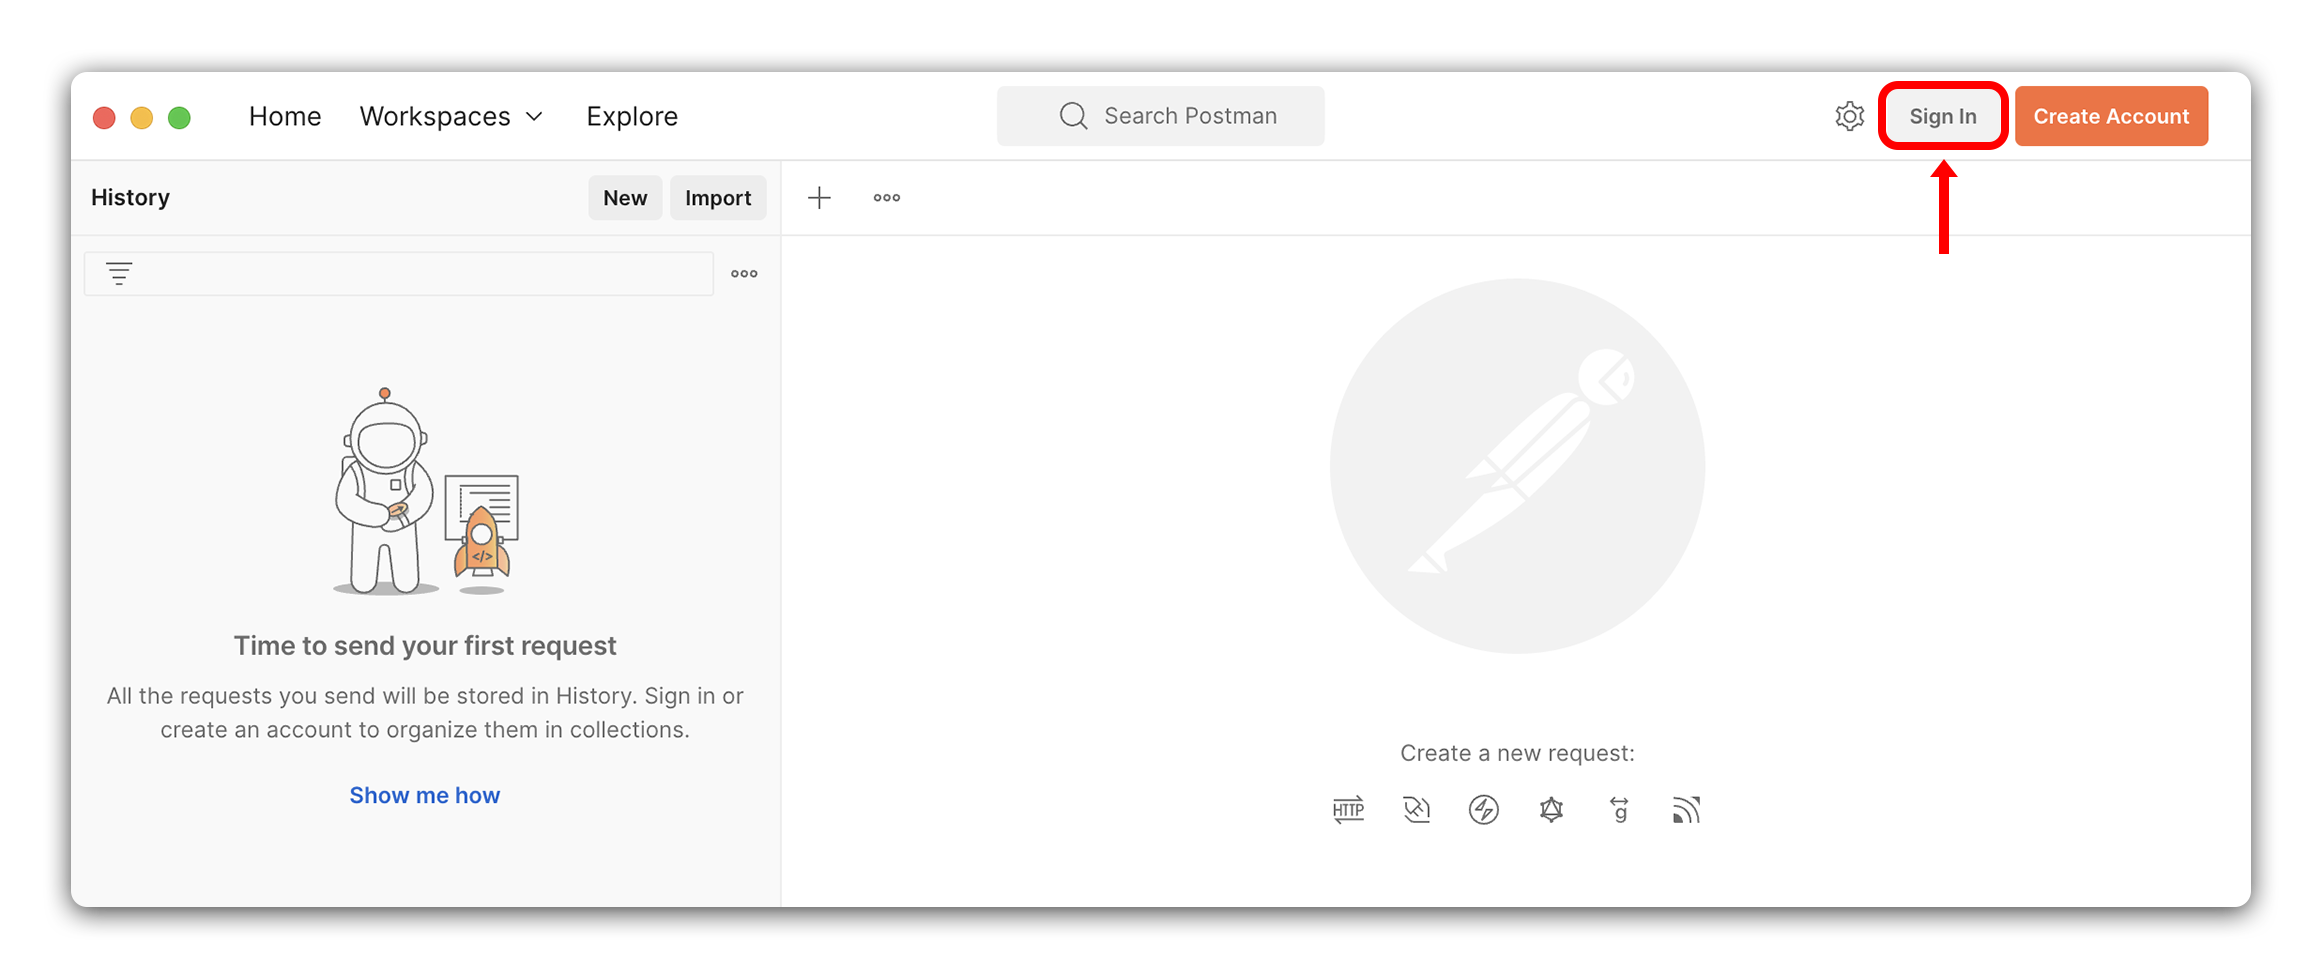
Once you have signed up, you will be taken to the Postman dashboard. Open your desktop Postman application. Located in the upper right corner, click on the Sign In button.
Postman will display a window saying Sign in from your browser to continue.
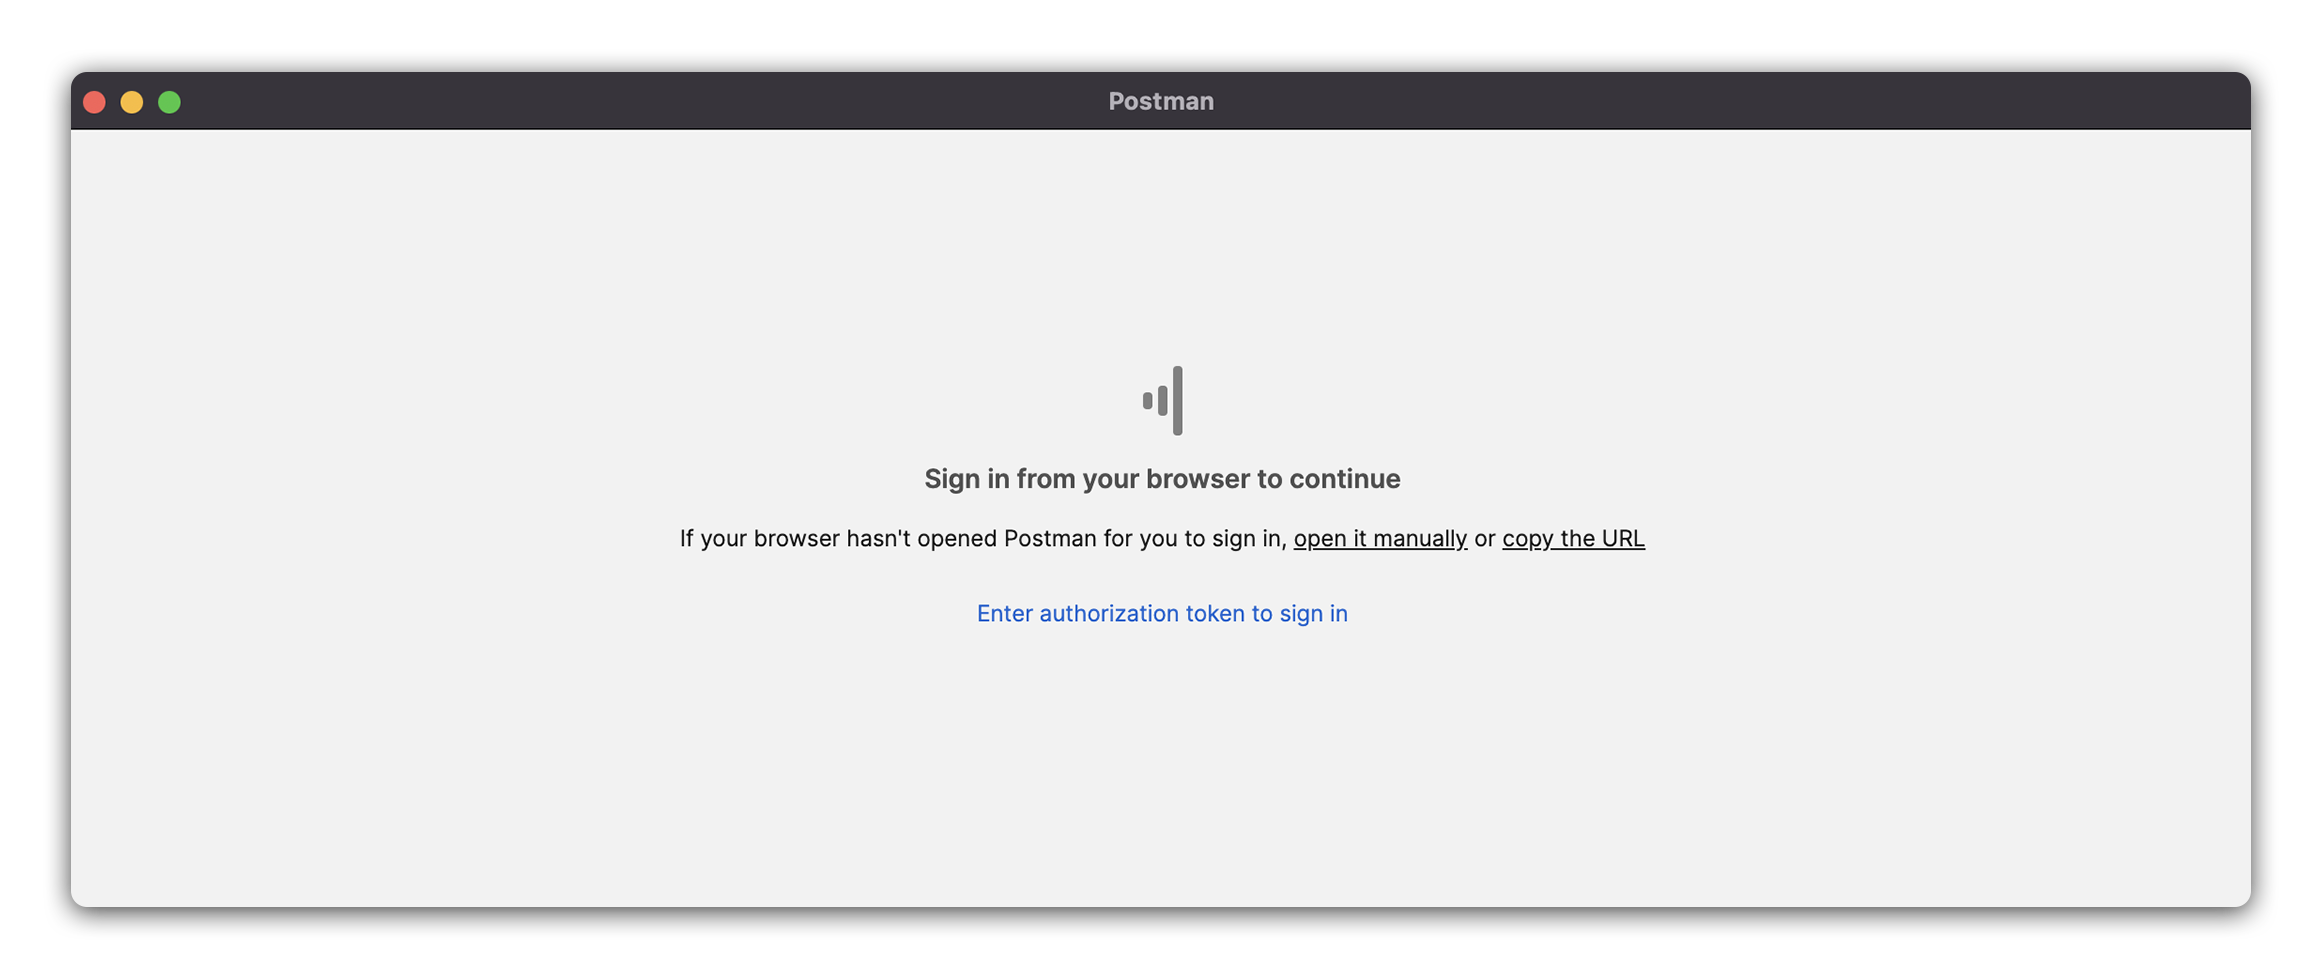
Follow the steps in the browser to sign in to the account you just created. Once you have signed in, you will be returned to the Postman application.
Postman Interface Overview
Workspaces
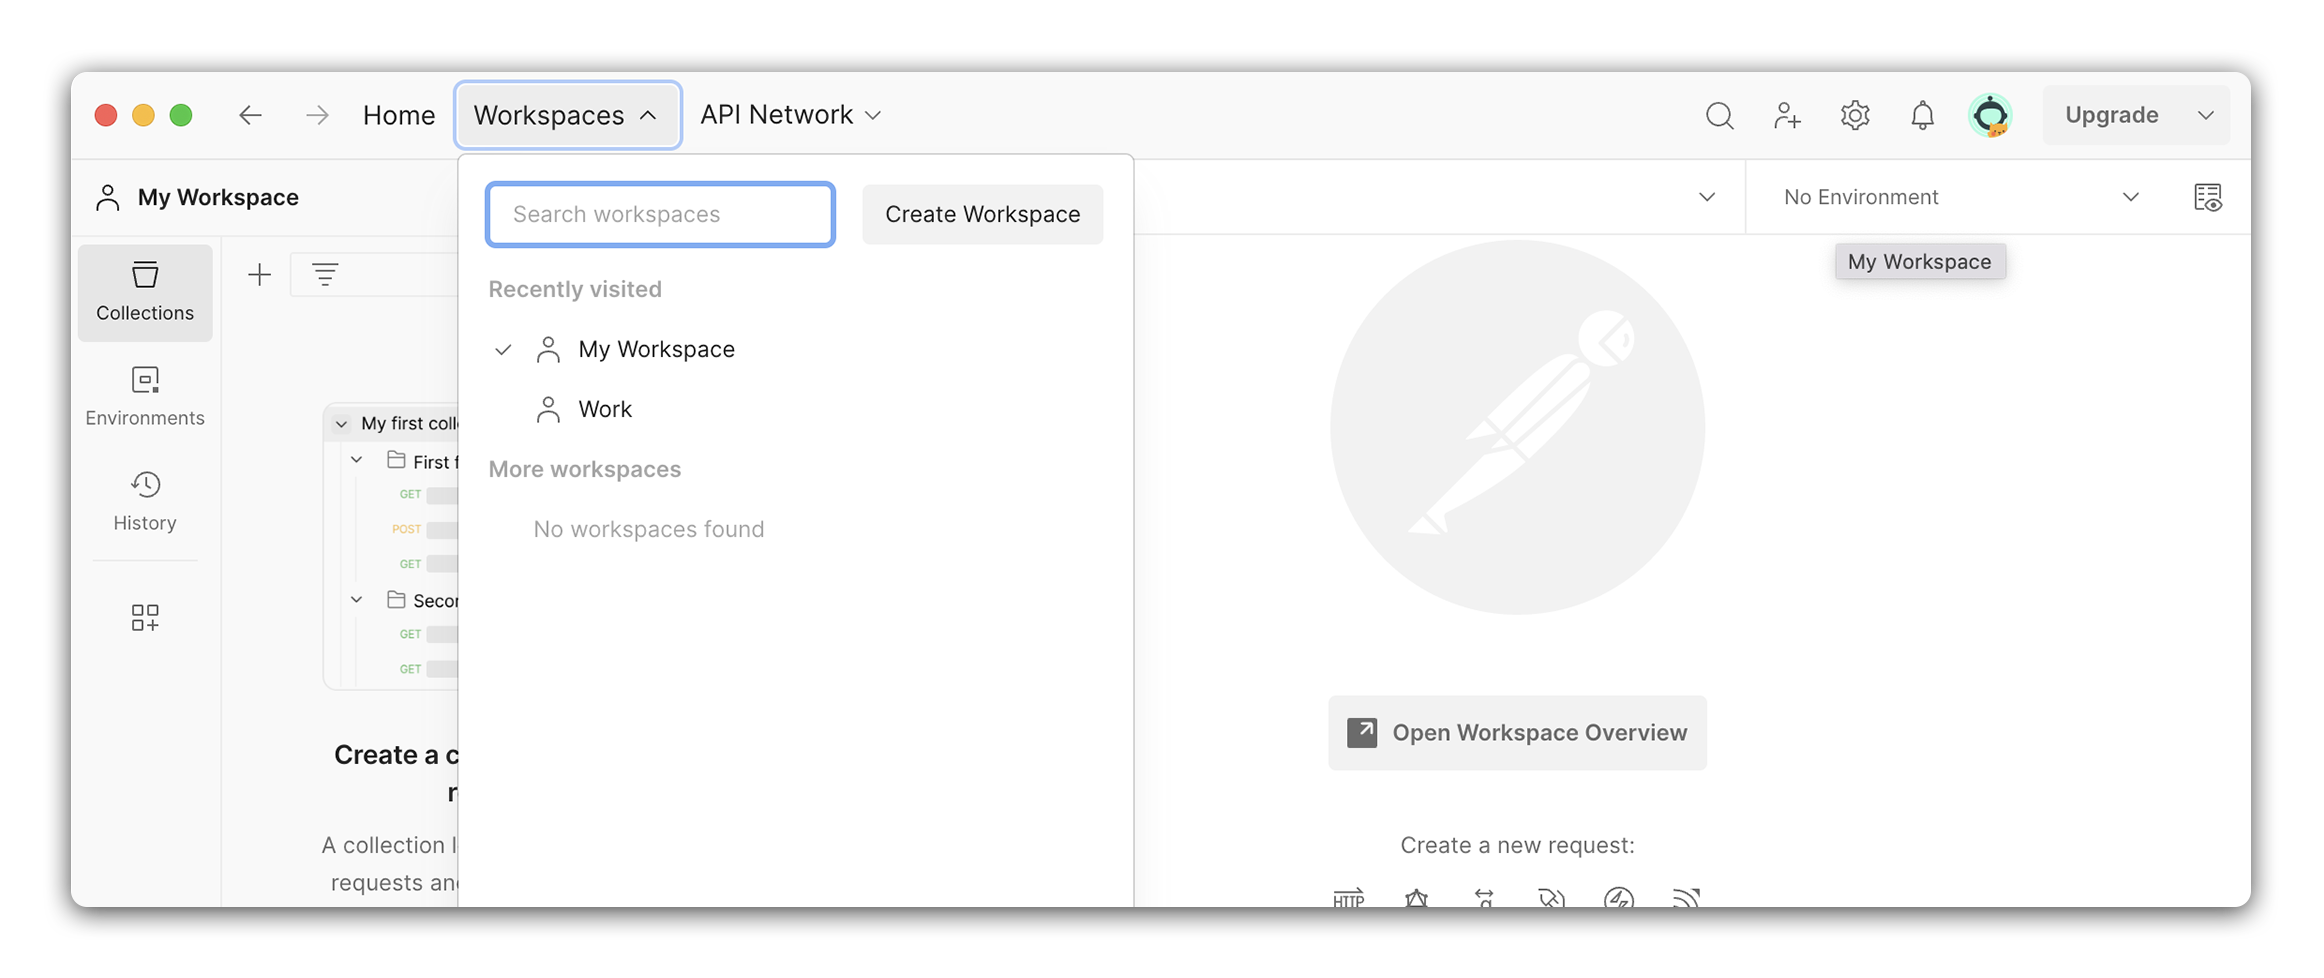
Let’s visit our Workspace in Postman. The Workspace is where we will spend most of our time in Postman. It is where we will make requests, save them, and organize them into collections. Open the Postman application, click the Workspace tab, and select My Workspace.
Once in the Workspace, we will see the following:
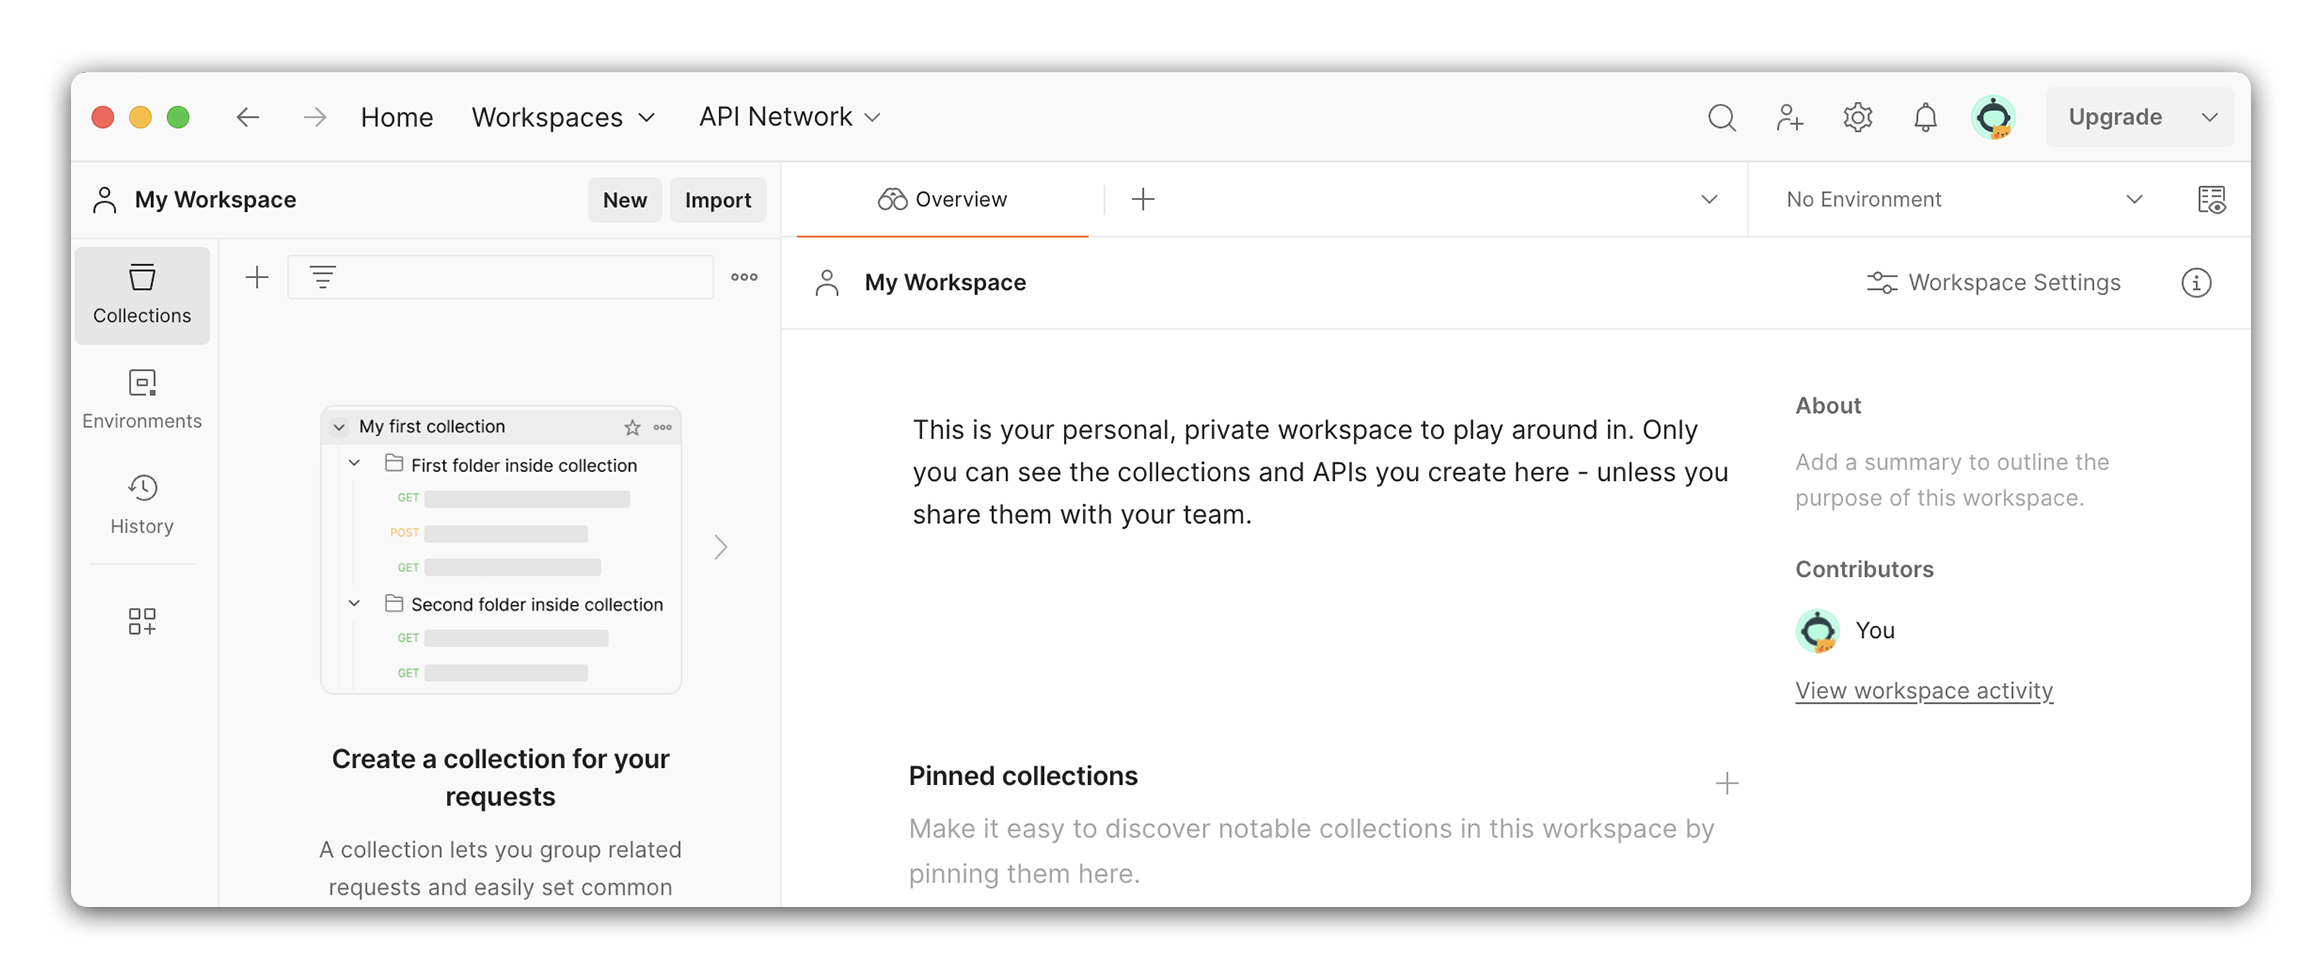
Let’s take a look at the different sections of the Workspace. By clicking on the left sidebar, we can toggle the visibility of the different sections and open and close the sidebar itself.
Collections
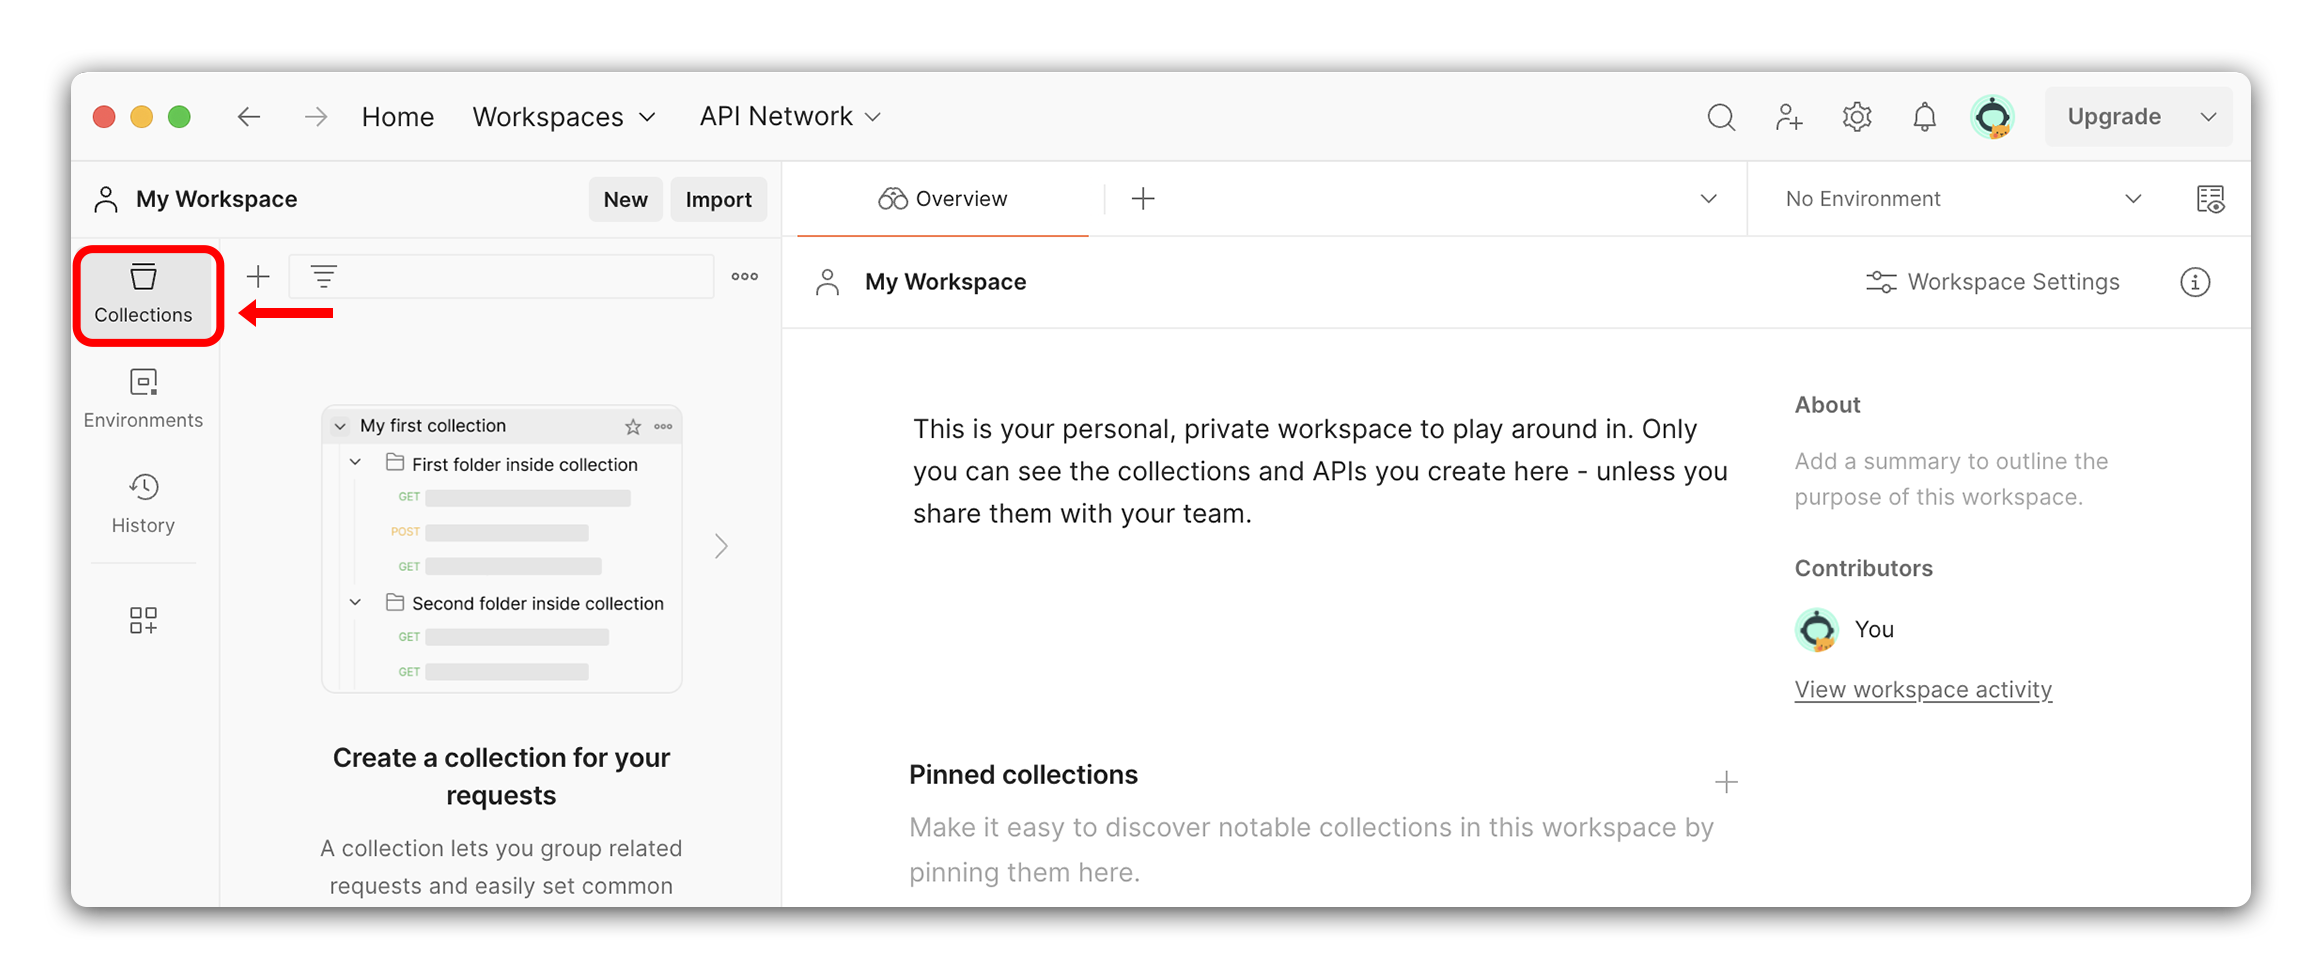
Collections are a way to organize our requests. This is a folder-like structure where the request can be grouped together like files in a folder.
Environments
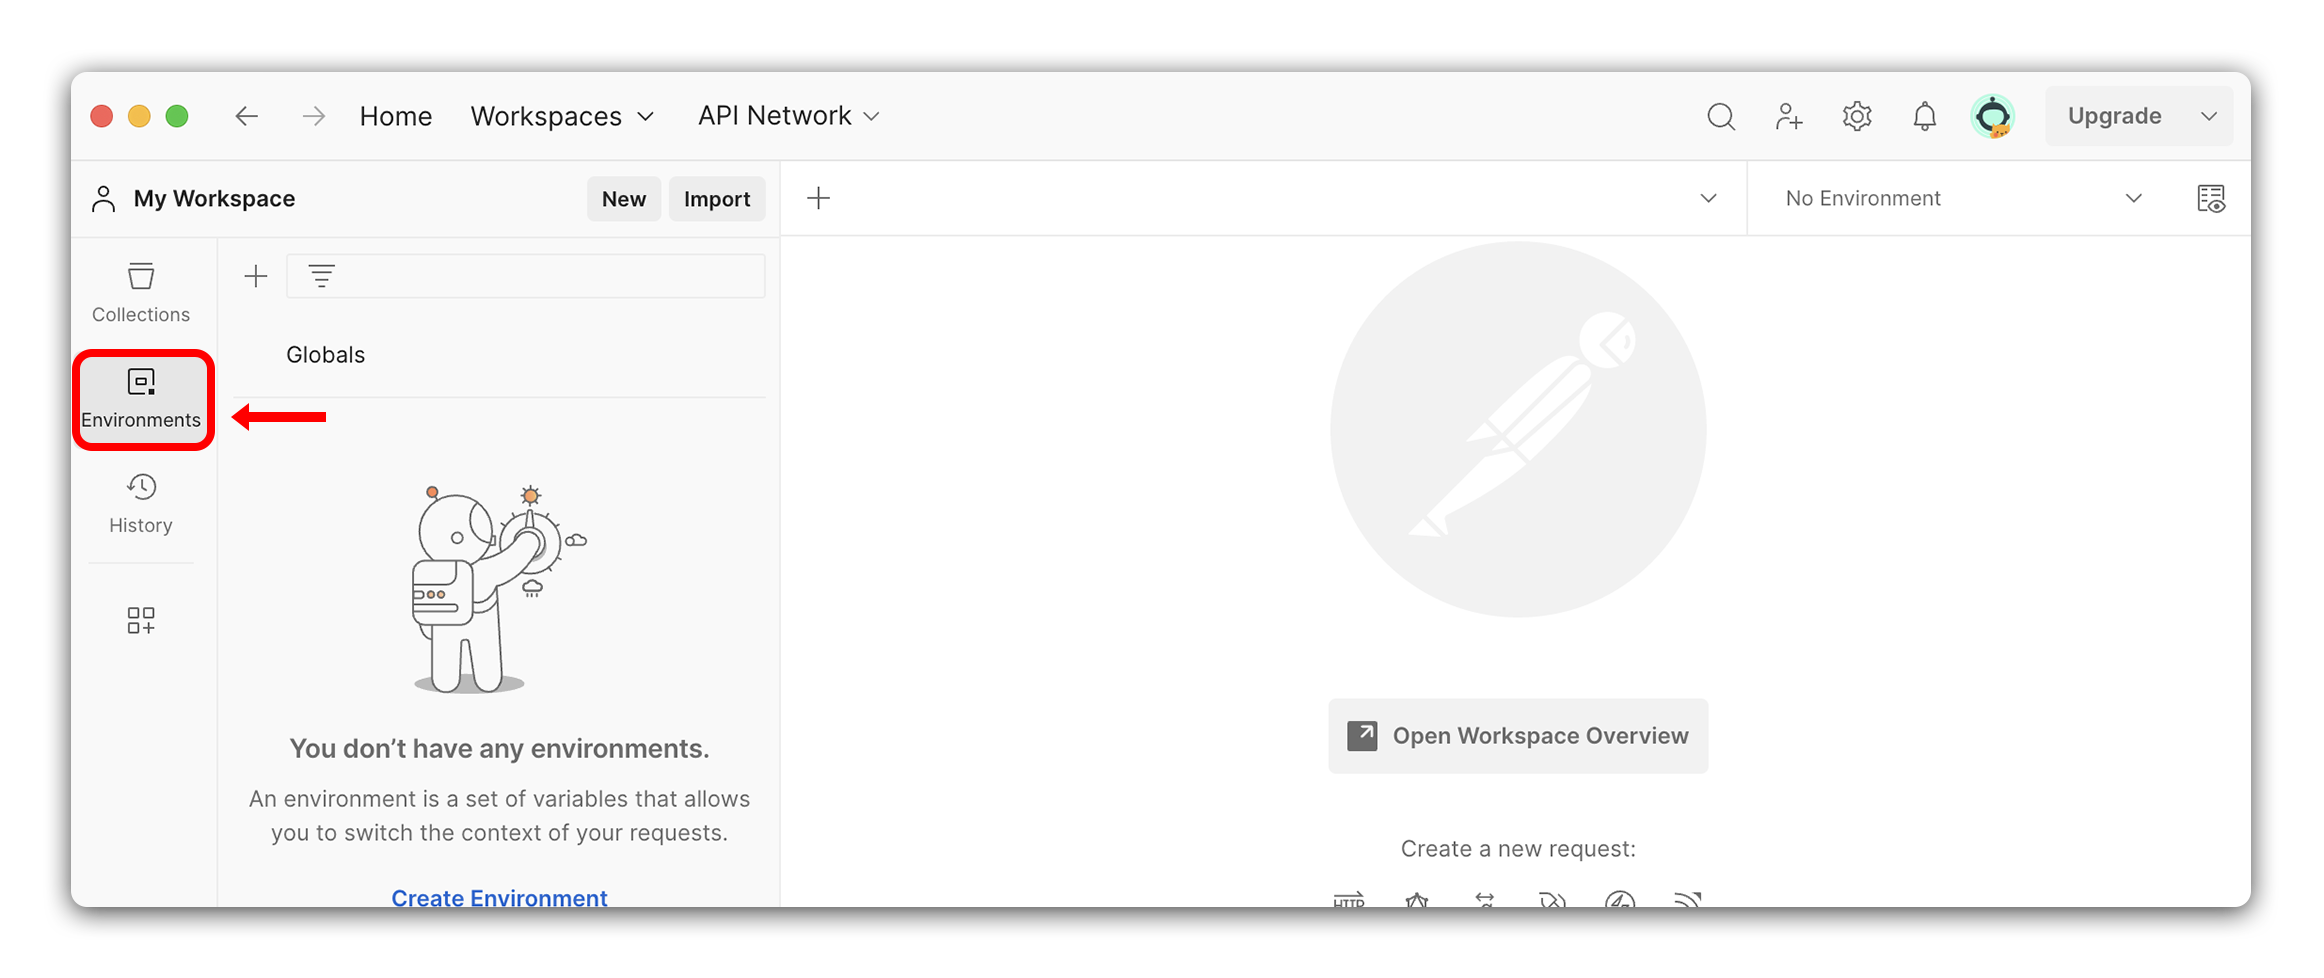
Environments are a way to store variables. This acts like a .env file. We can store things like API keys, but we can also store root URLs here. This allows us to easily switch between environments. For example, we can have a development environment and a production environment. We can store the root URL for each environment in the environments and easily switch between the two.
History
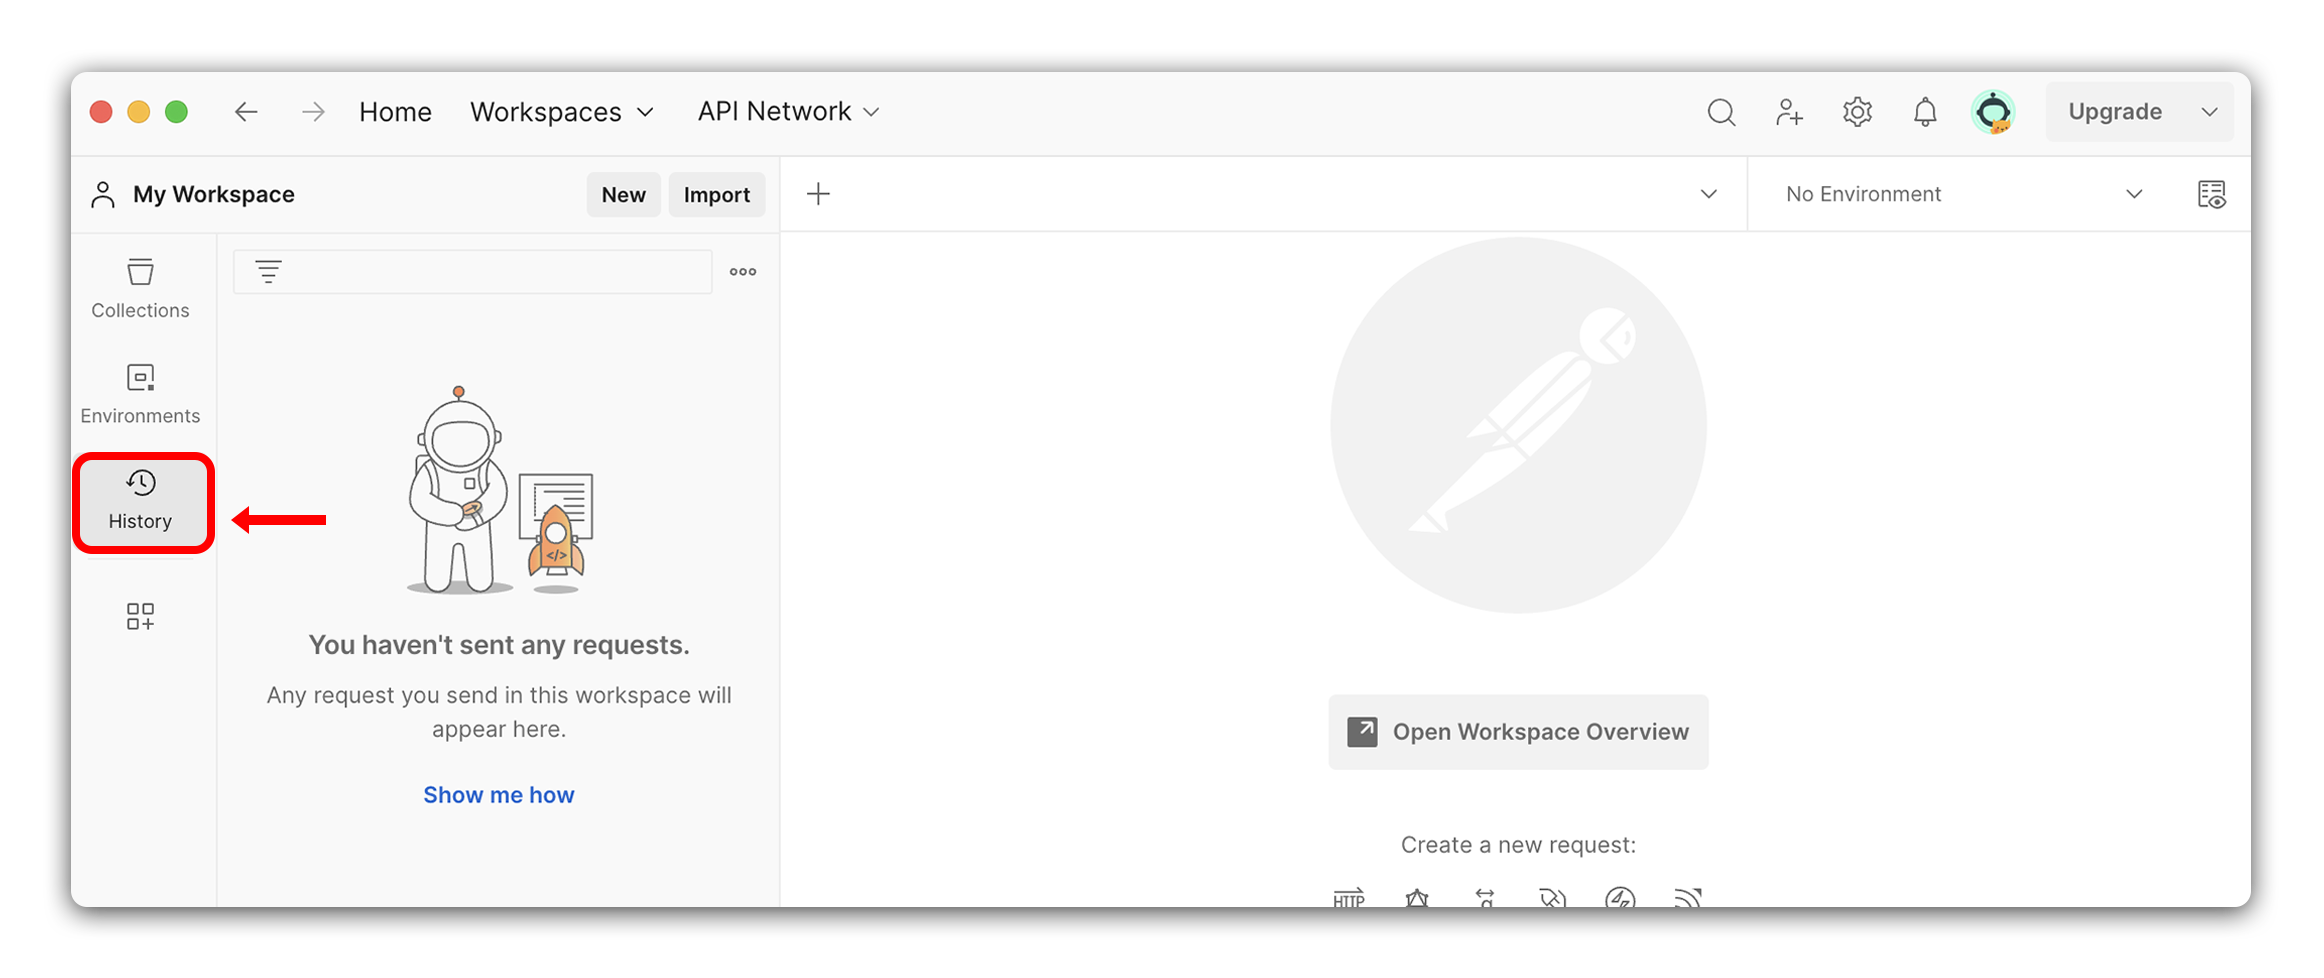
History is a list of the requests we have made. This is a great way to quickly find a request we have made in the past.
Making a Request
Let’s practice making a GET request using the JSONPlaceholder API, which is designed to provide fake data for educational purposes. It’s an ideal resource for learning how to interact with APIs. Specifically, we’ll target the posts endpoint of this API, which will return a collection of sample blog posts. This exercise will help us understand how to retrieve data from an API endpoint.
To make a new request, make sure your left sidebar is open by clicking on any of the icons located on the left-hand side. Once the left sidebar is open, click the New button.
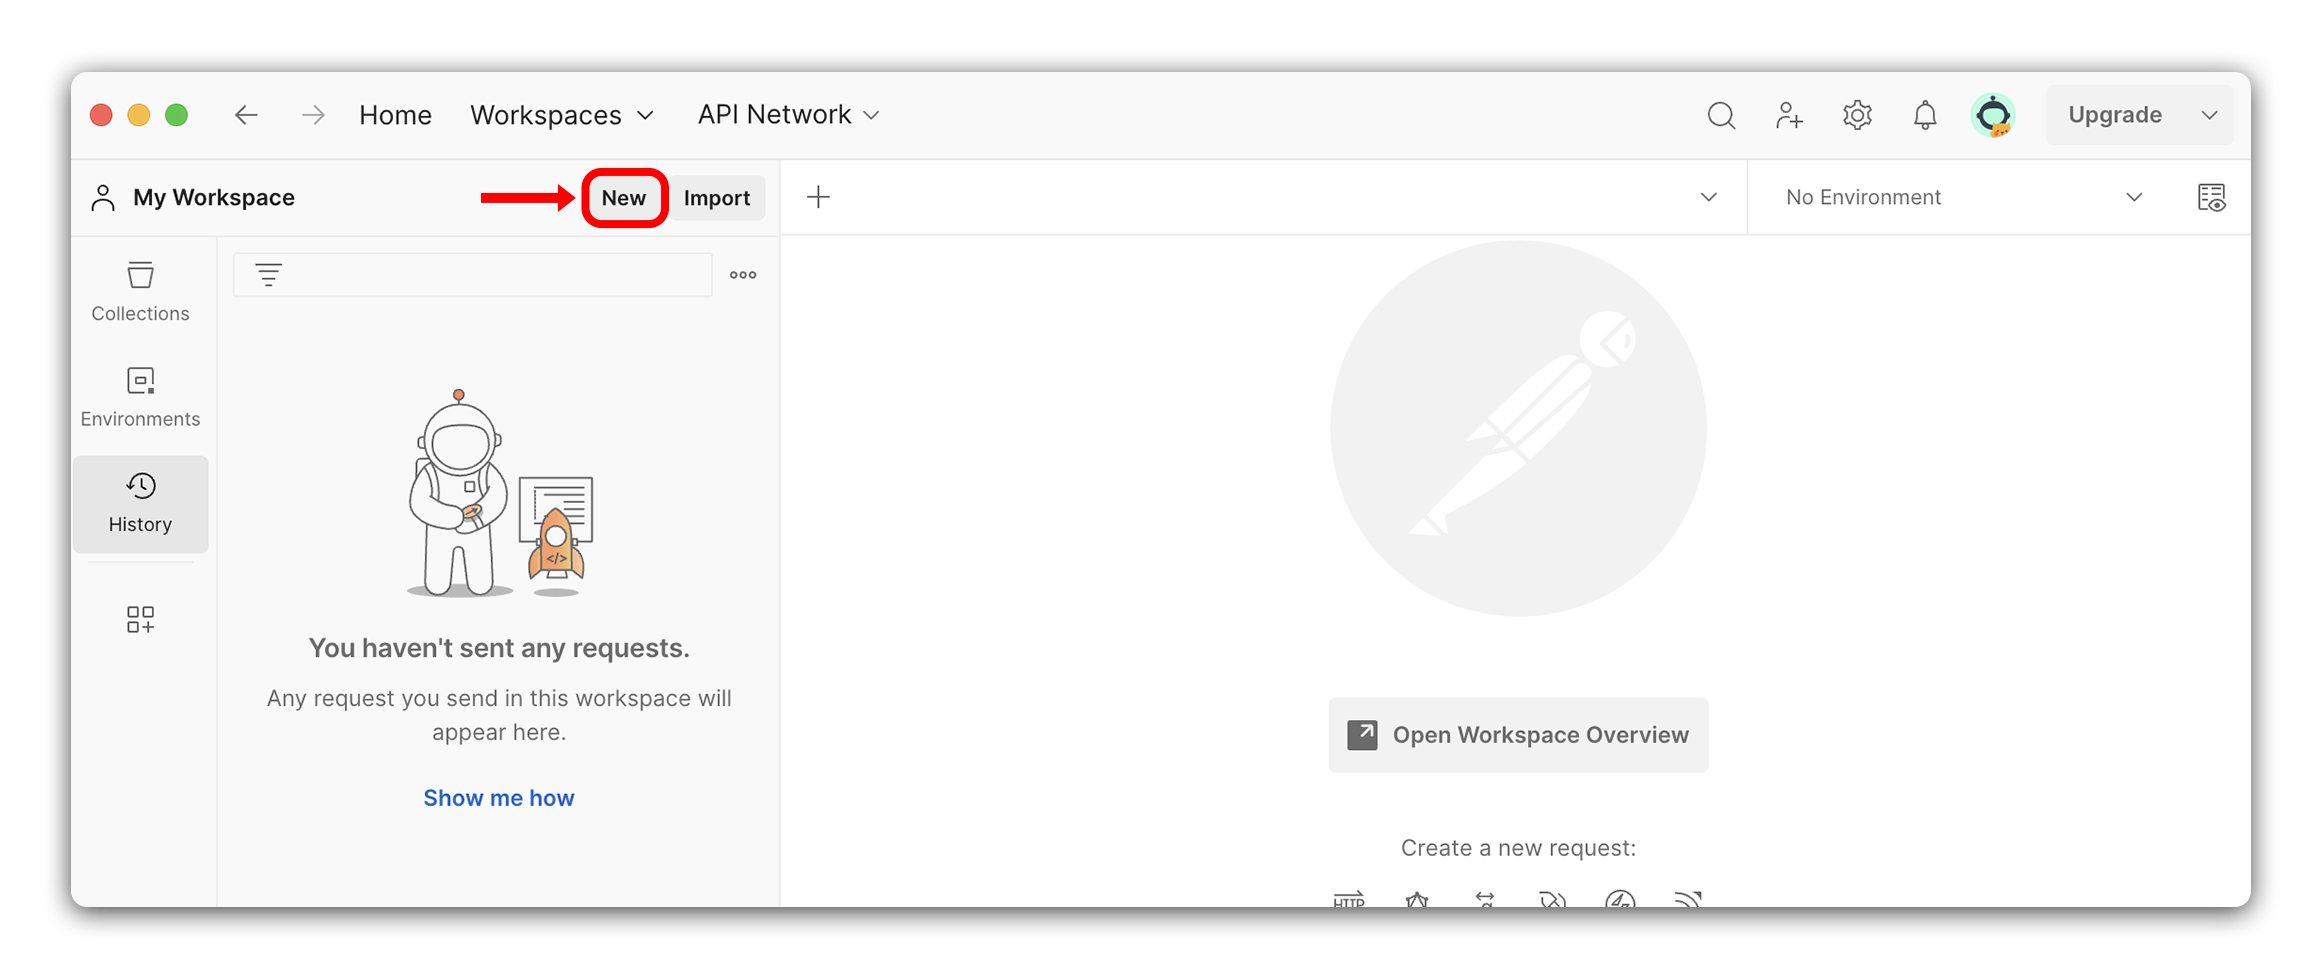
This will open a window where we can select what new action we want to create. Select HTTP from the list.
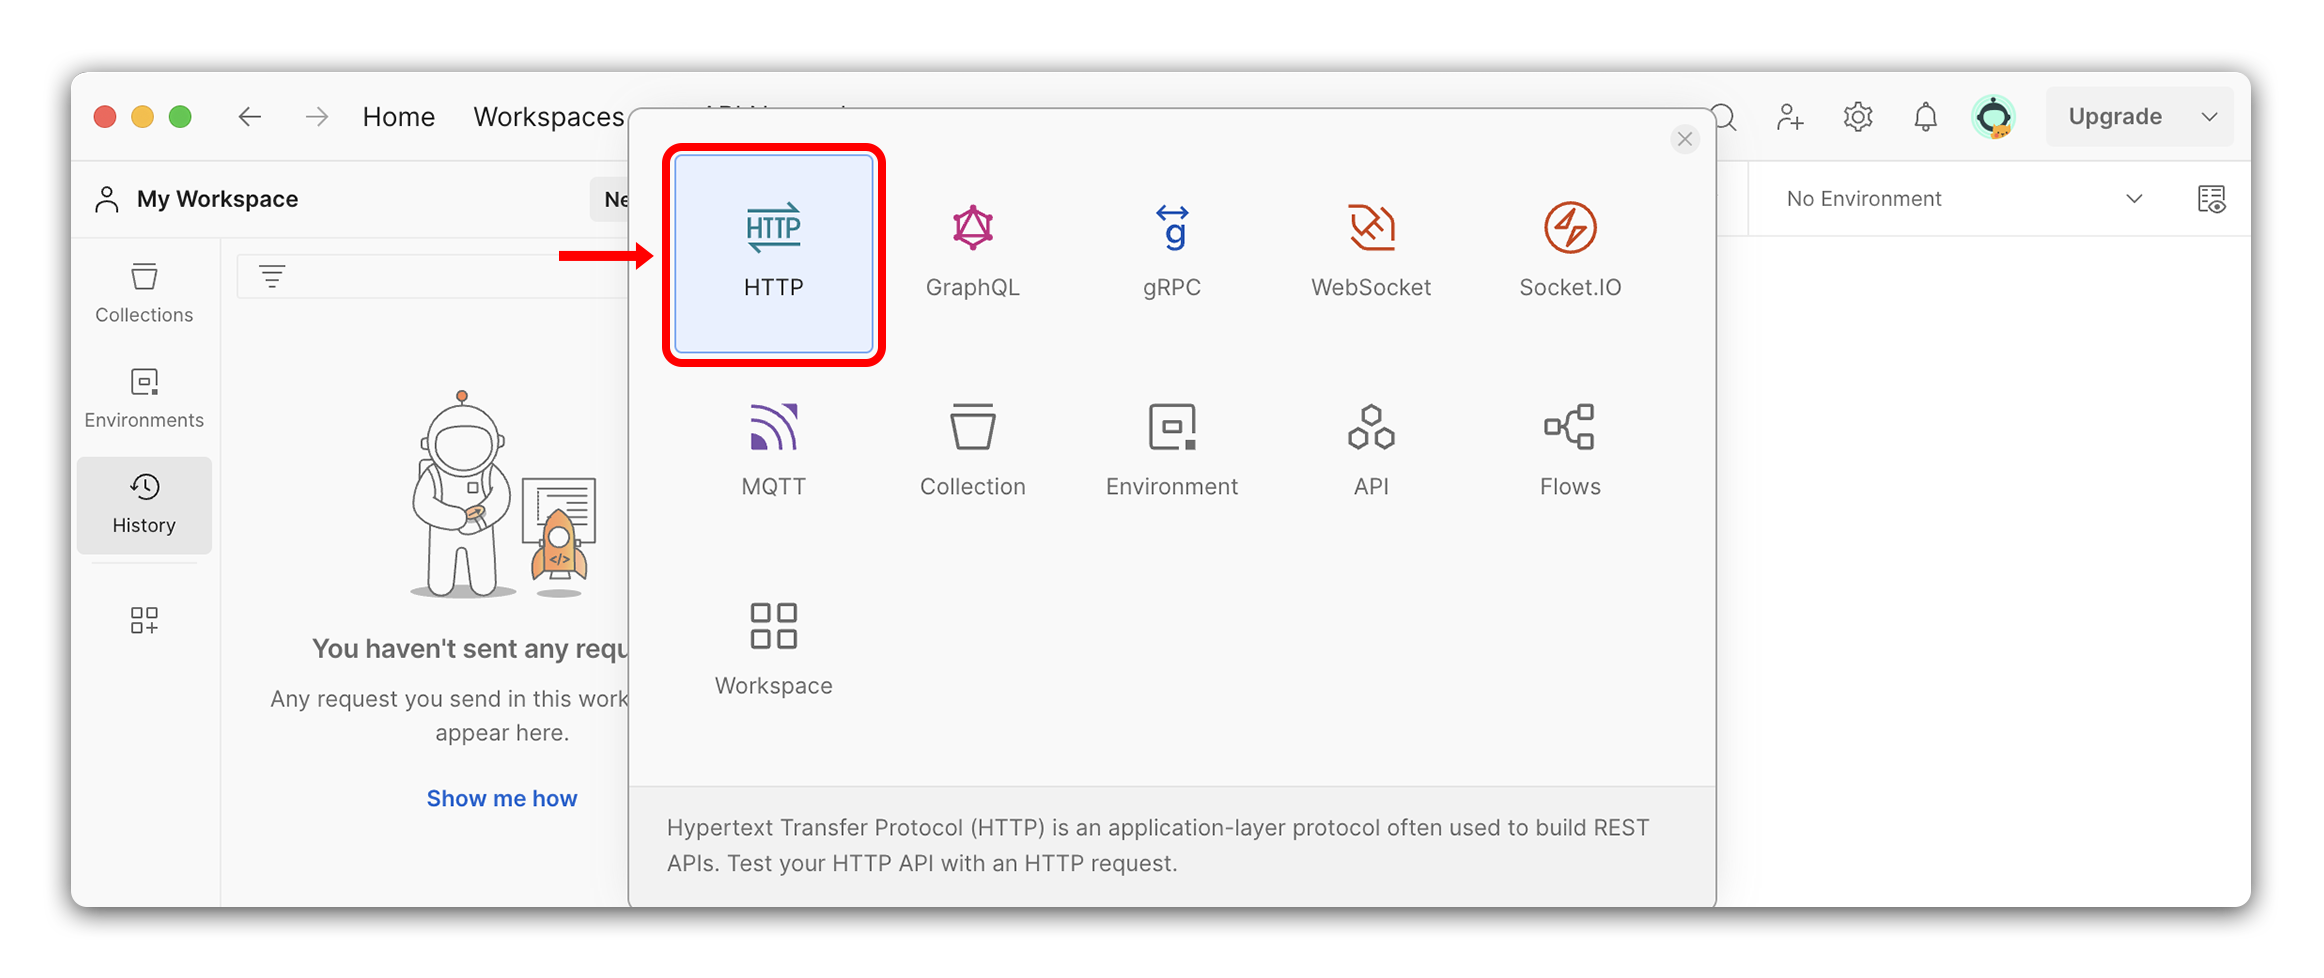
This will open a new request tab in Postman.
The request interface
Let’s walk through the different parts of the request interface:
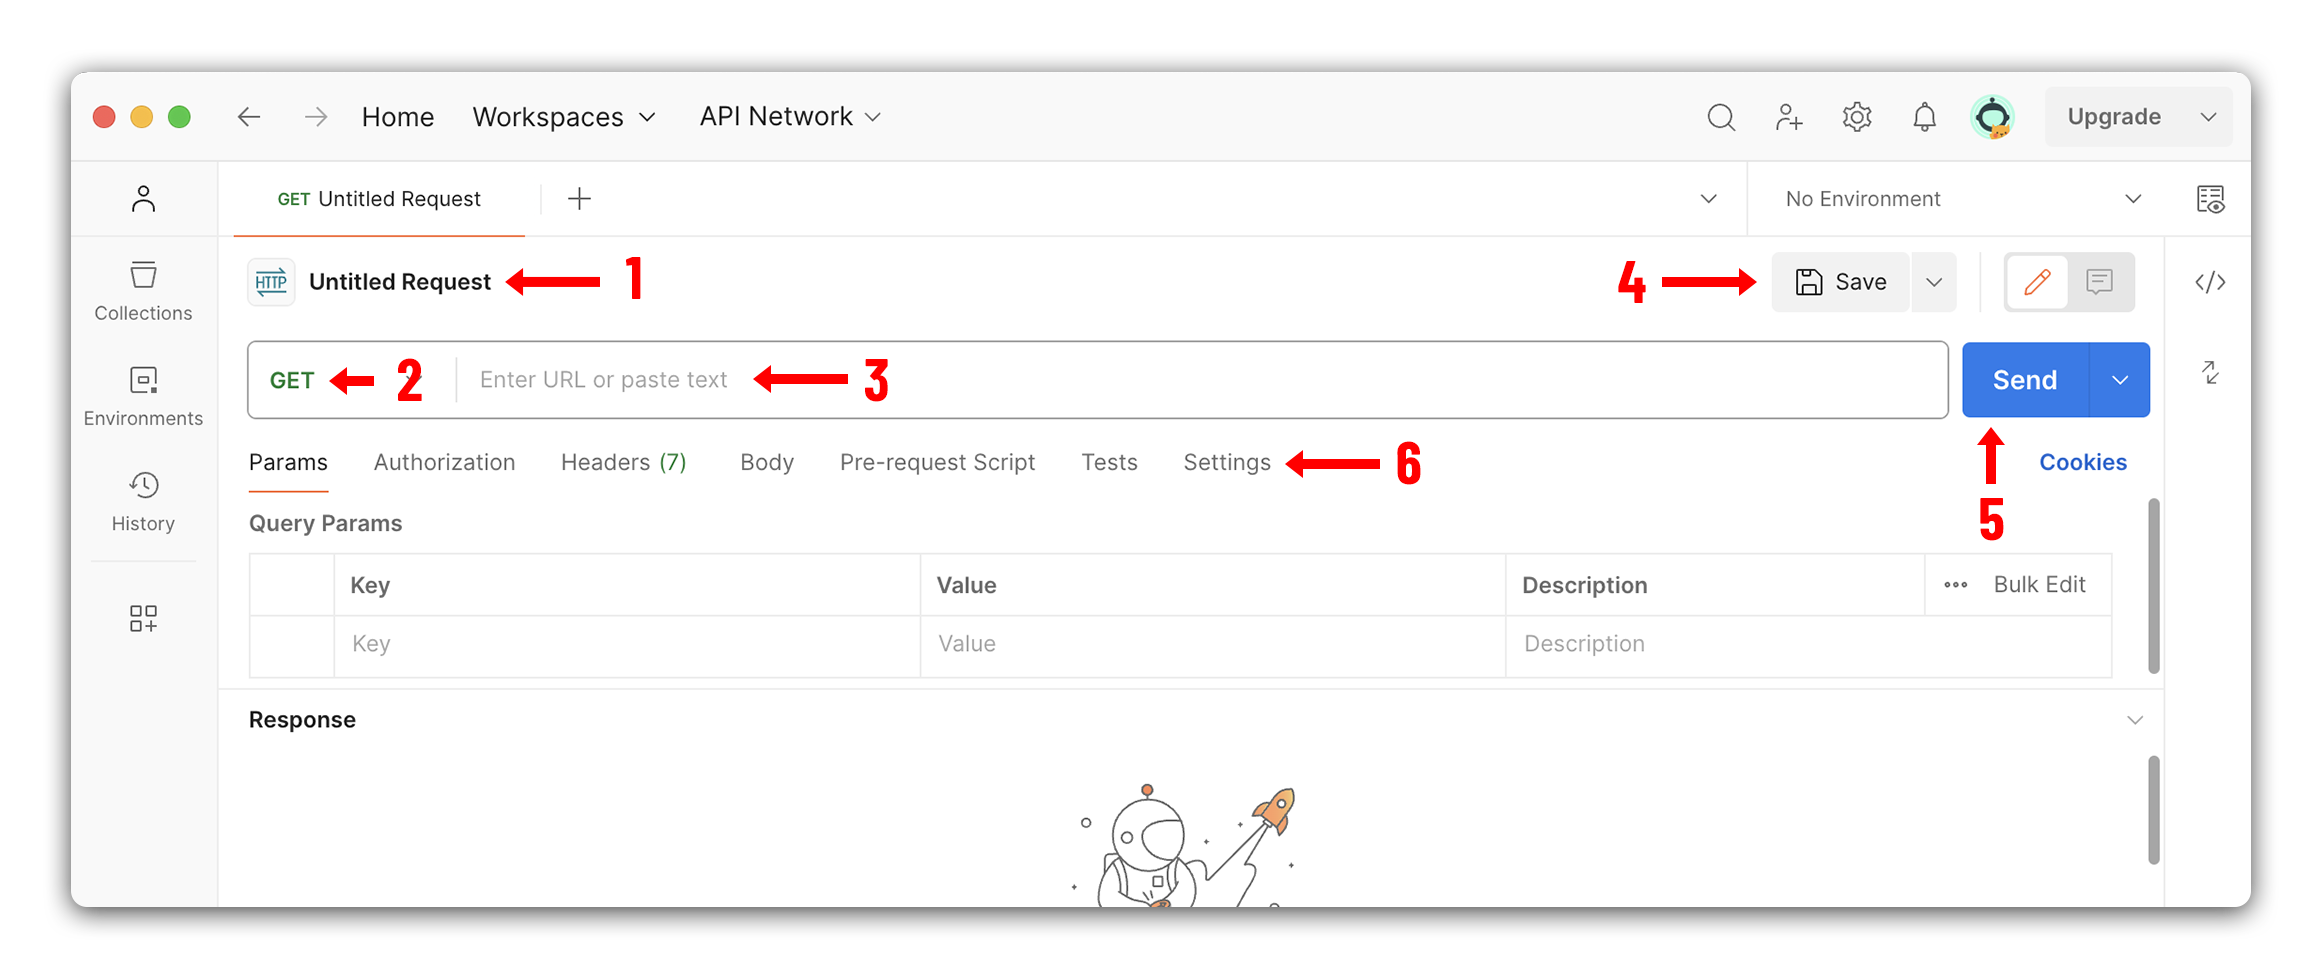
- Request Name: This is where you label your request for easy identification. You have the flexibility to name it anything that helps you remember its purpose. For instance, a request to fetch blog posts could be named
Get Posts. - Request Method: Here, you’ll find a dropdown menu listing different types of
HTTPrequests. The default selection isGET, but you can change it to other methods likePOST,PUT, etc., by selecting from this menu. - Request URL - The URL of the request. This is where we enter the URL destination for our
HTTPrequest. - Save - Use this button to save your current request configuration. This allows you to quickly access and reuse it later without having to set it up again from scratch.
- Send - This button sends the request to the URL we entered in the request URL box.
- Options - This section allows you to customize your request further by adding additional parameters such as authorization credentials, custom headers, query parameters for more specific requests, and request bodies (especially for
POSTorPUTrequests).
Make a get request
Let’s make a GET request to the posts endpoint.
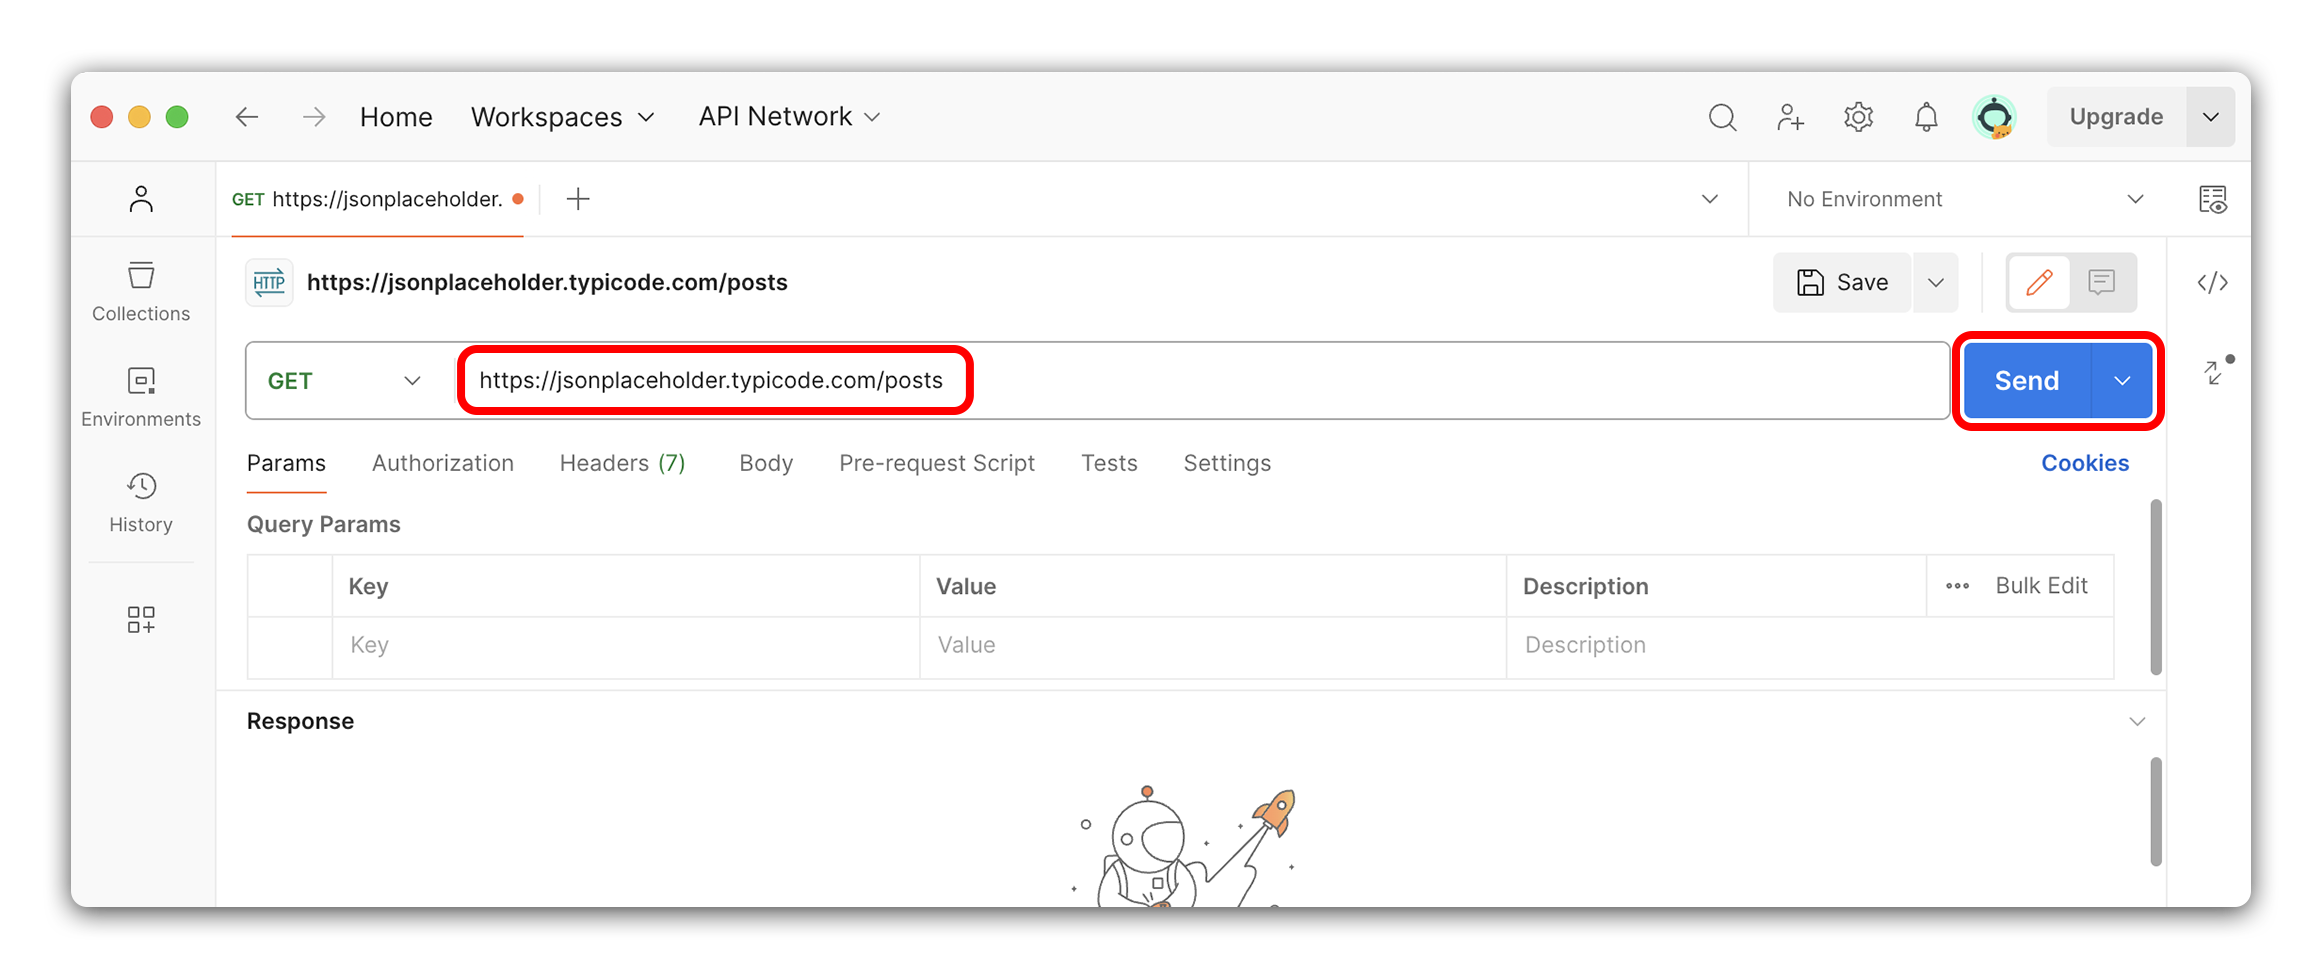
- Enter
https://jsonplaceholder.typicode.com/postsinto the request URL input box. - Click the
Sendbutton.
Review the response
In the bottom part of the interface, we can see the response from the API.
Let’s dive into the different parts of the response:
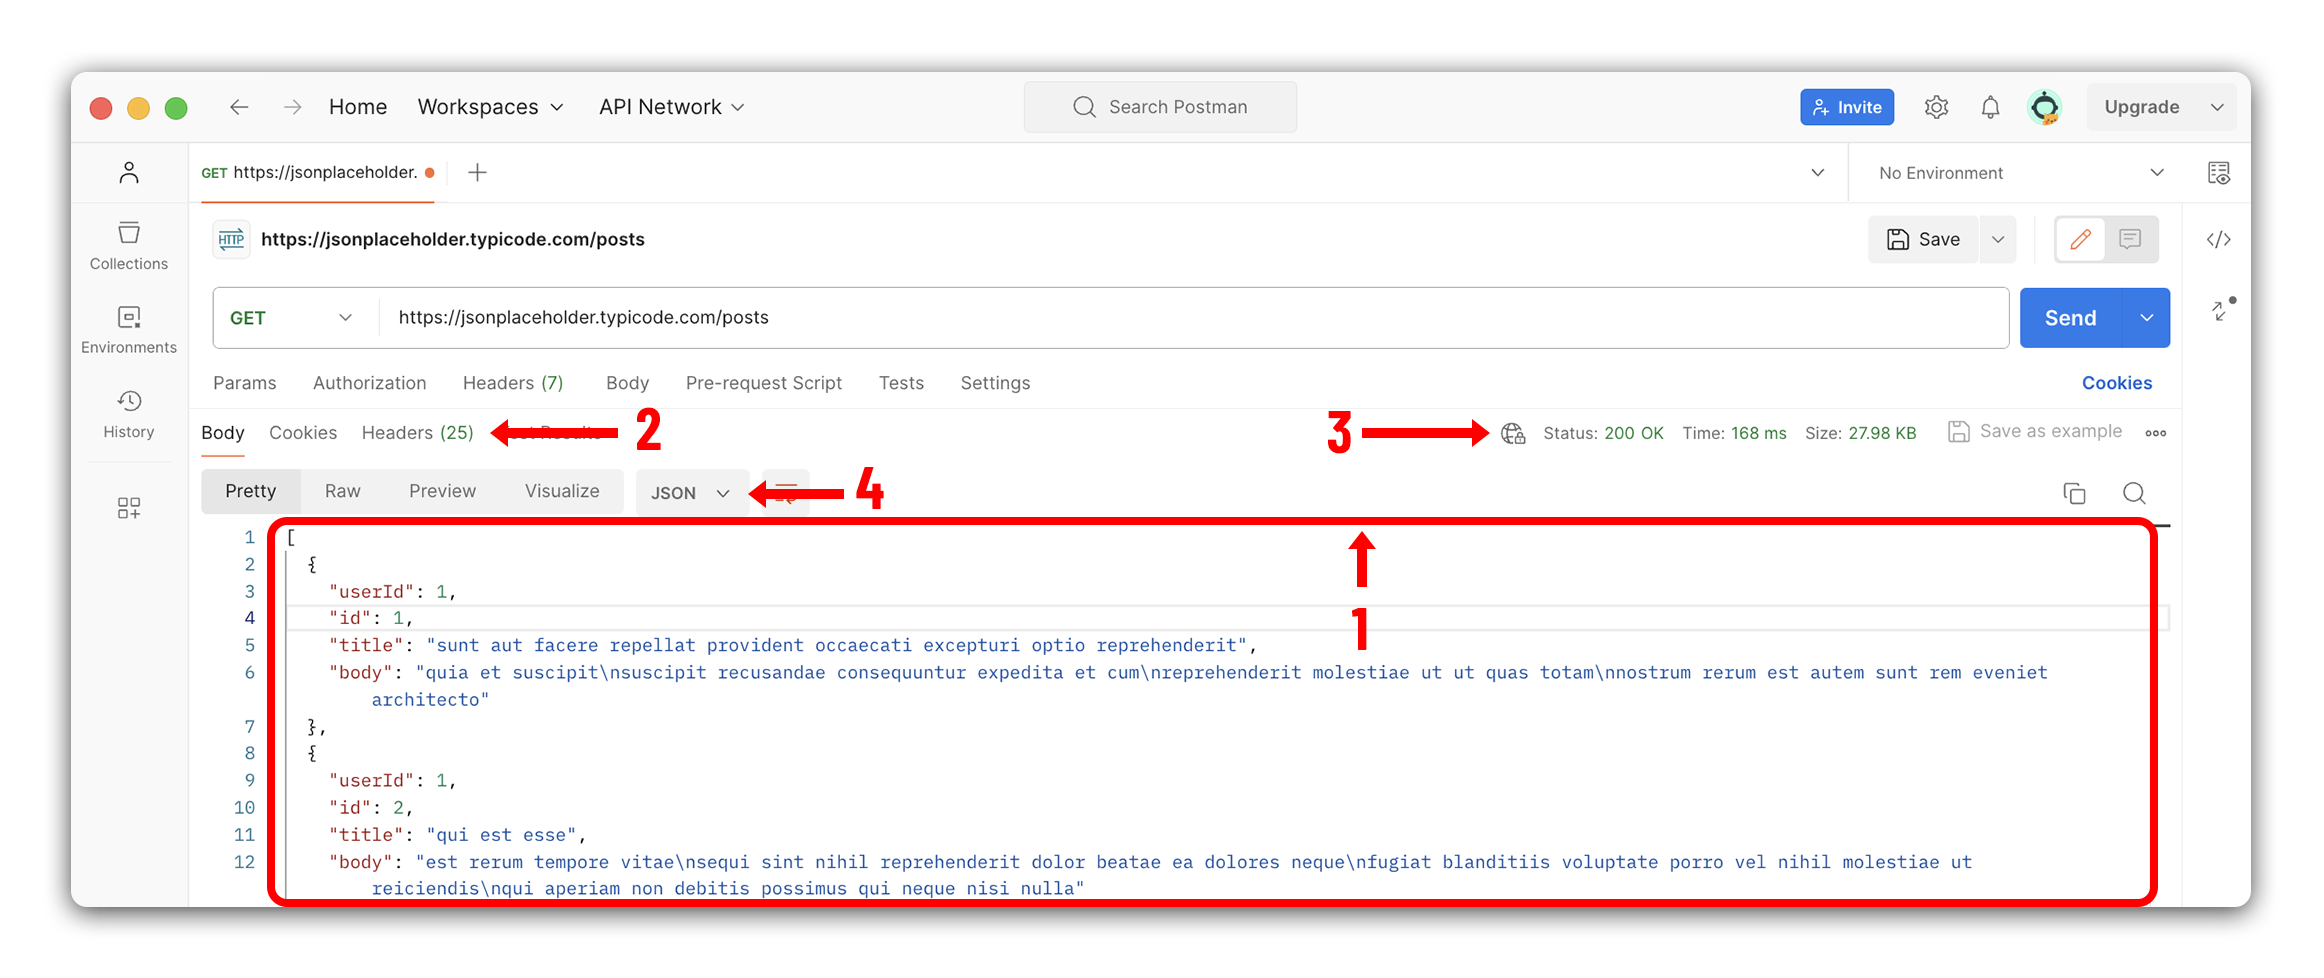
- Body - The body of the response. This is where we will see the data returned from the API.
- Headers - The headers of the response. This is where we will see the headers returned from the API.
- Status - The status of the response. This is where we will see the status code returned from the API.
- Viewing Options - These are the different ways to view the response. We can view the response as
Pretty,Raw,Preview, andVisualize.
Congrats! We successfully made a GET request to an API using Postman. 🎉
Saving a Request
Now that we have made a request, let’s save it. Saving a request allows us to access the request easily later. It also allows us to organize our requests into collections. Let’s save the request we just made.
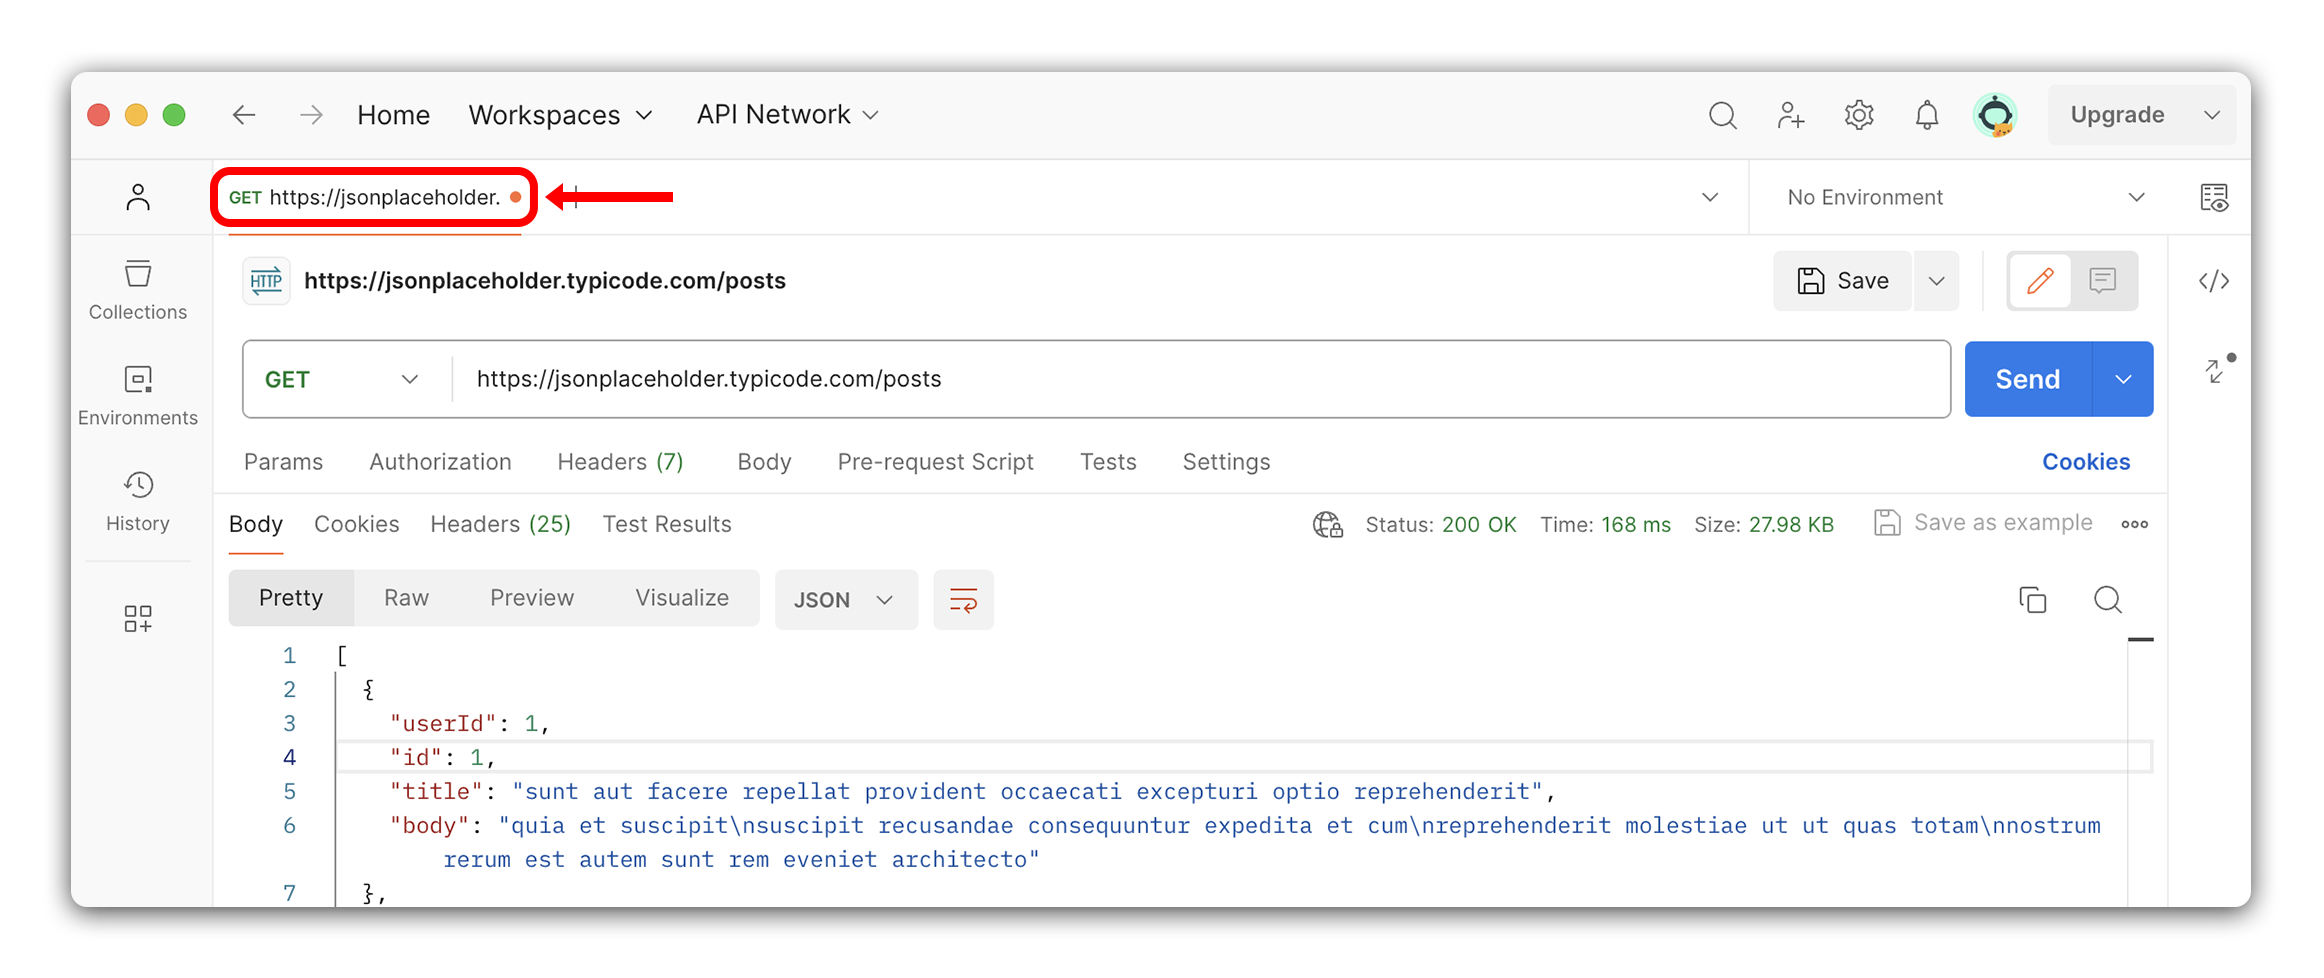
Looking at the tab, we can easily see if a request is unsaved. If there is a little orange dot next to the request name, the request is unsaved.
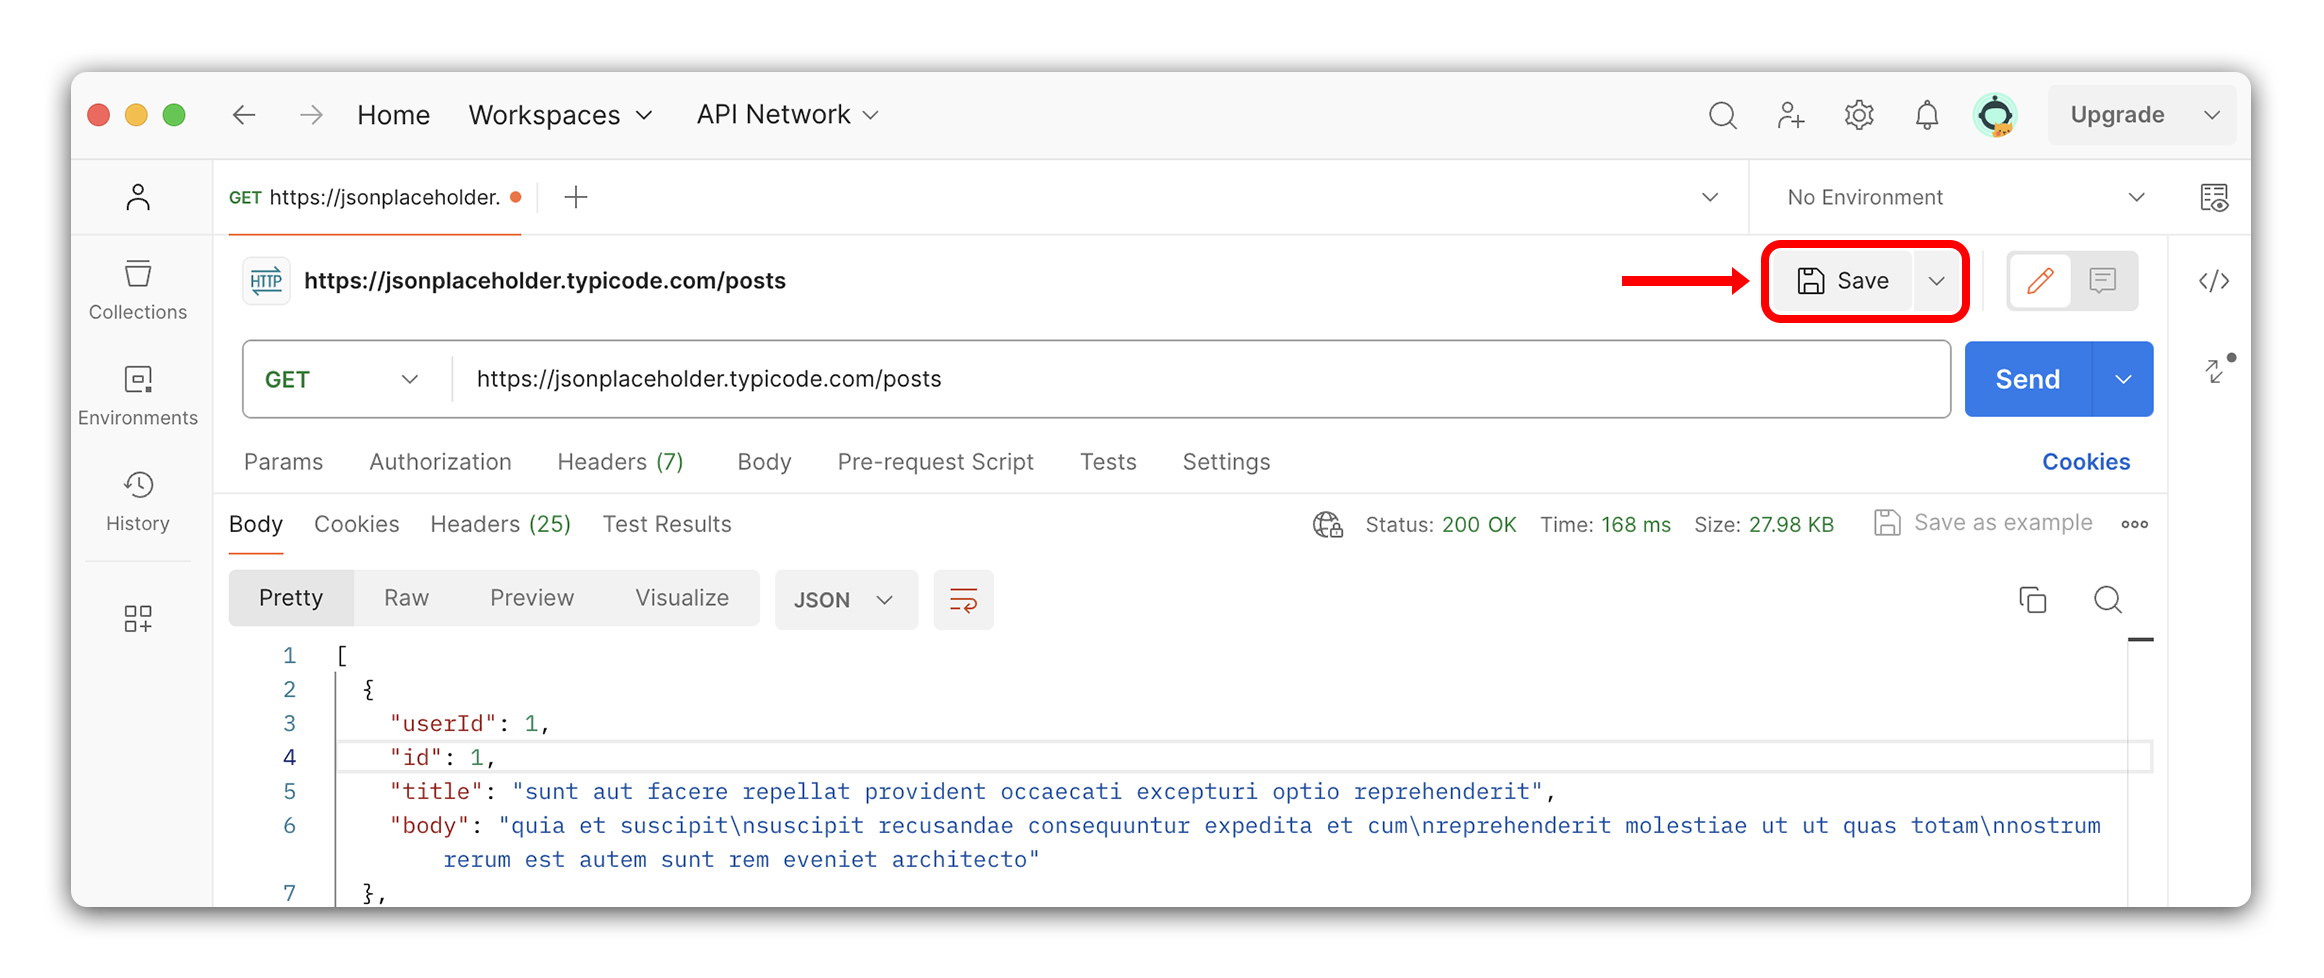
To save a request, click on the Save button on the right side.
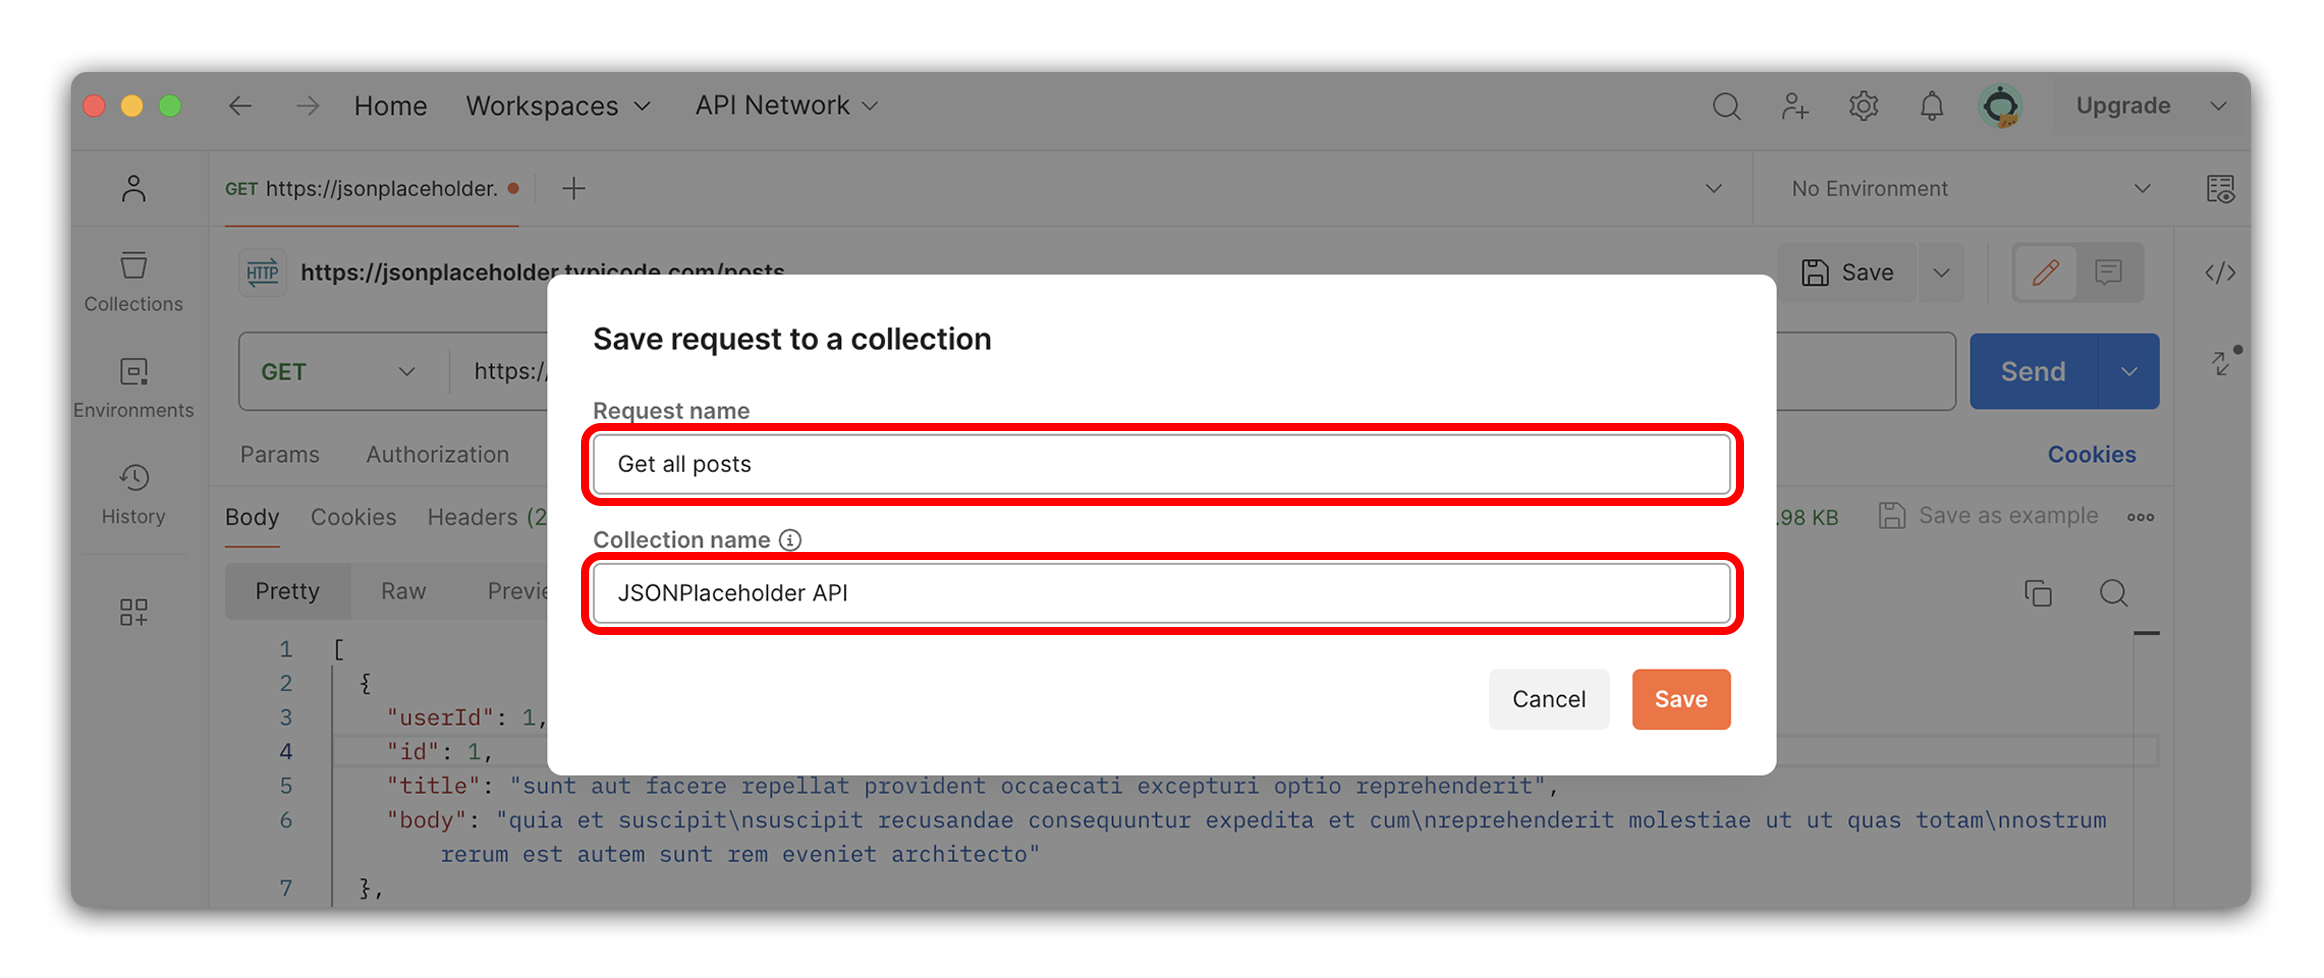
A window will pop up asking us to name the request and provide a collection name. Let’s name the request Get Posts and create a new collection called JSONPlaceholder API.
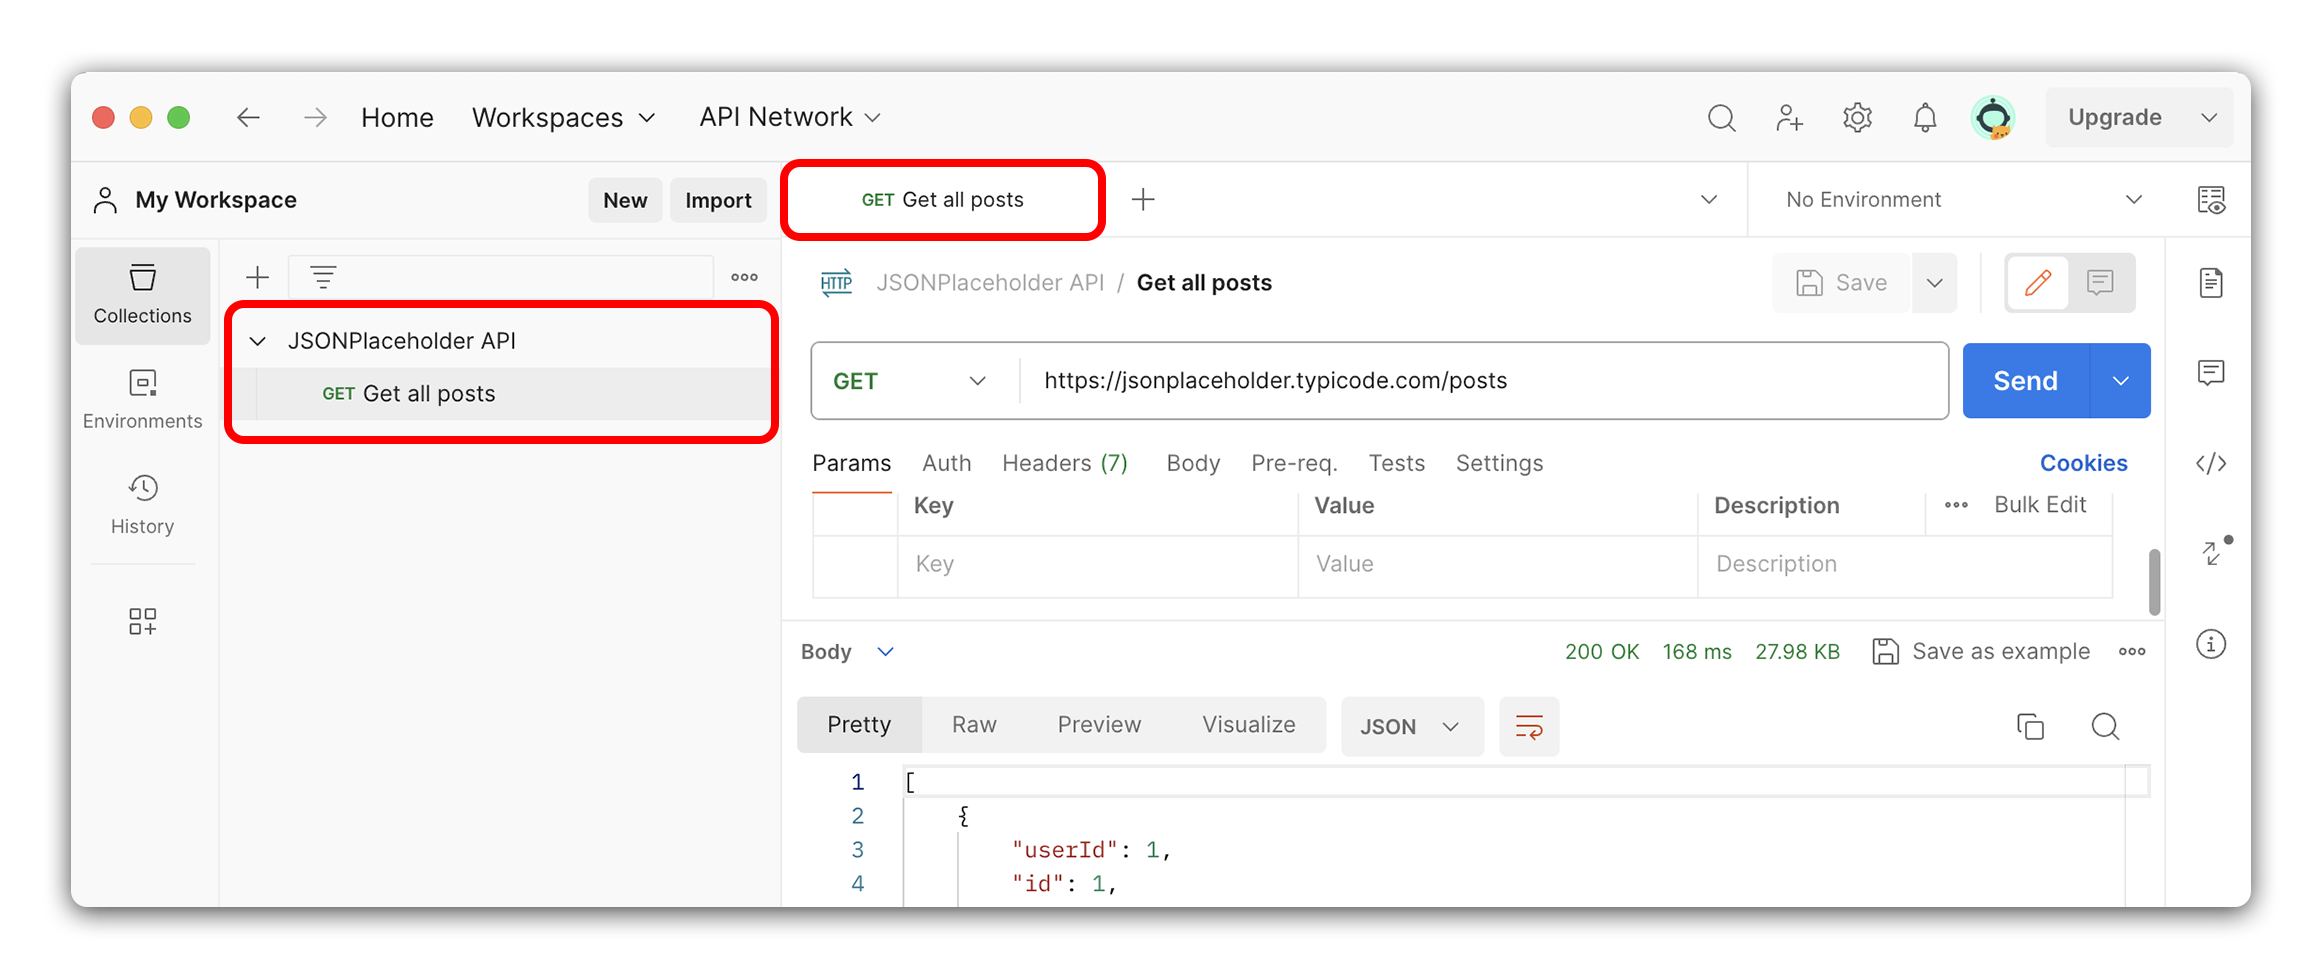
Click the Save button. The orange dot is gone, and the request name is now Get Posts. The request is saved.
We can also see in our Collections section on the left-hand side, there is a new collection called JSONPlaceholder API. If we click on the collection, we will see our request.
Great job! You’ve just successfully completed your first request using Postman and saved it in a collection. With Postman now in your tool belt, you can rapidly develop and test backend applications without relying on a frontend or a web browser.