React Router DOM Lab Exercise
Overview
In this lab, you will build an application that simulates a post office, where users can create new mailboxes, view a list of all mailboxes, and explore details about each mailbox.
You will utilize several client-side routing tools provided by React Router’s library to complete this lab.
What is a mailbox in this lab?
Each “mailbox” in this lab represents a type of post office box, often called a PO Box.
A PO Box (short for “Post Office Box”) is a secure, numbered box located at a post office where people can receive mail. These boxes are rented by individuals or businesses who want a private or reliable way to get their mail. Only the box owner has access to their assigned box.
In this lab, each mailbox will have:
- A unique box number (
_id) - The name of the box owner (
boxOwner) - The size of the box (
boxSize), such as Small, Medium, or Large
Here are a few screenshots to reference as you work through this exercise:
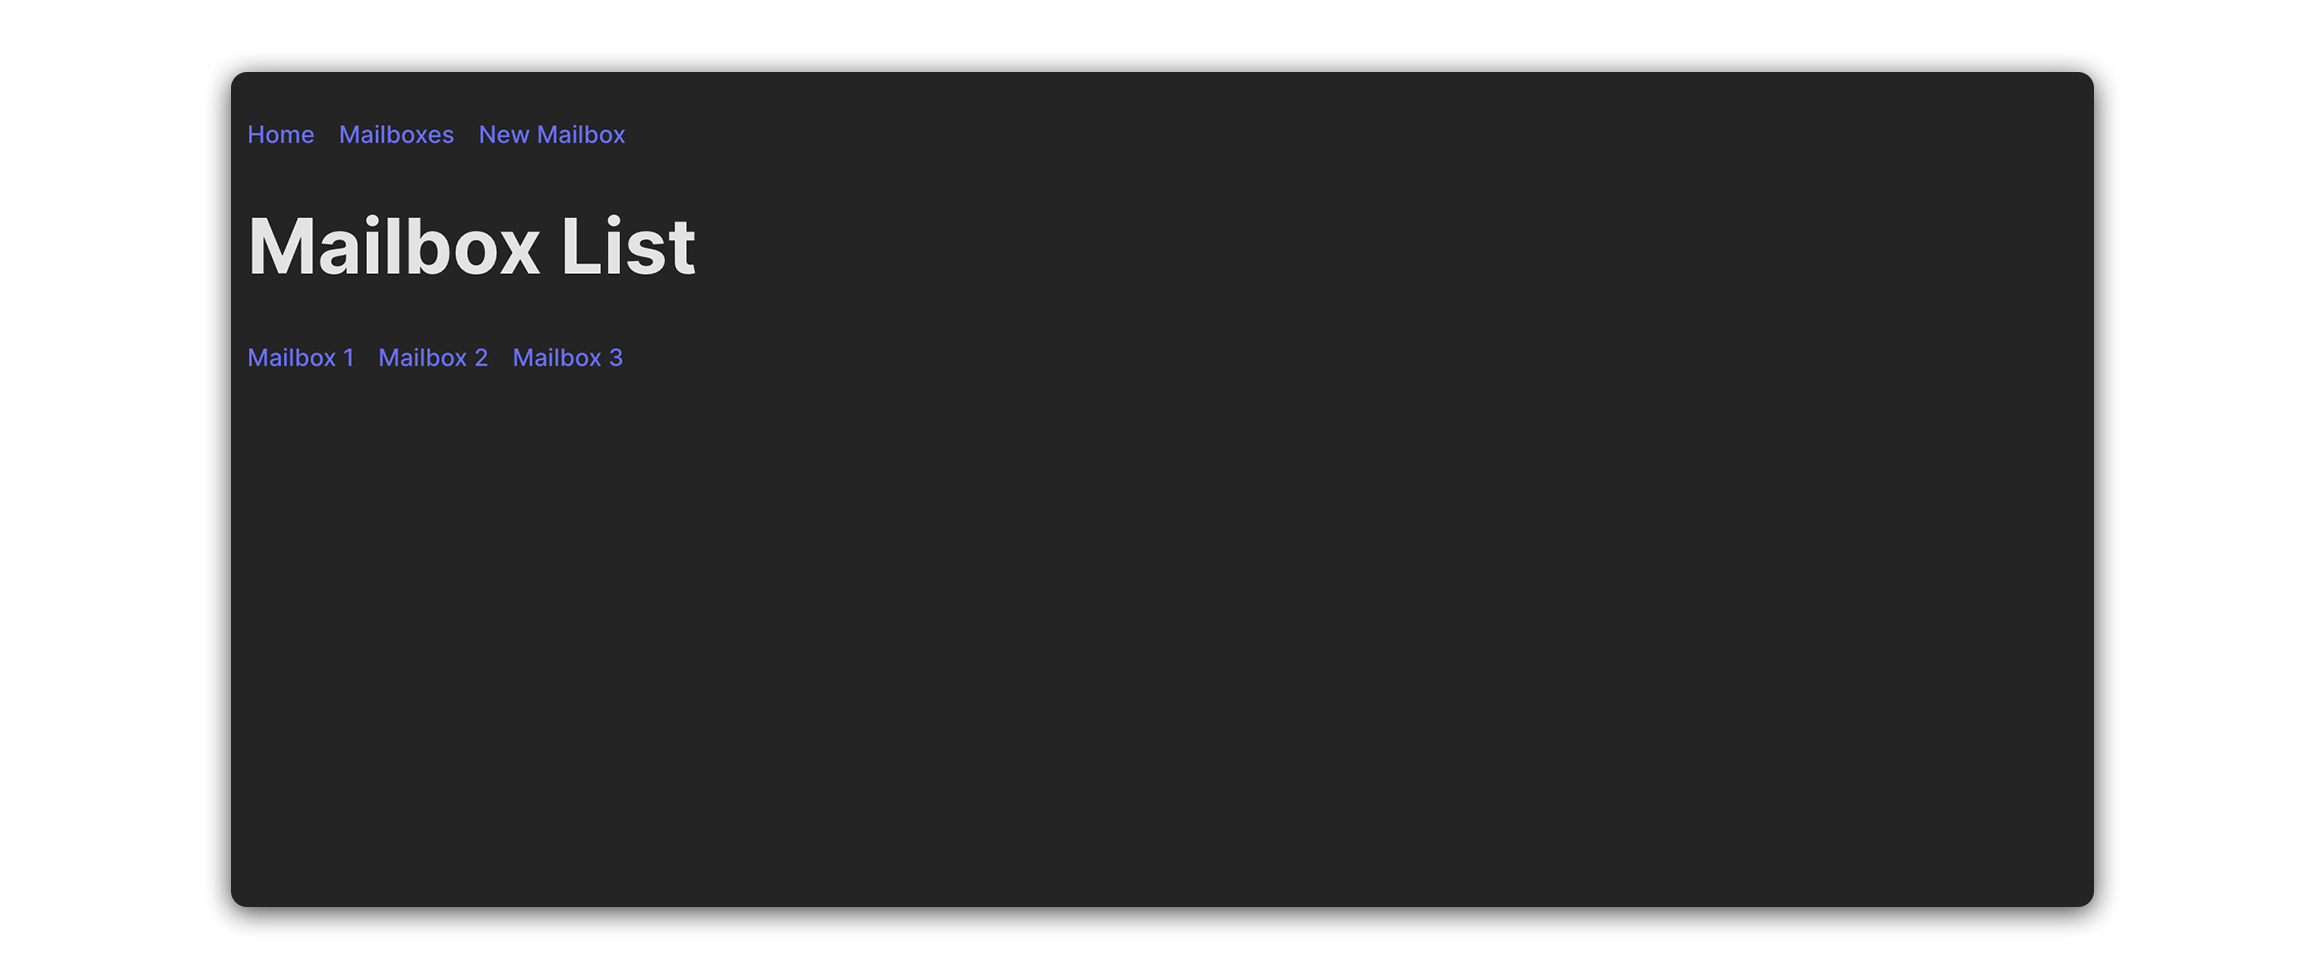
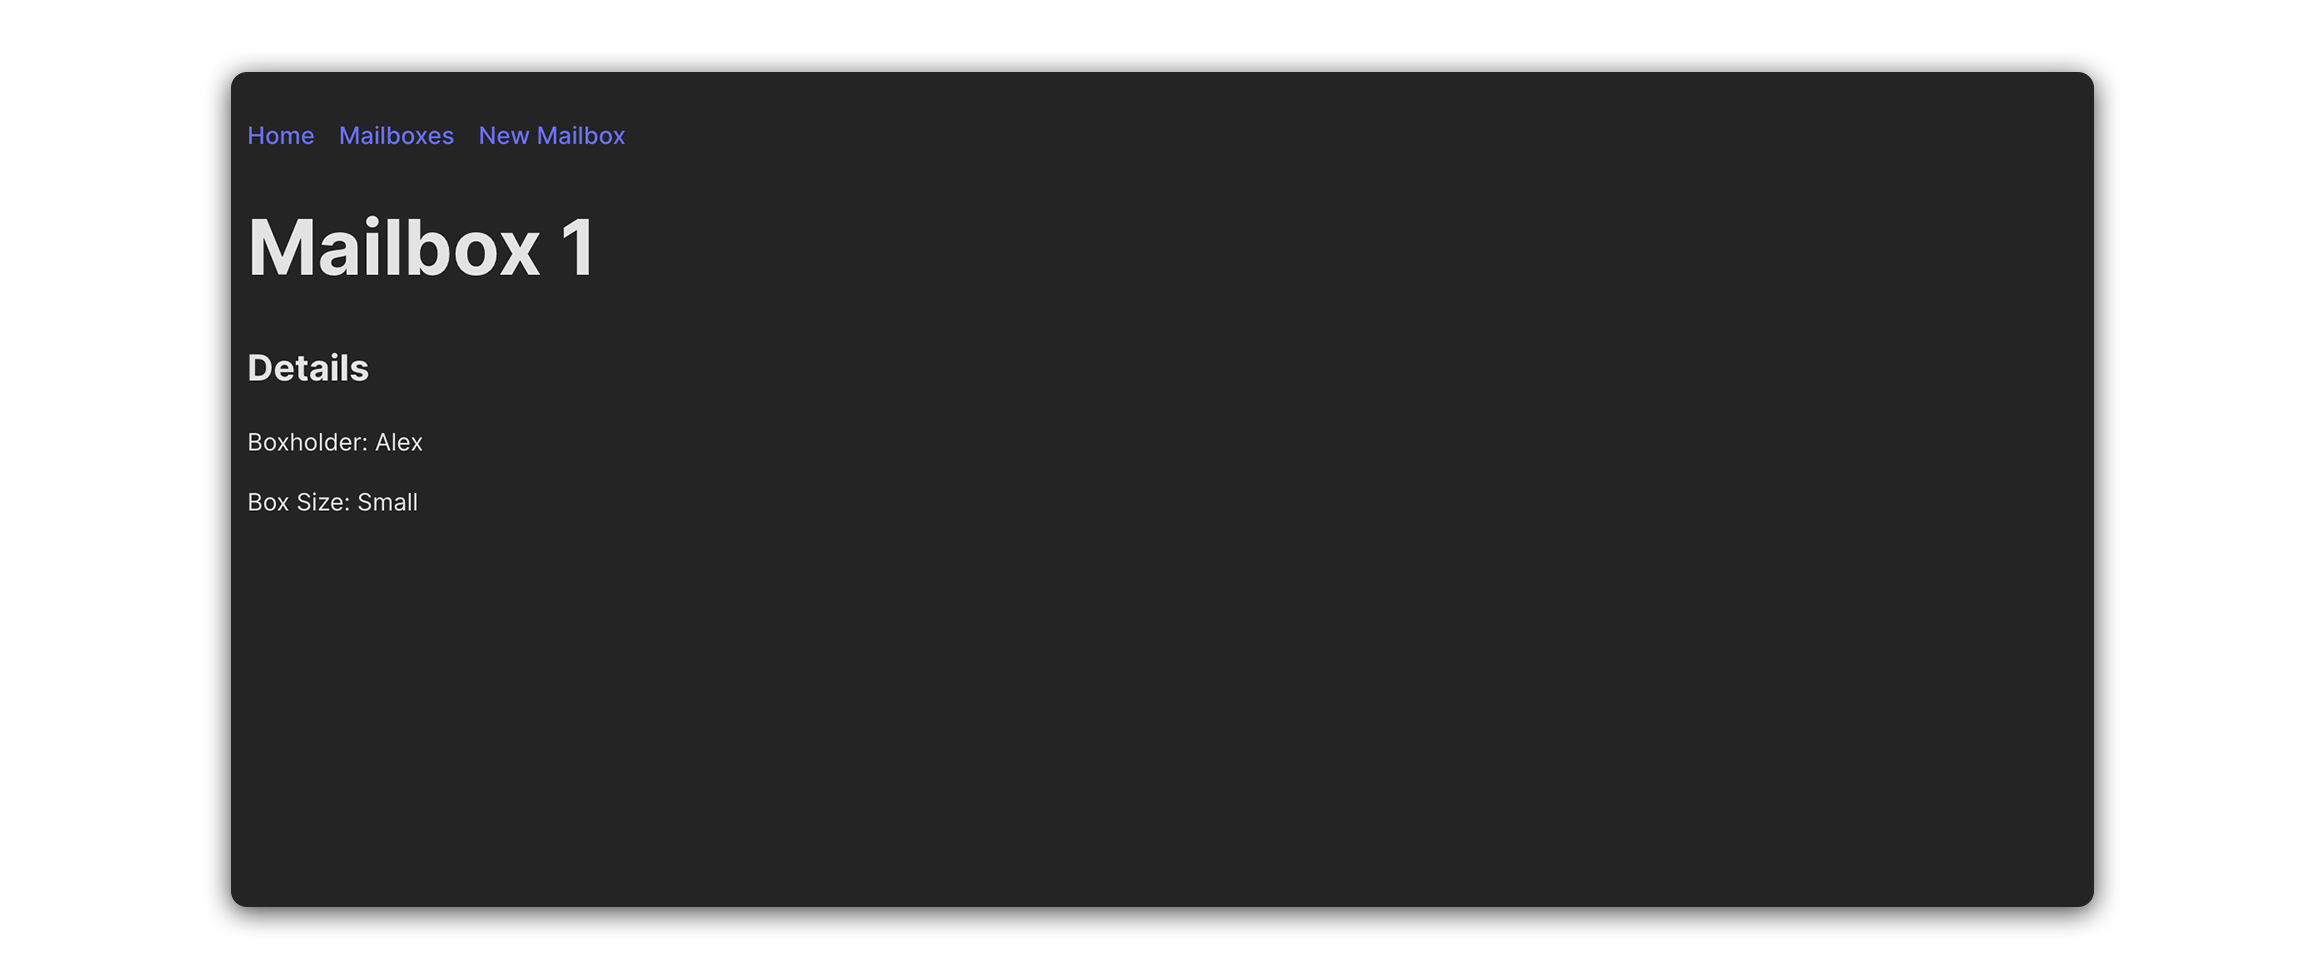
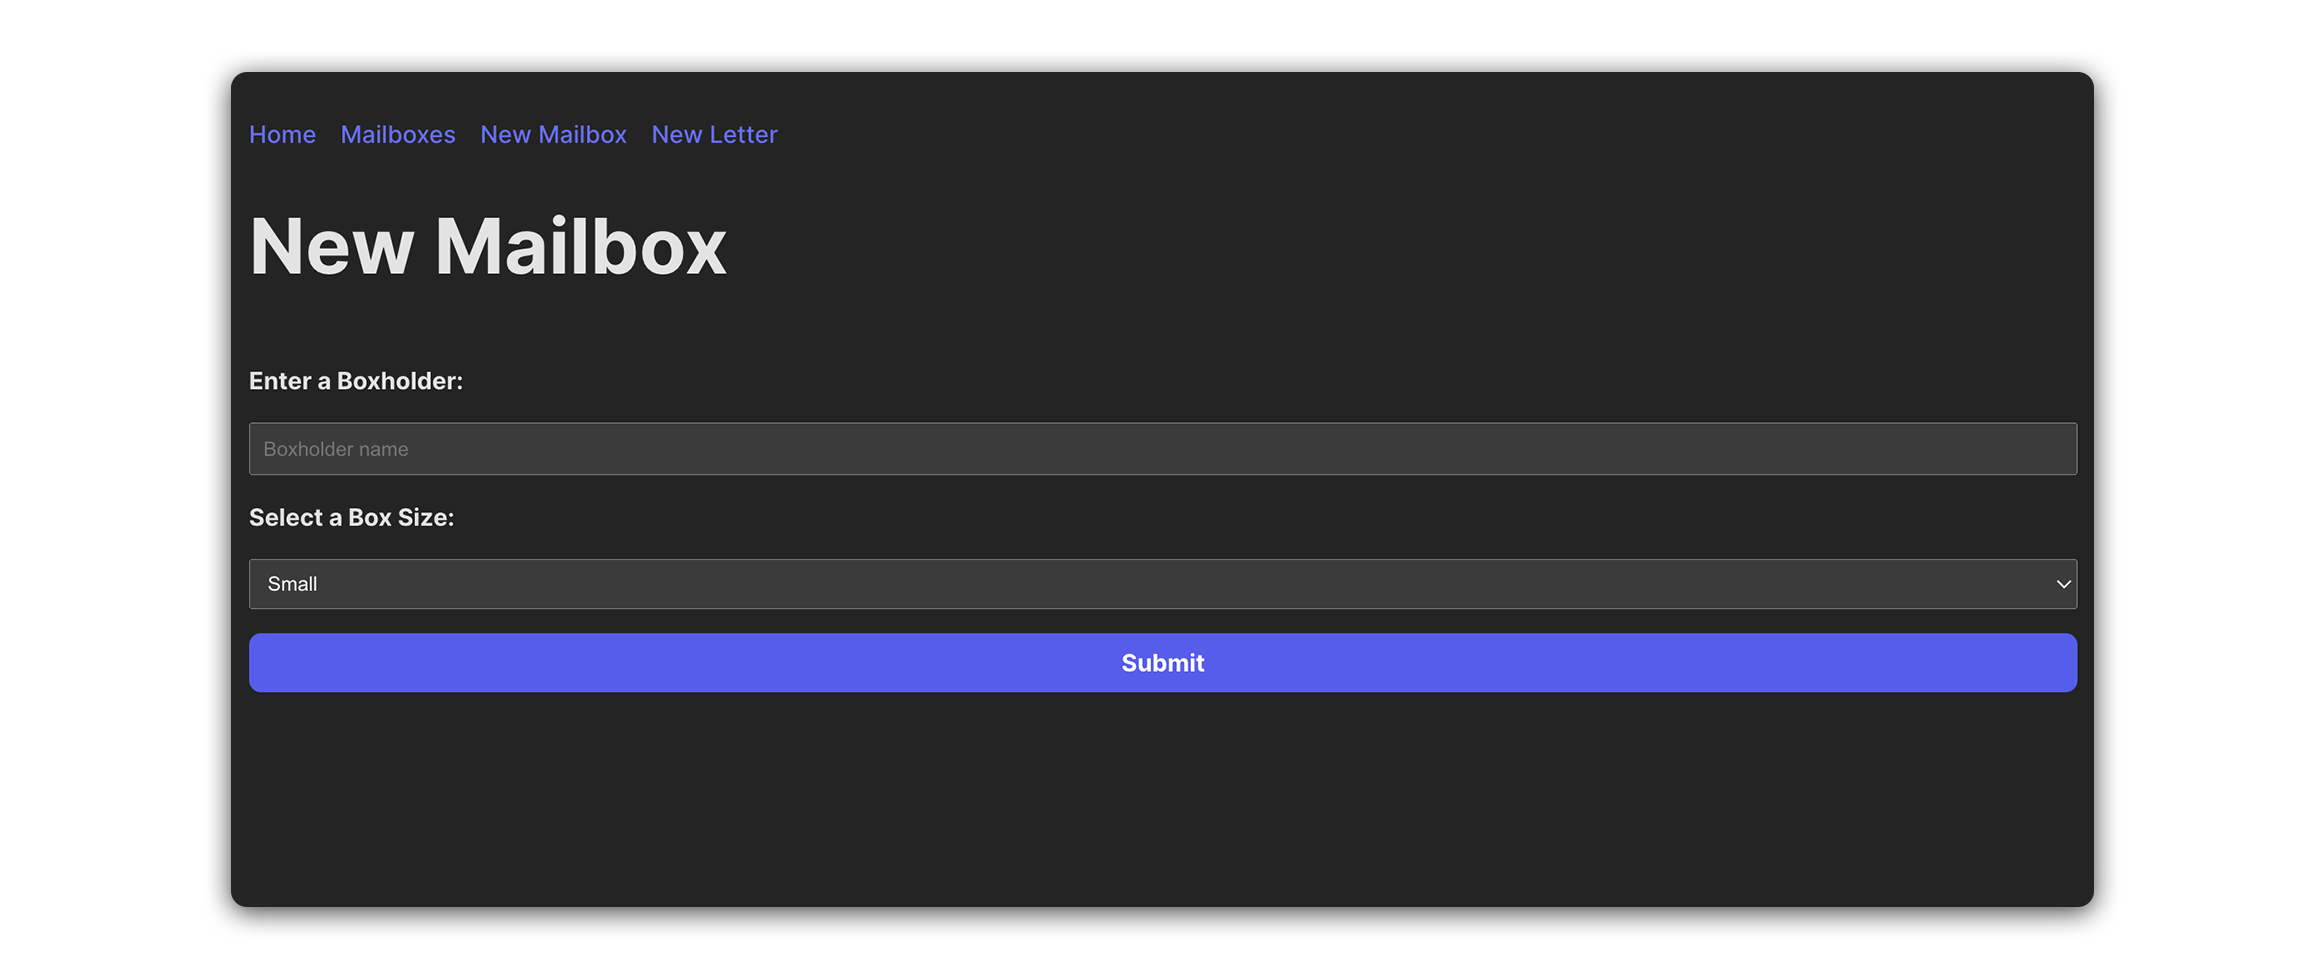
Take a look at the component hierarchy diagram below for a sense of how this application will be structured:

In the list below, you’ll find a brief description of the role of each component in our app:
- App: The root component that orchestrates the entire application.
- NavBar: Provides navigation links.
- MailboxForm: Allows users to enter details for and submit new mailboxes.
- MailboxList: Displays an index list of all mailboxes.
- MailboxDetails: Shows details about a specific mailbox.
User stories
Here are the user stories for this lab:
- As a user, I should see a nav bar with links at the top of each page in the application.
- As a user, clicking on the ‘Home’ link should navigate me to a landing page that displays the text ‘Post Office’.
- As a user, clicking on the ‘New Mailbox’ link should navigate me to a page with a form for submitting new mailboxes.
- As a user, when viewing the form on the ‘New Mailbox’ page, I should see a
<form>with an<input>for the name of theboxOwnerand a<select>menu for theboxSize. The<select>menu should include three options: ‘Small’, ‘Medium’, and ‘Large’. - As a user, I should not be required to select a box number when creating a new mailbox. When a new mailbox is created, it should be assigned a box number, or
_id, automatically. This number should increment based on the number of mailboxes that already exist. - As a user, when I submit the ‘New Mailbox’ form, I should be redirected to the ‘Mailboxes’ page (
/mailboxes) where I will see the newly created mailbox added to the list. - As a user, clicking on the ‘Mailboxes’ link should navigate me to a ‘Mailboxes’ page.
- As a user, when viewing the ‘Mailboxes’ page, I should be able to see a list of all the existing mailboxes. Each mailbox in the list should be a square container with a box number
_id. - As a user, when viewing the ‘Mailboxes’ list page, I want to be able to click on a mailbox, and be directed to a mailbox details page.
- As a user, when viewing the details page, I should see details about a specific mailbox. The details should include the box number (
_id), the name of the box owner, and the box size. - As a user, I should see the message ‘Mailbox Not Found!’ if I navigate to the details page for a mailbox that does not exist.
Lab exercise
Your primary goal is to implement the user stories listed above.
To get started, follow the steps below:
-
Start by creating each of the components listed below. After creating each component, be sure to import them at the top of
src/App.jsx.src/components/NavBar/NavBar.jsxsrc/components/MailboxForm/MailboxForm.jsxsrc/components/MailboxList/MailboxList.jsxsrc/components/MailboxDetails/MailboxDetails.jsx
-
Within
NavBar.jsx, importLinkfromreact-routerand create a<Link>for each destination in the table below:Destination toText Content Home /Home MailboxList /mailboxesMailboxes MailboxForm /new-mailboxNew Mailbox -
In
App.jsx, importRouteandRoutesfromreact-routerand create a<Route>for each destination in the table below:Destination pathelementHome /<main><h1>Post Office</h1></main>MailboxList /mailboxes<MailboxList />MailboxForm /new-mailbox<MailboxForm />MailboxDetails /mailboxes/:mailboxId<MailboxDetails /> -
In
App.jsx, importuseStatefromreactand create a newuseStatevariable calledmailboxes. Set its initial state to an empty array ([]). -
In
App.jsx, build the scaffolding for a function calledaddBox. It should accept form data for a new mailbox andsetMailboxesstate accordingly.
Hints
-
The
mailboxesuseStatevariable will be used to store an array of objects, each object representing a mailbox. Each mailbox object should adhere to the shape outlined below:{ _id: 1, boxSize: 'Small', boxOwner: 'Alex', }; -
New mailboxes should receive a box number or
_idproperty automatically. A good place to handle this would be theaddBoxfunction inApp.jsx. The value of the_idproperty can be derived by adding 1 to the currentlengthofmailboxesstate. This value can be added to the submitted form data before the object is set in state. -
When building out
MailboxDetails.jsx, theuseParams()hook will be useful. You can use the value extracted from the URL params tofind()a specific mailbox inmailboxesstate.// src/components/MailboxDetails/MailboxDetails.jsx const { mailboxId } = useParams(); const selectedBox = props.mailboxes.find( (mailbox) => mailbox._id === Number(mailboxId) ); -
From the user stories:
- “Each mailbox in the list should be a square container with a box number
_id.” - We’ve included a CSS class called
.mail-box, where should you place it?
- “Each mailbox in the list should be a square container with a box number